 BUY NOW, PAY LATER. Starting at 0% APR


Can-Am X3 High Flow Intake (47mm & 60mm Throttle Body)
X3 High Flow Intake
In the box
Parts and tools
Included parts
- 1EVP Air Filter with Pre-Filter
- 1EVP Air Filter Housing
- 1Silicone Intake Tube
- 13/4" Nylon Hose Adaptor
- 13/4" Silicone Cap
- 2Worm Drive Clamps
Required tools
- 13mm Socket
- 7mm Socket
- T-30 Torx
- Dremel or Cutting Tool
- Silver Sharpie
Procedure
Installation Steps
- Step 1
Remove the turbo access cover located on the firewall, between the seats.
- Step 2
Remove and label the lines from the boost control valve.
- Step 3
Loosen the worm drive clamp connecting the intake tube to the turbo and the worm drive clamp connecting the air box to the intake above
- Step 4
Remove the (2) 13mm bolts behind the seat that hold the air box to the firewall. Remove the air box.
- Step 5
Remove the cover over the coolant bottle and remove the screen cover over the intake.
- Step 6
Unplug the boost control valve and remove the (6) T30 screws securing the plastic shroud to the vehicle.
- Step 7
Grab the EVP high air flow housing and place it into the OEM air flow plastic shroud. With a sharpie mark the OEM shroud with the larger diameter EVP high flow intake. (See figure 1-2)
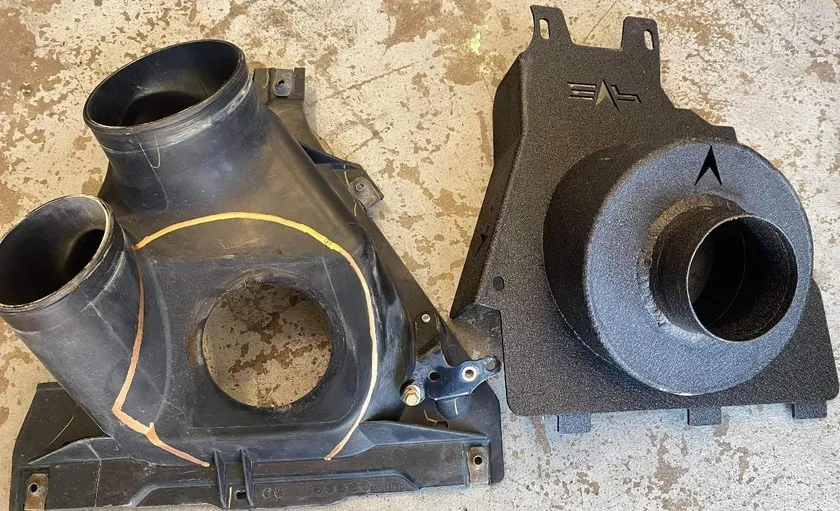
Fig. 1 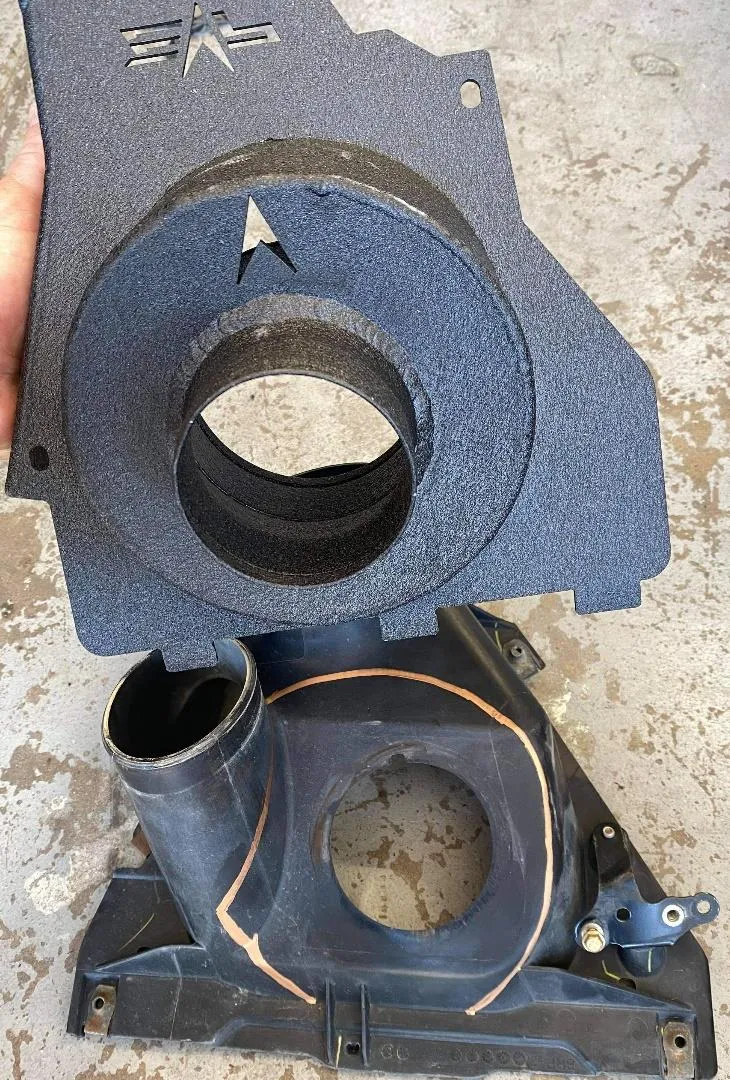
Fig. 2 - Step 8
With your Dremel or cutting tool, cut out the template you created.
NoteStart cutting small and keep test fitting until correct.
- Step 9
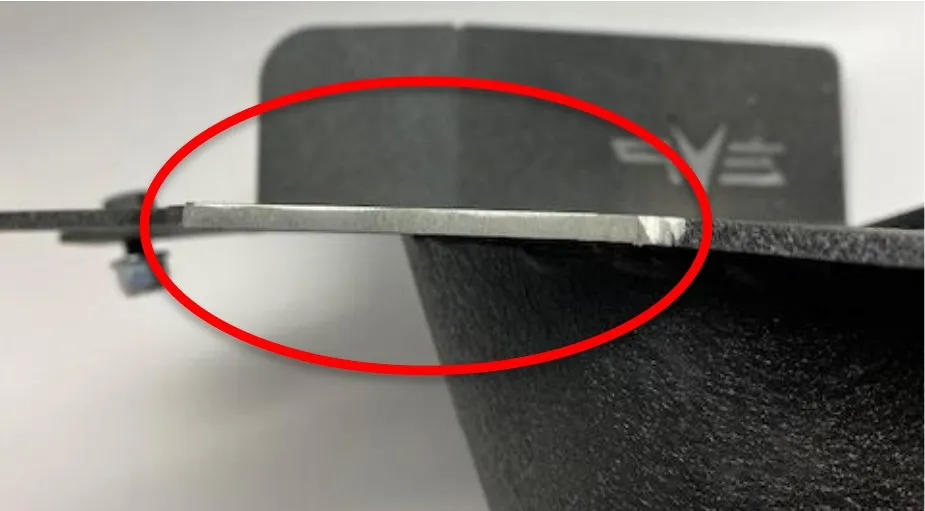
IF your car is 2020+ please follow this step. Take the EVP high flow intake housing, grind off 1/8” in the marked spot in figure 3-5.
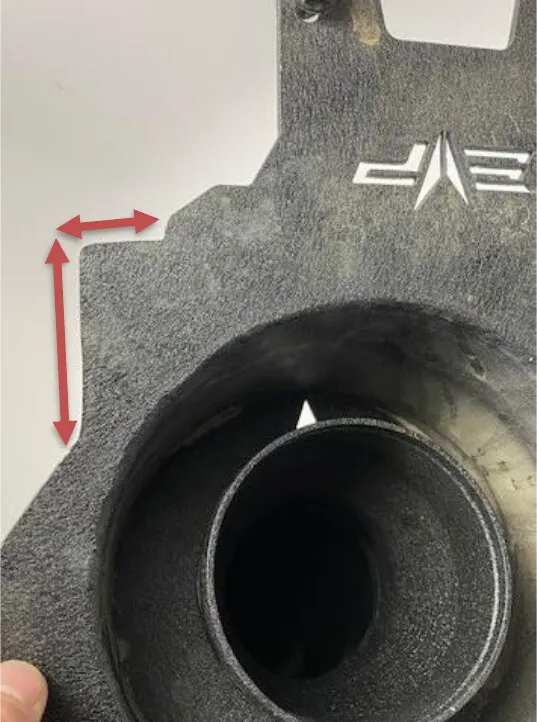
Fig. 3 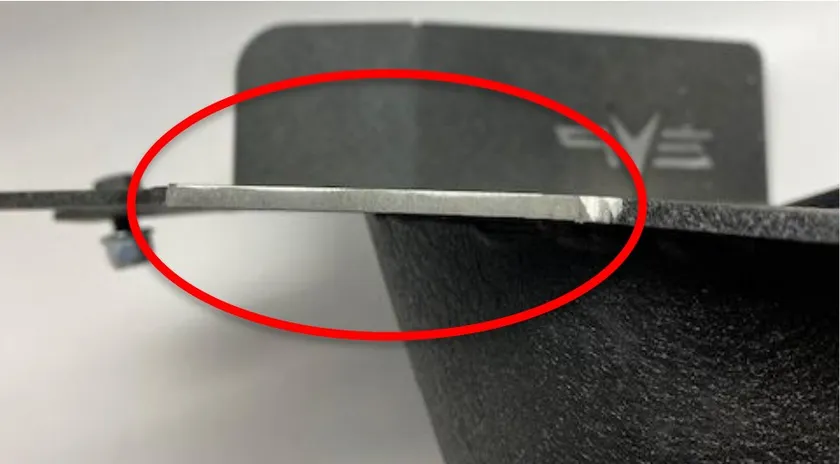
Fig. 4 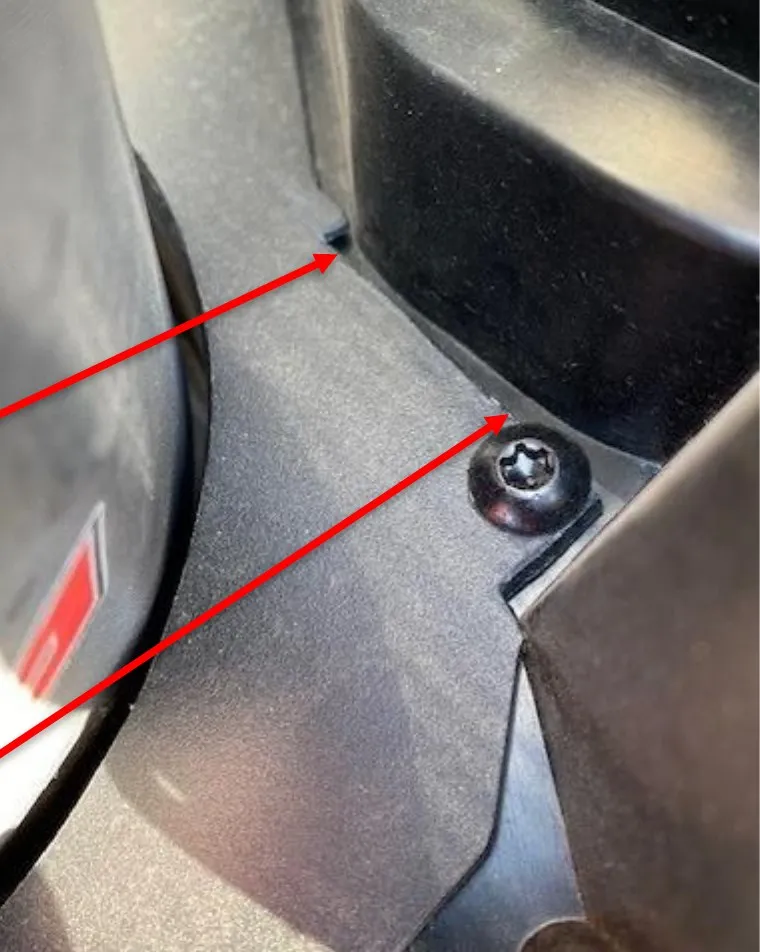
Fig. 5 Figure 5 shows the proper fitment on the 2020+ Can-Am Maverick EVP High Flow Air Intake. - Step 10
Install the new EVP high flow air intake housing reusing the OEM bolts.
- Step 11
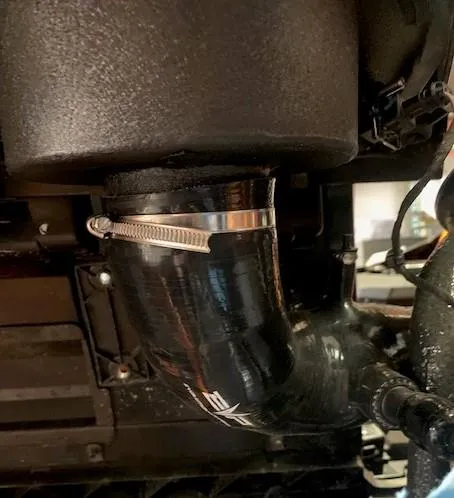
Install the 3/4" – 3/4" nylon hose adaptor into the silicone intake tube and the crankcase breather.
- Step 12
Install the silicone intake tube onto the turbo and the new intake housing using the supplied worm drive clamps.
- Step 13
Plug in the boost control valve to the wiring harness.
- Step 14
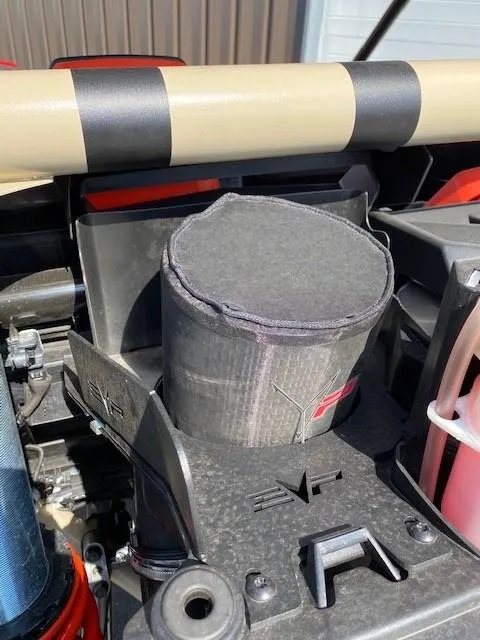
Install air filter with pre-filter and clamp in place.

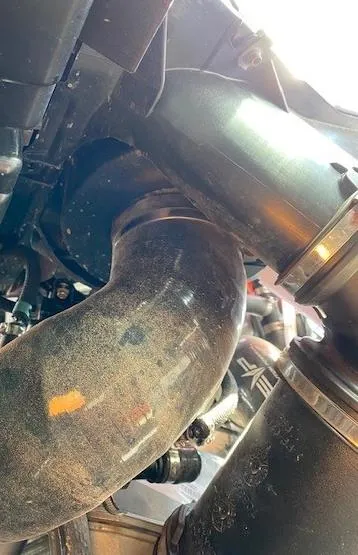
This modification will still allow you to use OEM clutch breather vent tube. (Figure 7)
Need technical support?
Submit a ticket with your vehicle and what you're seeing, and our support team will get back to you.
