 BUY NOW, PAY LATER. Starting at 0% APR


Can-Am Maverick R 3” Downpipe Bullet with Dynamic Muffler
Maverick R 3” Downpipe Bullet with Dynamic Muffler
In the box
Parts and tools
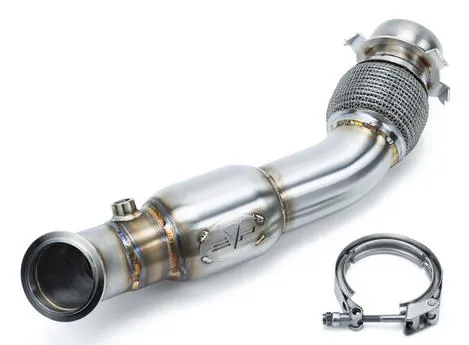

Included parts
- 13” Downpipe with Bullet
- 13” V-band Clamp
- 1Dynamic Muffler
- 1Set of Tips
Required tools
- Anti seize
- 10, 11, 13mm Socket
- 22mm Wrench
- Spring Tool
- Cleaning Supplies (Alcohol/Windex)
Procedure
Installation
- Step 1
Make sure the vehicle is cold and parked on a flat surface. You can remove the bed but it is not required.
- Step 2
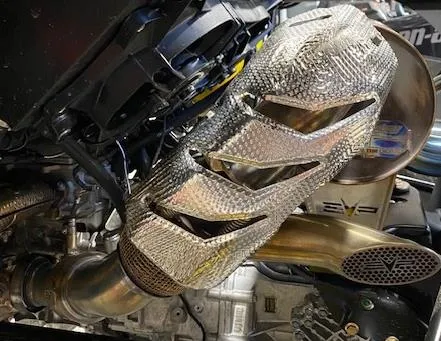
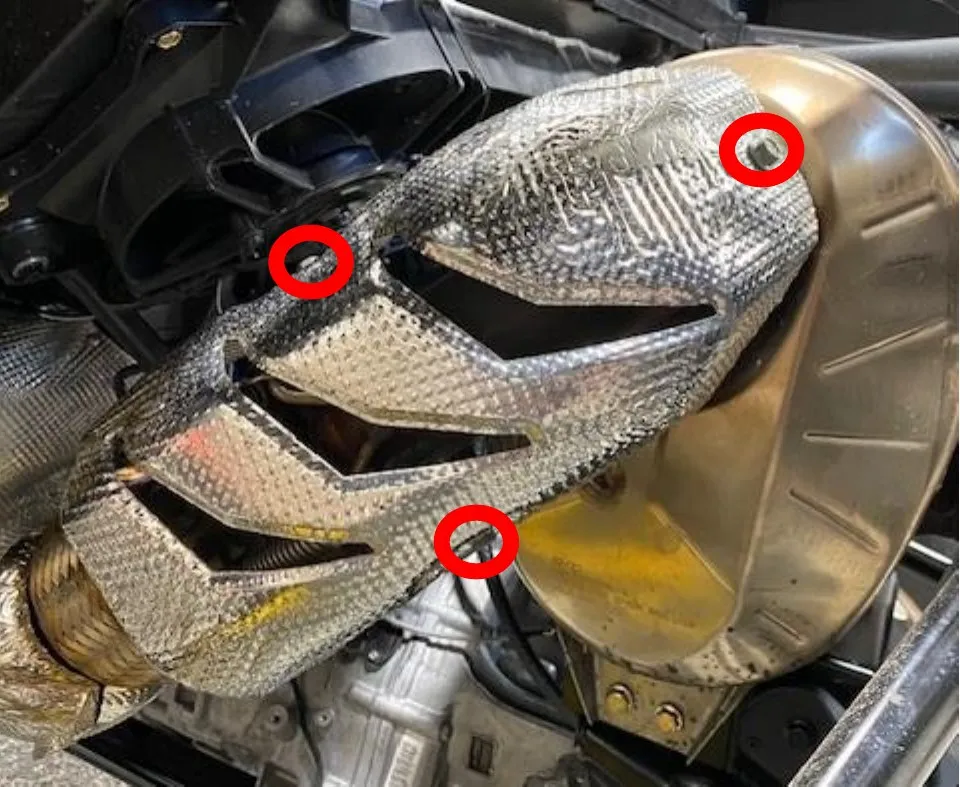
Remove the muffler joint heatshield by removing (3) 10mm screws.
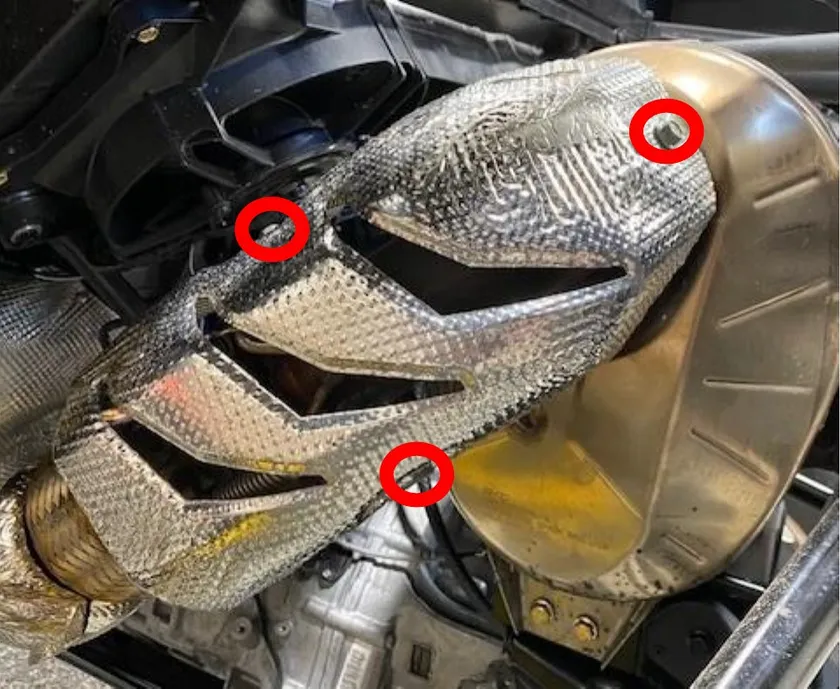
- Step 3
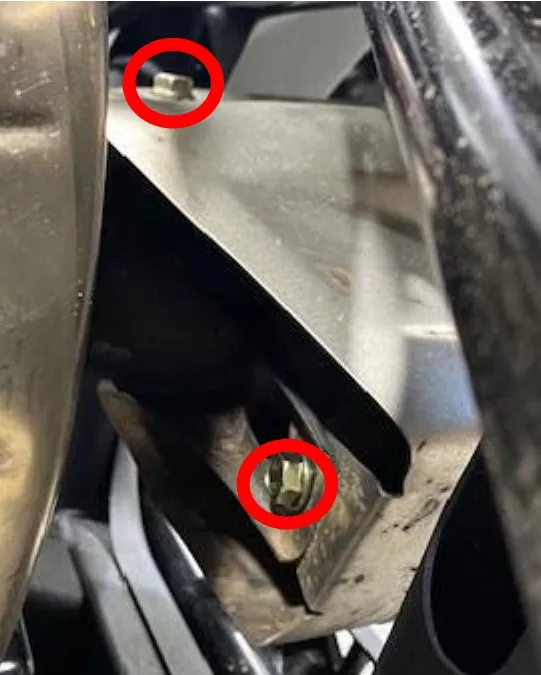
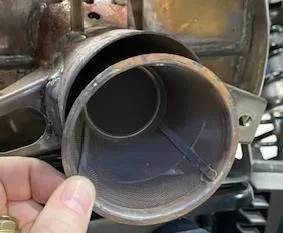
Remove the (3) 13mm screws holding the OEM tip on. Two are located on the sides and one located on top. Also remove the spark arrestor.
- Step 4
Remove (4) exhaust springs holding the muffler to downpipe. Keep these springs.
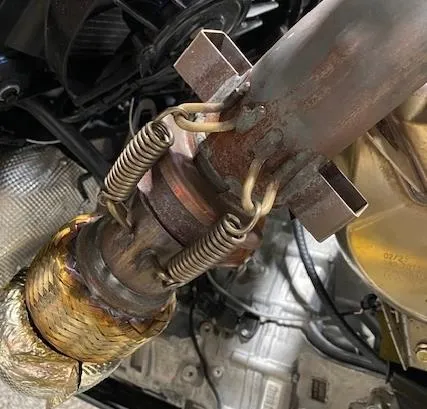
- Step 5
Remove (4) 13mm bolts with nuts. (2) of the 13mm bolts have anti vibration mounts. Keep these.
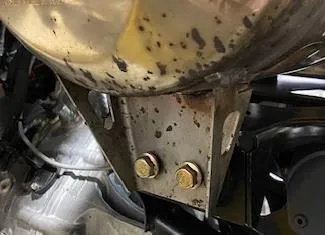
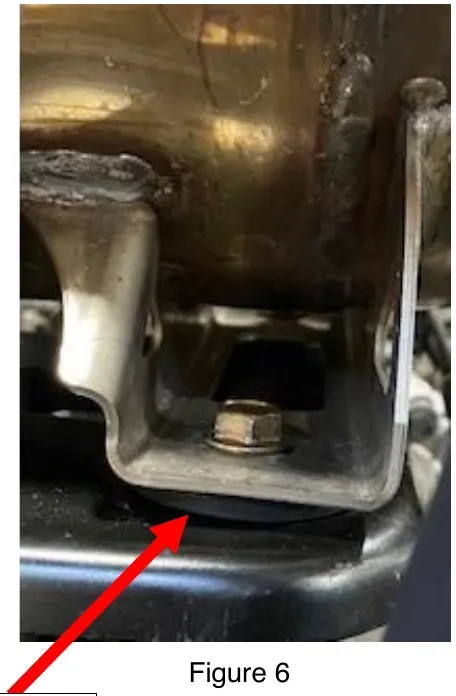
Anti-Vibration Mounts - Step 6
Remove the muffler from the rear-right side.
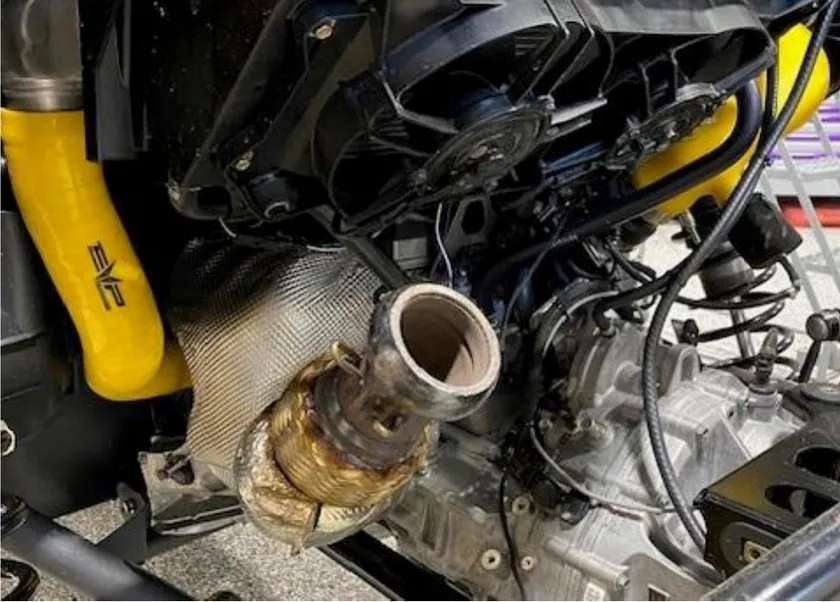
- Step 7
Loosen and remove the 02 sensor from the downpipe. Use a 22mm wrench. It works best to unplug the pigtail, don’t damage the wires.
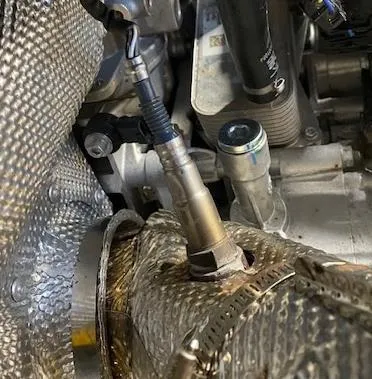
- Step 8
Remove the charge tube going from the turbocharger to intercooler. Use an 11mm socket or screwdriver.
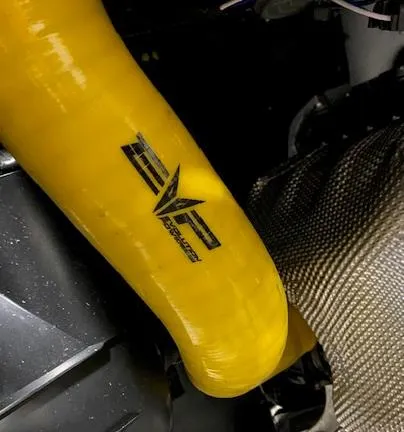
- Step 9
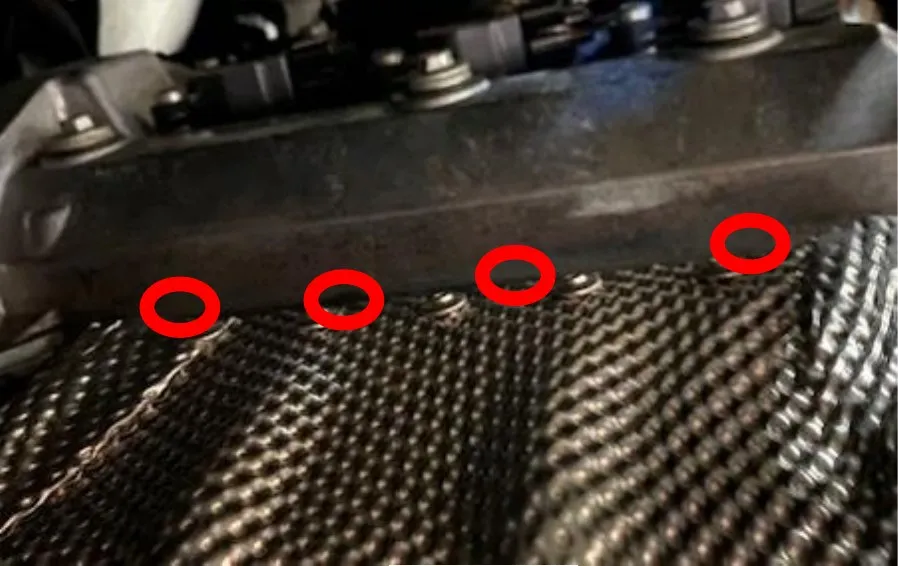
Remove the heat shields (2 part) around the turbocharger. 1 hose clamp, (2) 10mm screws underneath and (4) on top by the valve cover.
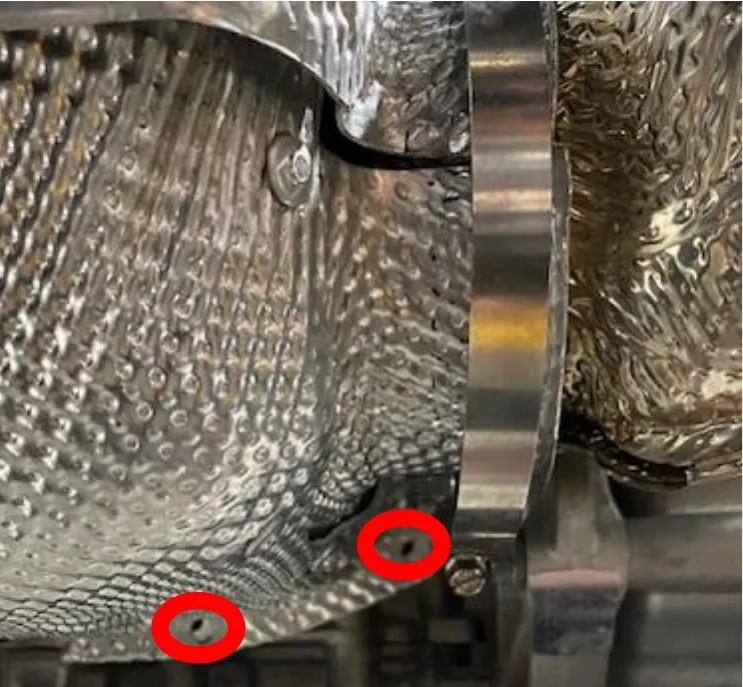
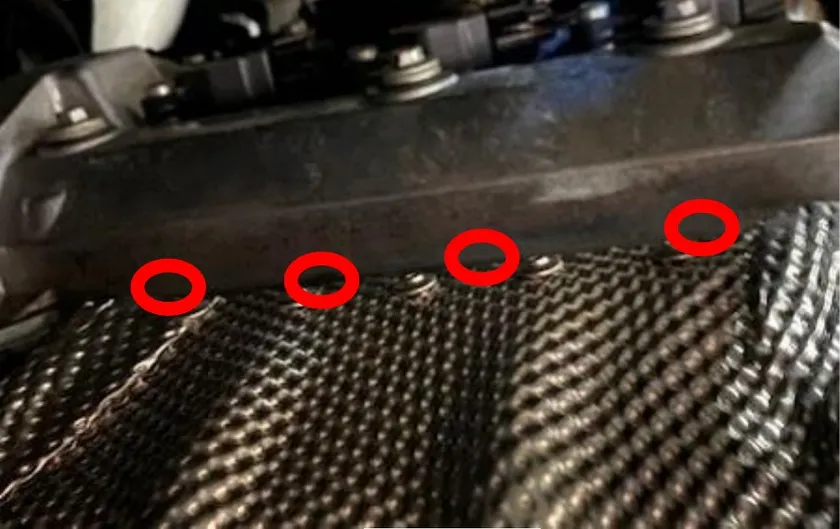
- Step 10
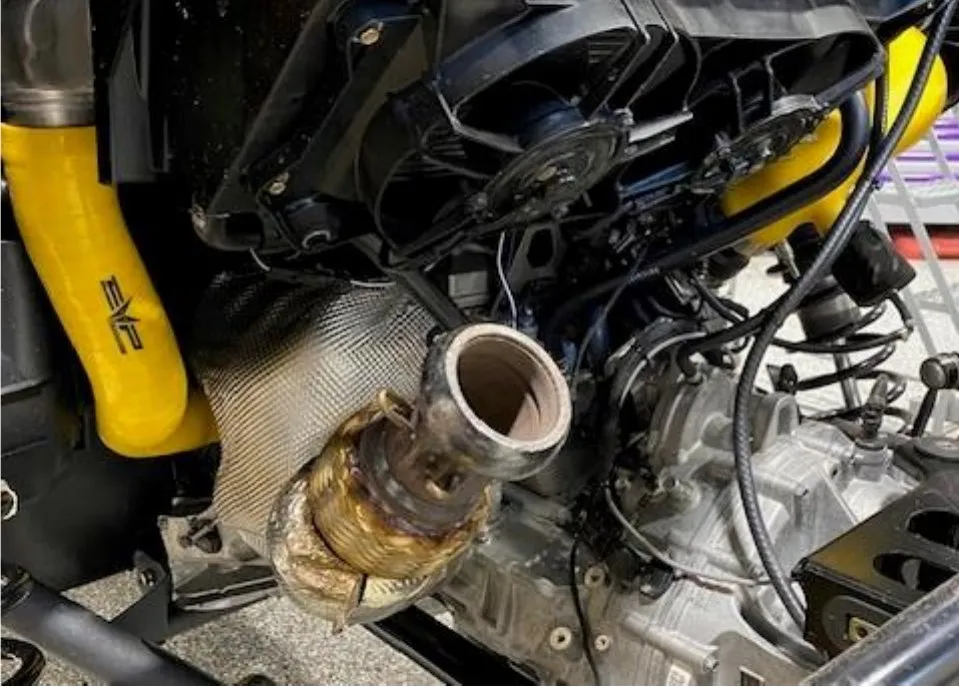
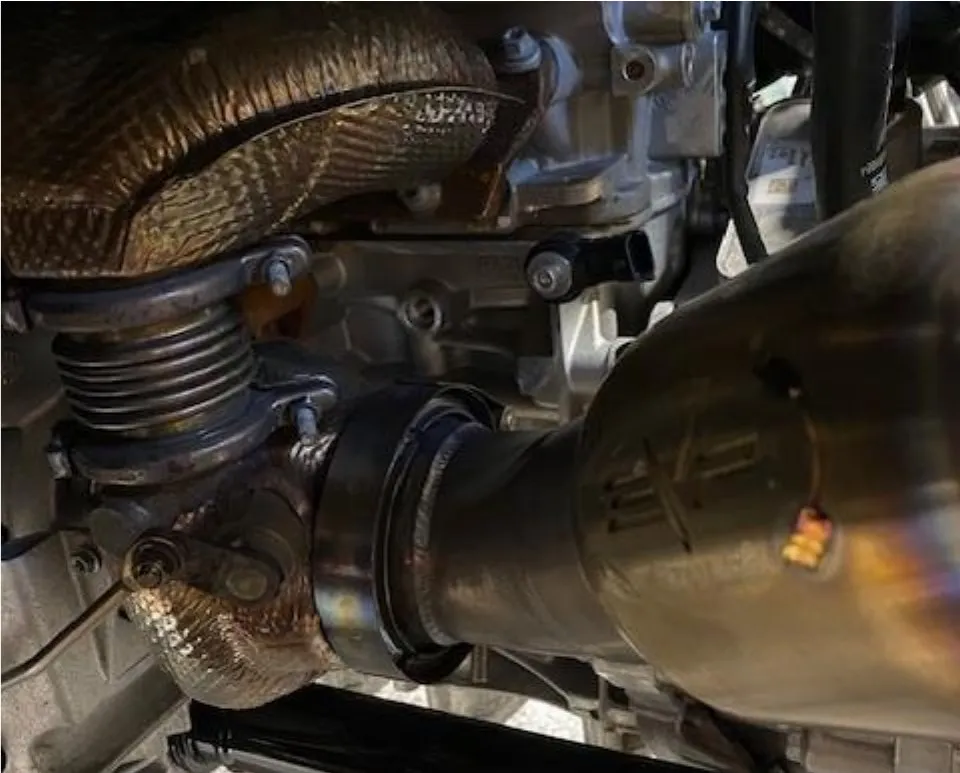
Remove the OEM V-Band clamp using an 11mm socket.
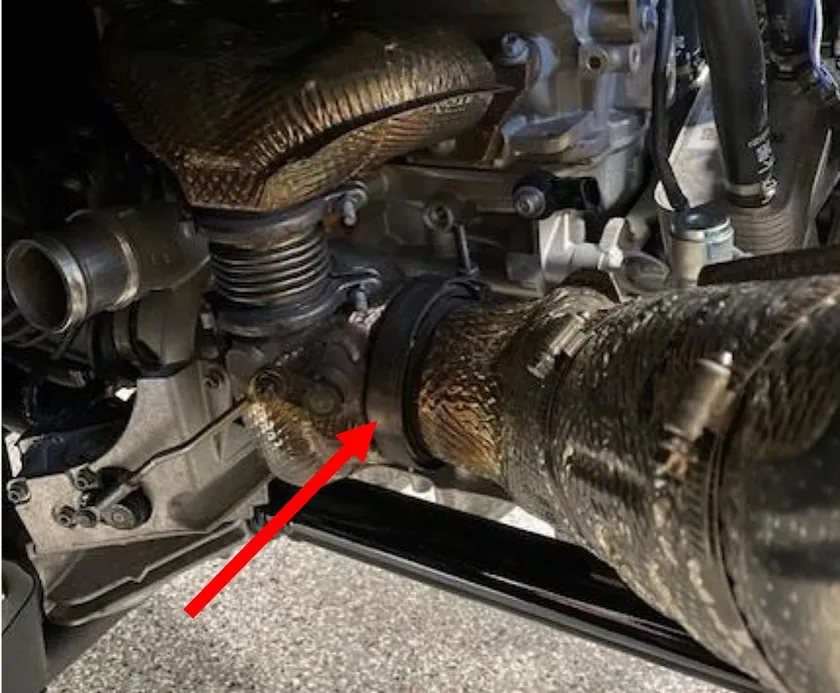
- Step 11
Install the new 3” downpipe or shocker onto the turbocharger, using supplied V-Band clamp. Keep it loose for now.
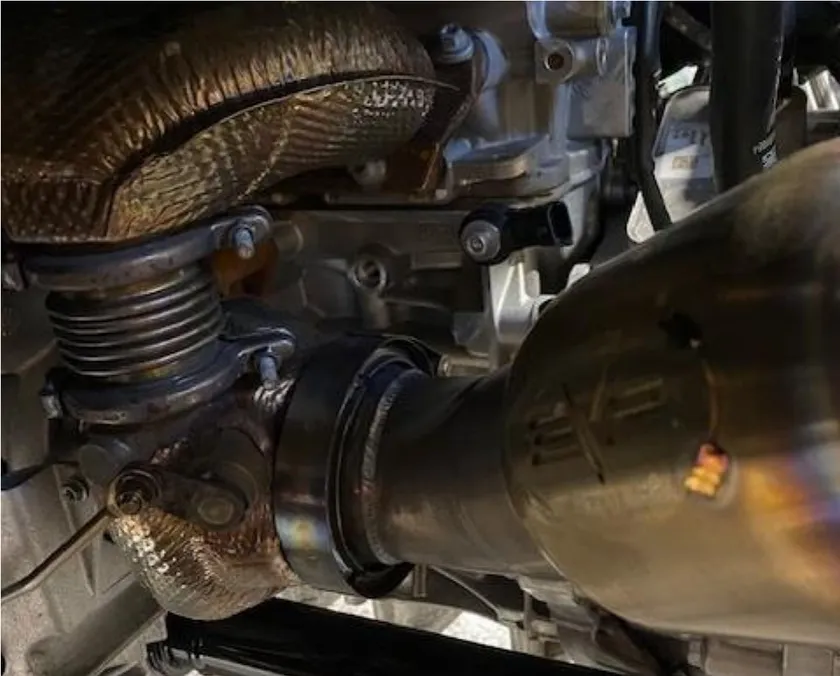
- Step 12
Install the new muffler from the right rear of the vehicle. Mount it to the OEM bracket. Reuse OEM hardware. Don’t tighten any bolts down yet.
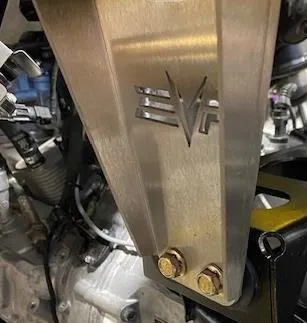
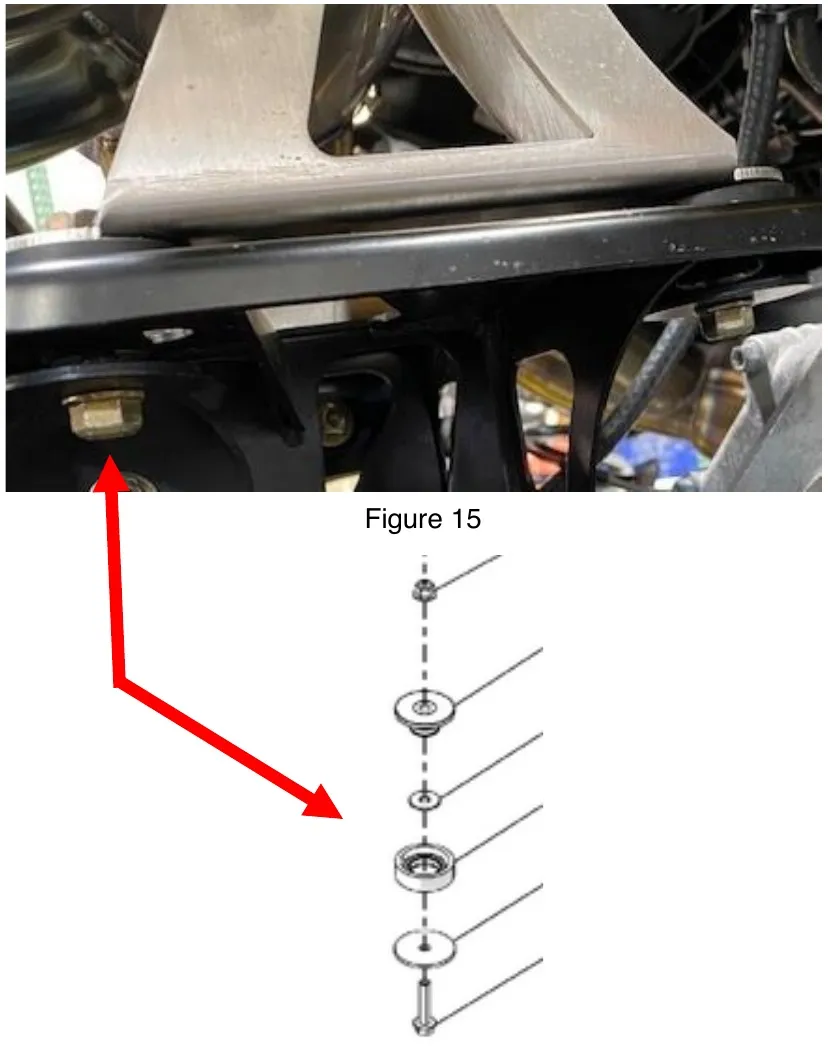
- Step 13
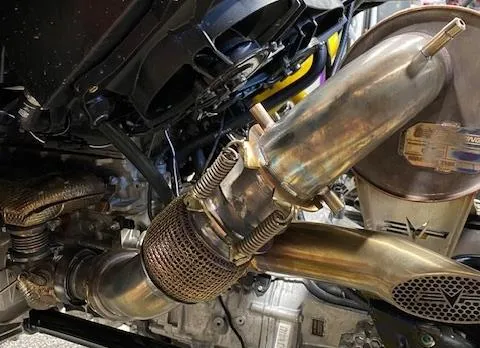
With everything mounted loosely, reinstall the (4) exhaust springs holding the downpipe and muffler joint together.
- Step 14
Tighten everything from the turbocharger V-Band clamp to muffler, do NOT overtighten the V-Band clamp.
- Step 15
The turbocharger heat shield can be reinstalled, if wanted.
- Step 16
Reinstall the charge tube going from the turbocharger to intercooler.
- Step 17
Apply anti seize on the threads of the 02 sensor, reinstall with 22mm wrench.
- Step 18
Wipe down the entire exhaust system in this sequence: brake cleaner, Windex, finished off with rubbing alcohol. This will remove all fingerprints during installation.
- Step 19
Install your set of tips onto the muffler, angle them however you want. Tighten down with supplied clamps, DON’T OVER TIGHTEN!
- Step 20
Reinstall the muffler jointer heat shield, using OEM hardware.

Need technical support?
Submit a ticket with your vehicle and what you're seeing, and our support team will get back to you.
