 BUY NOW, PAY LATER. Starting at 0% APR


Polaris 2018+ XP 1000 Ranger Shift-Tek Essential Clutch Kit
2018+ XP 1000 Ranger Shift-Tek Essential Clutch Kit
In the box
Parts and tools
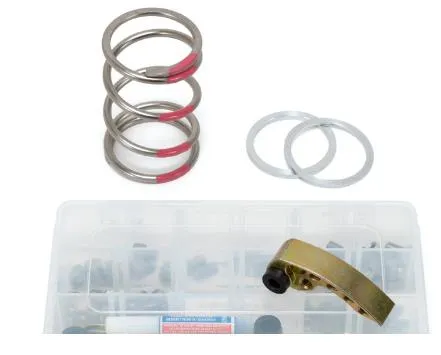
Included parts
- 1Silver/Pink Primary Spring
- 3Adjustable Primary Clutch Weights
- 1Variety of Different Weights
- 2Primary Spring Shim
Required tools
- 10mm & 17mm Socket
- Torque Wrench
- Blue Loctite
- Allen Wrenches
- Clutch Compressor Tool
Clutching Set Up 2 Seat (Stock 28” Tires)
| STOCK | STAGE 1 | STAGE 2 | |
|---|---|---|---|
| Stock Primary Spring Engagement | 2300 | 2300 | 2300 |
| Silver/Pink Spring Engagement | 1800 | 1800 | 1800 |
| Hole 1 | 2. 1/2” ss | 2. 1/2” ss | 2. 1/2” ss |
| Hole 2 | 2. 3/8"ss | 2. 3/8"ss | 2. 3/8"ss |
| Hole 3 | 2. 1/4"ss | 2. 1/4"ss | 2. 1/4"ss |
| Hole 4 | 0 | 2. 1/4"ss | 2. 1/4"ss |
| Hole 5 | 0 | 0 | 0 |
| Secondary Spring | stock | stock | stock |
| Helix | stock | stock | stock |
| Operating RPM | 6500-7000 | 7800-8000 | 7800-8000 |
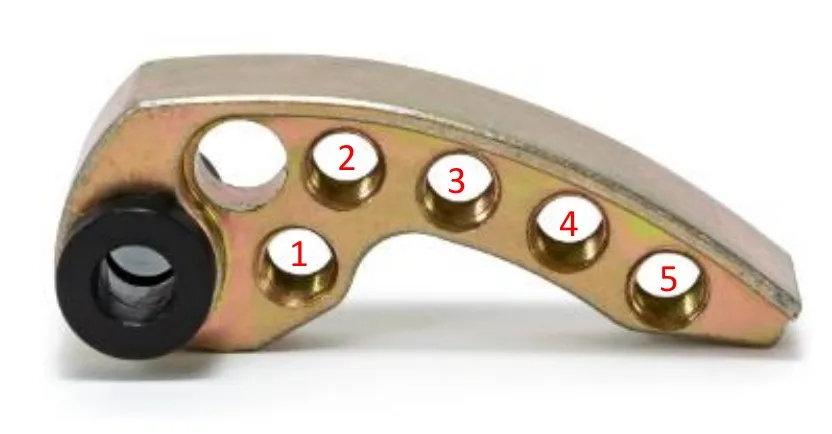
Always install a set screw on both sides of the weight arm. Install the screws with the provided blue thread locking agent. Make sure the screws are installed with an equal amount of thread engagement.
Clutching Set Up 4 Seat (Stock 28” Tires)
| STOCK | STAGE 1 | STAGE 2 | |
|---|---|---|---|
| Stock Primary Spring Engagement | 2300 | 2300 | 2300 |
| Silver/Pink Spring Engagement | 1800 | 1800 | 1800 |
| Hole 1 | 2. 1/2” ss | 2. 1/2” ss | 2. 1/2” ss |
| Hole 2 | 2. 3/8"ss | 2. 3/8"ss | 2. 3/8"ss |
| Hole 3 | 0 | 2. 1/4"ss | 2. 1/4"ss |
| Hole 4 | 0 | 0 | 0 |
| Hole 5 | 0 | 0 | 0 |
| Secondary Spring | stock | stock | stock |
| Helix | stock | stock | stock |
| Operating RPM | 6500-7000 | 7800-8000 | 7800-8000 |
Always install a set screw on both sides of the weight arm. Install the screws with the provided blue thread locking agent. Make sure the screws are installed with an equal amount of thread engagement.
Procedure
Installation
- Step 1
Remove the primary and secondary outer cover. Remove the drive belt. (Figure 1)
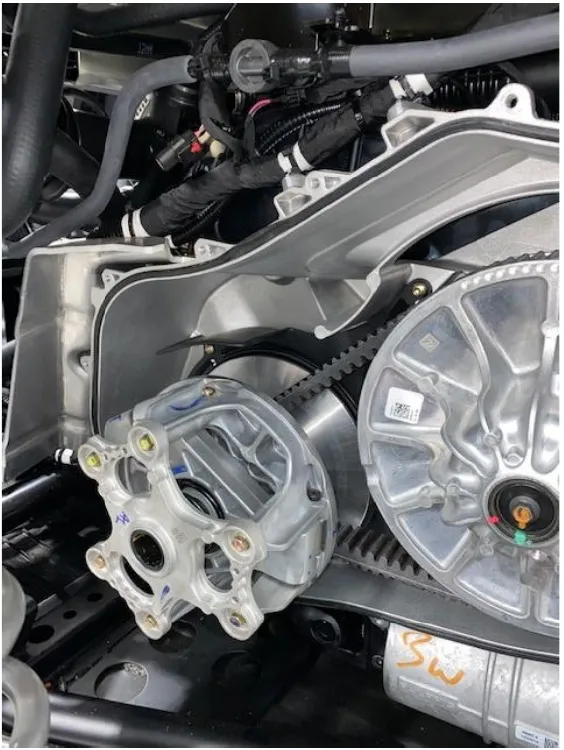
Figure 1 - Step 2
Loosen all (6) M6 primary clutch cover bolts with a 10mm socket. Only take (4) all the way out.
CautionApply pressure to the primary clutch cover when removing the last (2) bolts.
- Step 3
Remove the OEM spring. Next you will need a small Allen wrench and a 10mm socket to loosen the pins holding the OEM weights in. Perform this task one at a time.
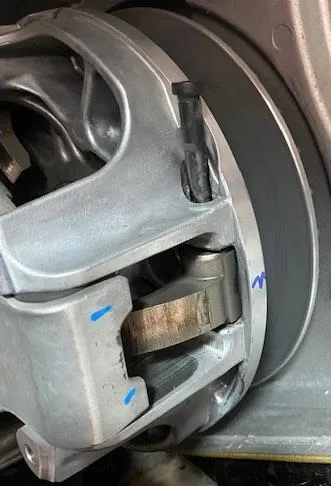
Figure 2 NoteHave your Adjustable Shift-Tek weights already collaborated to your ECU Stage. See chart above.
- Step 4
Tighten the pin holding the weights till it stops. DO NOT over tighten the pins. The weights should move freely with ease.
- Step 5
Place the EVP spring onto the primary clutch. Place the primary clutch cover onto the spring and compress. Torque the M6 bolts down to 100in-lbs (8.3 ft-lbs).
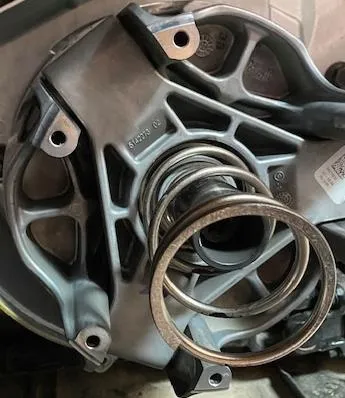
Figure 3
Need technical support?
Submit a ticket with your vehicle and what you're seeing, and our support team will get back to you.
