2014-2023 Sea Doo Spark Squirter Exhaust Kit

2014-2023 Sea Doo Spark Squirter Exhaust Kit

Category
Exhaust
Vehicles
Sea-Doo
Legacy SKU
903FS0103
Revision
REV_062524

In the box

Parts and tools

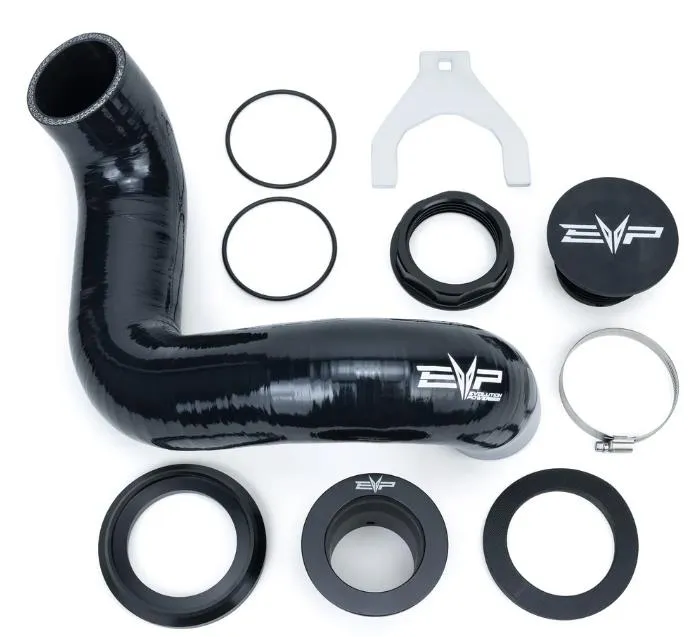
2014-2023 Sea Doo Spark Squirter Exhaust Kit

Included parts

  • 1Squirter Exhaust Silicone
  • 1Exhaust Outlet
  • 1Exhaust Trim Ring
  • 1Exhaust Nut
  • 1Hardware Kit

Required tools

  • T25 Socket
  • Rachet
  • Flat Head Screwdriver
  • 3.0” Whole Saw/ 1/8” Drill Bit
  • Drill

Procedure

Installation

  1. Step 1

    Remove the top deck, see “Hull Removal Instructions”.

  2. Step 2

    Drill out the rivet on the OEM exhaust nut. Use a 1/8” drill bit.
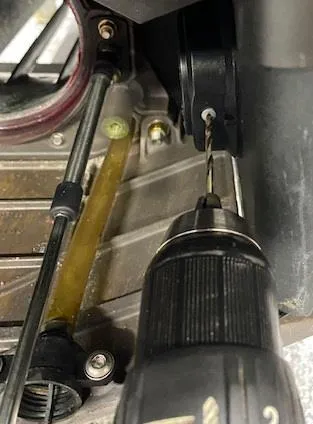
    Drill out the rivet on the OEM exhaust nut. Use a 1/8” drill bit.
  3. Step 3

    Use supplied exhaust nut wrench and loosen the exhaust nut.

    Use supplied exhaust nut wrench and loosen the exhaust nut.
  4. Step 4

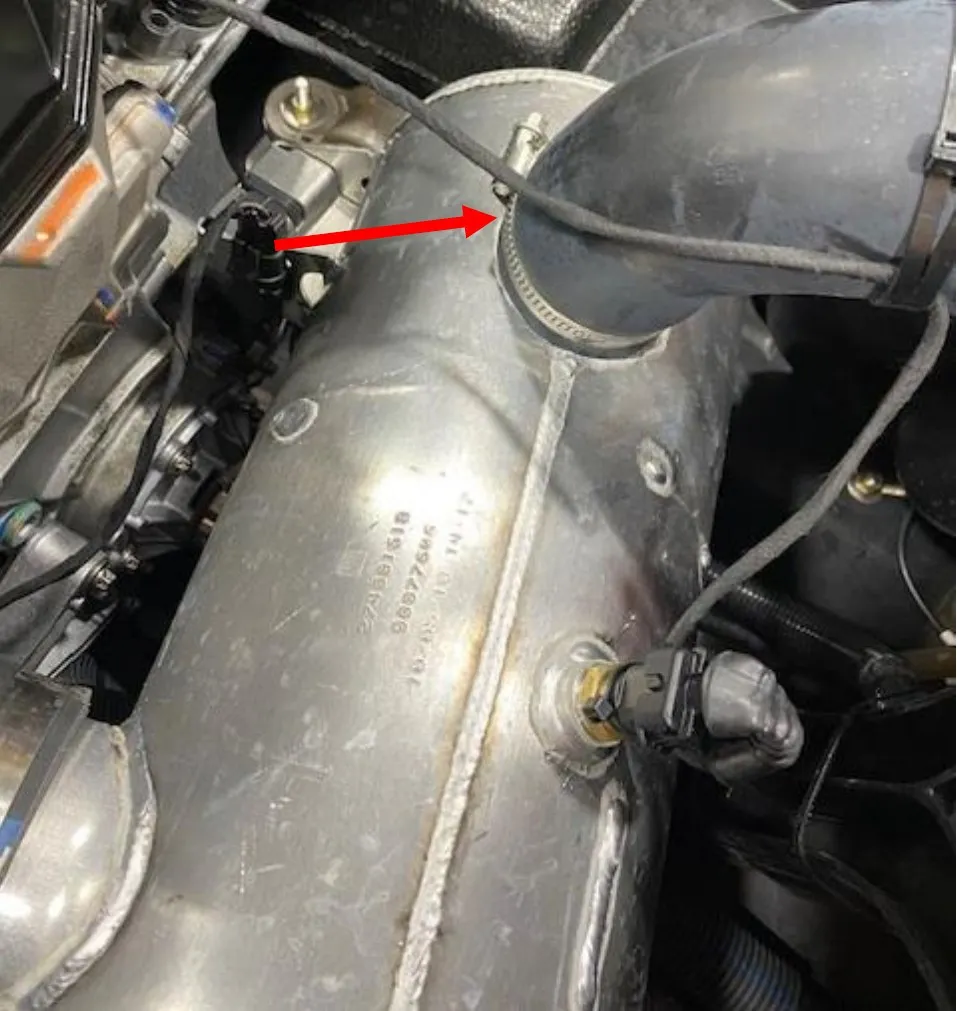
    Loosen the worm drive holding the “J” tube onto the waterbox.
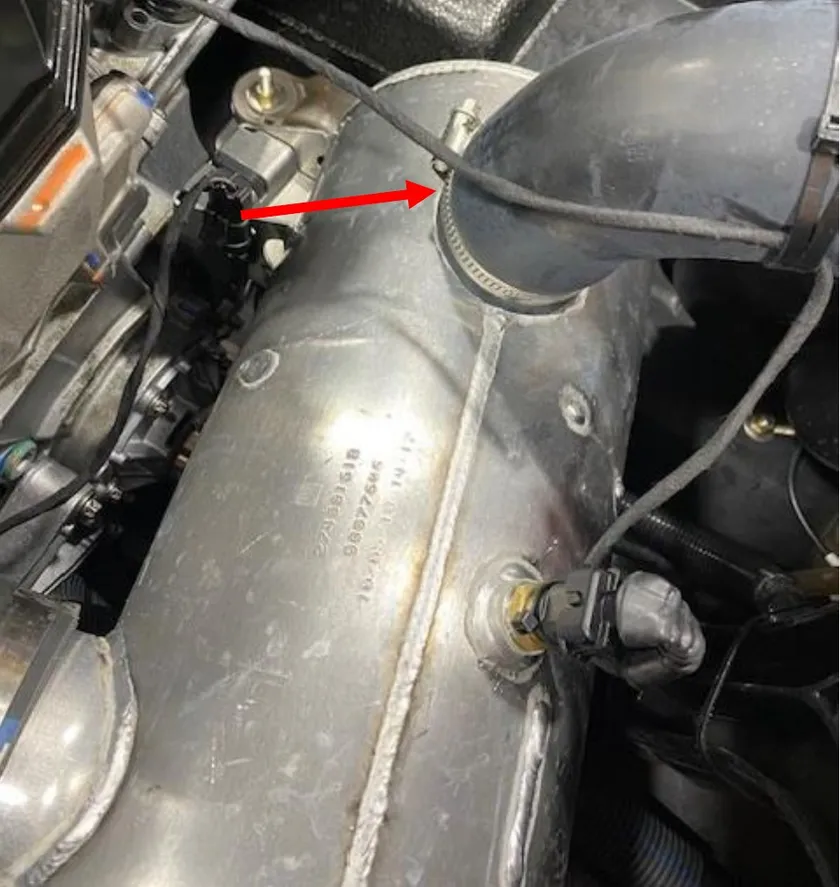
    Loosen the worm drive holding the “J” tube onto the waterbox.
  5. Step 5

    Remove the OEM muffler and “J” tube from the hull.
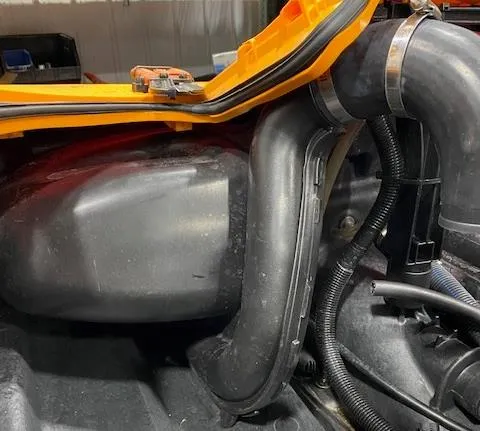
    Remove the OEM muffler and “J” tube from the hull.
  6. Step 6

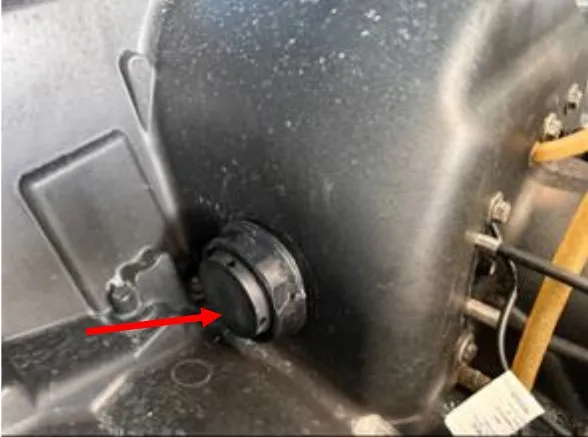
    Install (1) supplied O-ring onto the exhaust plug. Install the exhaust plug into the hull from the jet pump location. The threads should be on the inside of the hull. Reuse the OEM plastic nut. Torque with supplied nut wrench.
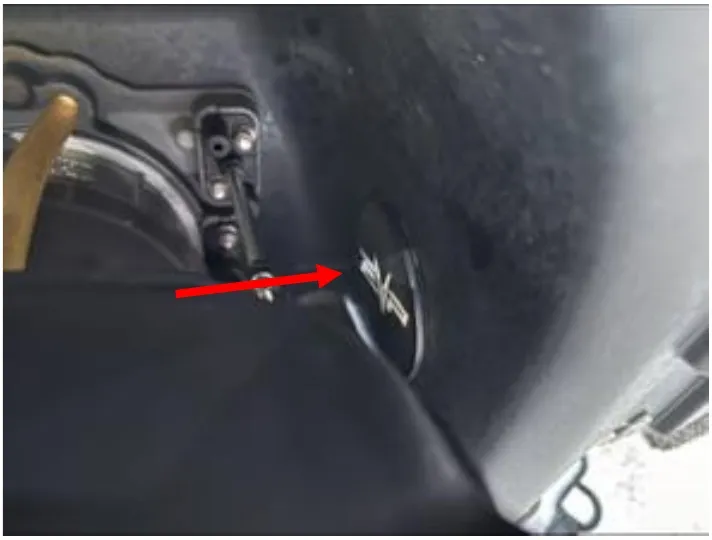
    Install (1) supplied O-ring onto the exhaust plug.
    Install the exhaust plug into the hull from the jet pump location.
  7. Step 7

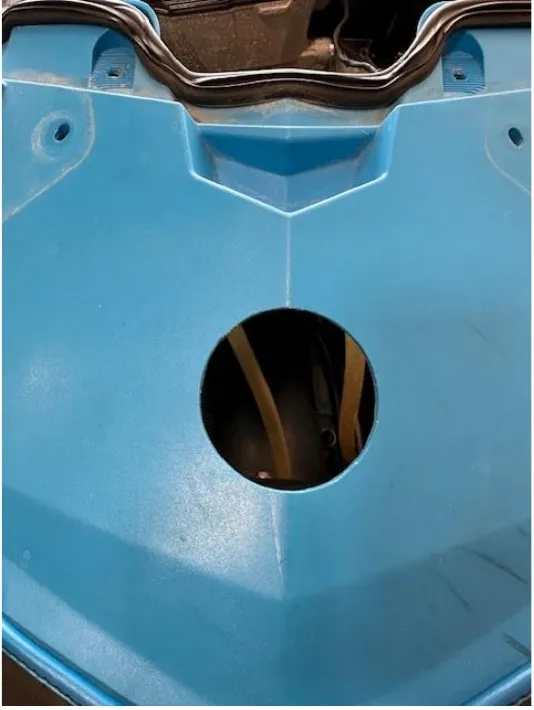
    Located on the rear transom will be a BRP logo. With a 3.0” whole saw, place the drill bit in the center of the BRP logo. Drill through the plastic.
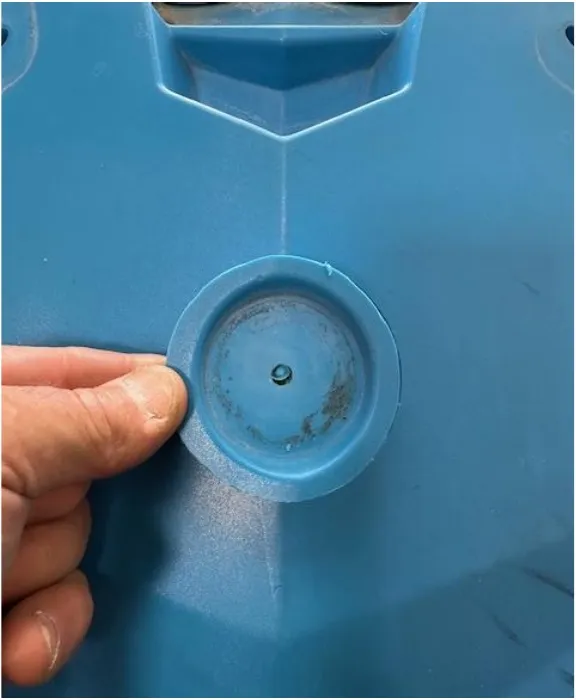
    Located on the rear transom will be a BRP logo.
    Drill through the plastic.
  8. Step 8

    Install the exhaust outlet as shown.
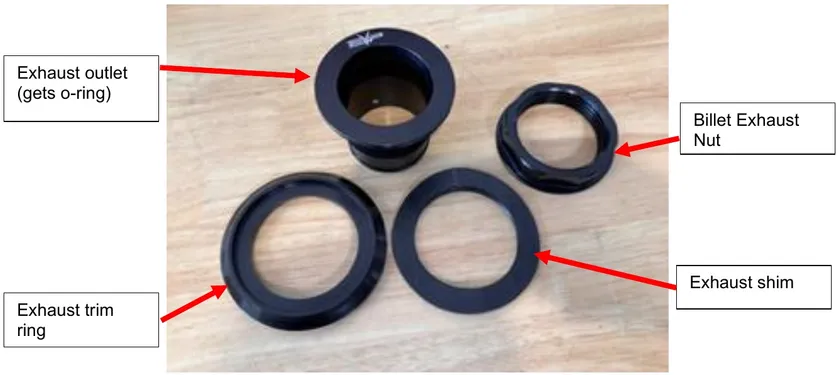
    Install the exhaust outlet as shown.
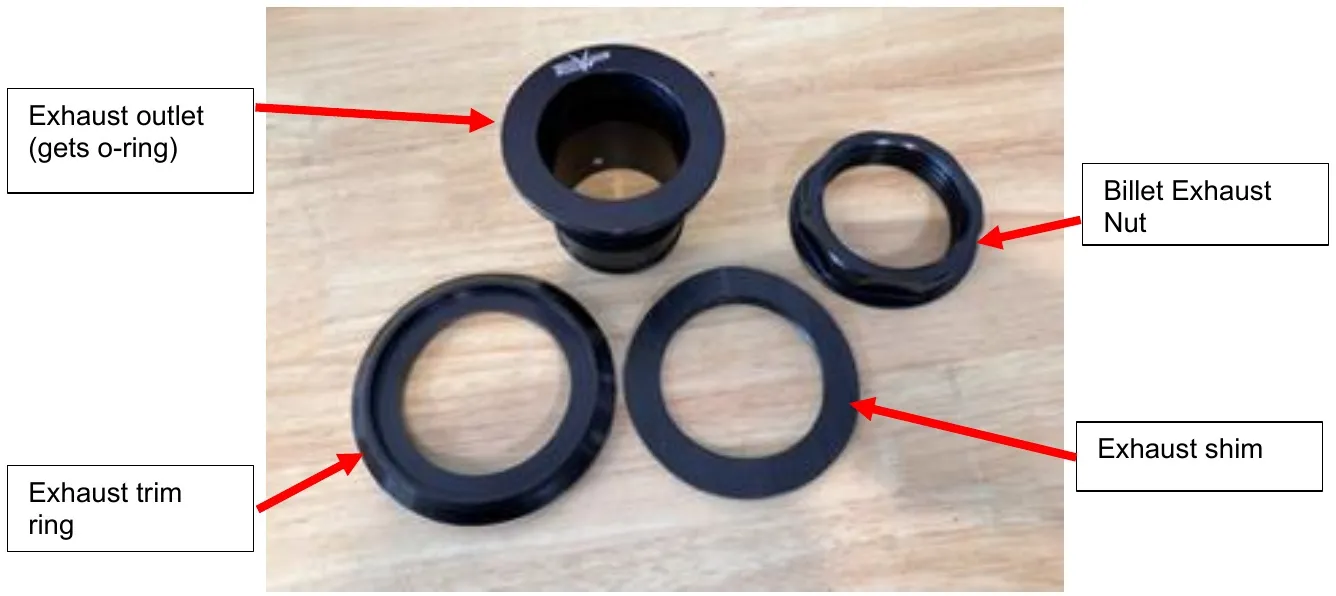
    Exhaust outlet (gets o-ring)
  9. Step 9

    Install supplied O-ring onto the exhaust outlet. Install into the hull as shown. Exhaust trim ring on the outside of the hull. Insert the exhaust outlet inside the trim ring (threads will be inside the hull. Underneath the hull will be the exhaust shim followed by the billet exhaust nut. Torque with supplied wrench.

    Install supplied O-ring onto the exhaust outlet.
  10. Step 10

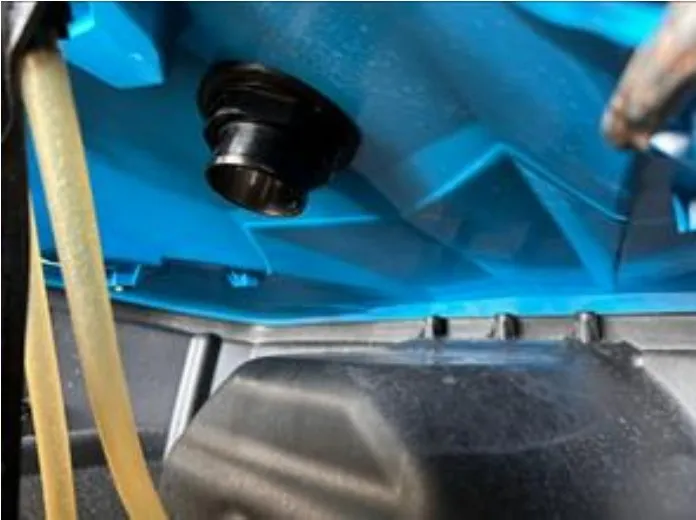
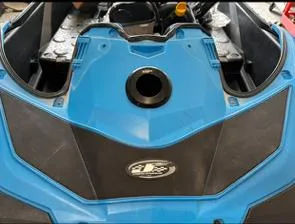
    Installed photos below.

    Installed photos below.
    Installed photos below.
  11. Step 11

    Install the squirter exhaust tube from the waterbox to the exhaust outlet. Reuse the OEM worm drive clamp on the waterbox side. Use supplied worm drive on the exhaust outlet side.The EVP logo will be closest to the waterbox.
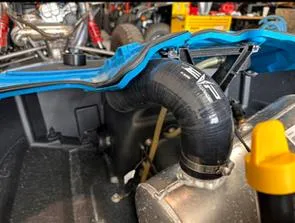
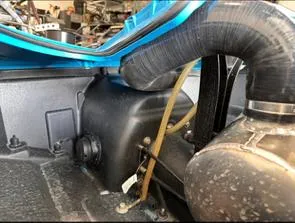
    Install the squirter exhaust tube from the waterbox to the exhaust outlet.
    Install the squirter exhaust tube from the waterbox to the exhaust outlet.
Emissions notice. This product is exempt from the emission standards and related requirements of 40 C.F.R. § 1051 as provided by 40 C.F.R. § 1051.620, and California law [e.g., vehicle code §§ 27156 and 38391]. This product is sold only for use in connection with EPA certified, purpose-built, nonroad vehicles used solely for closed course, nonroad competition/racing and not used for any recreational purpose or on public highways or right of ways maintained by and open to the public. This product is sold only in connection with machines that do not fall under state and/or federal noise or emission standards/regulations. Purchasers who/that purchase this product represent and warrant that the product is purchased only in connection with EPA-certified, emission-regulations-exempt and noise-regulations-exempt competition/racing vehicles as interpreted under applicable state and/or federal law.

Need technical support?

Submit a ticket with your vehicle and what you're seeing, and our support team will get back to you.

Contact Support
We use cookies to improve your experience on our website. Read about how we use cookies in our Privacy Policy. By browsing this website, you agree to our use of cookies. privacy policy
accept

Your cart

×
×