 BUY NOW, PAY LATER. Starting at 0% APR


Polaris Pro XP Catch Can
Installation instructions for the Pro XP Catch Can on the Polaris Pro XP (RZR) (SKU 803FP0005). Parts, tools, and full procedure.
Before you start
When running 110 and E85 Fuel, please make sure to change your oil frequently. Oil level on the dipstick should be on or slightly above the full mark.
In the box
Parts and tools
Included parts
- 1EVP Catch Can
- 1EVP Oil Cap
- 11” 90-Degree Hose Fitting
- 116” 3/4" Hose
- 130” 3/4" Hose
- 13/4” to 3/4" Hose Barb
- 320-32mm Worm Drive
- 427.1mm Pinch Clamps
- 11/4” Grommet
- 114.5 pinch clamp
- 11/4” 90-Degree Fitting
- 11” rubber block off
Required tools
- 7mm Socket
- 8mm Socket
- 6mm Allen Wrench
- Side Cutters
- 3/8” Drill Bit
Procedure
Installation Steps
- Step 1
Remove the crank case vent line from the v-flow.
- Step 2
Install the 1” 90-degree elbow with the rubber cap in place of the crank case vent line. Use (2) 32-30 worm drives to secure them on.
- Step 3
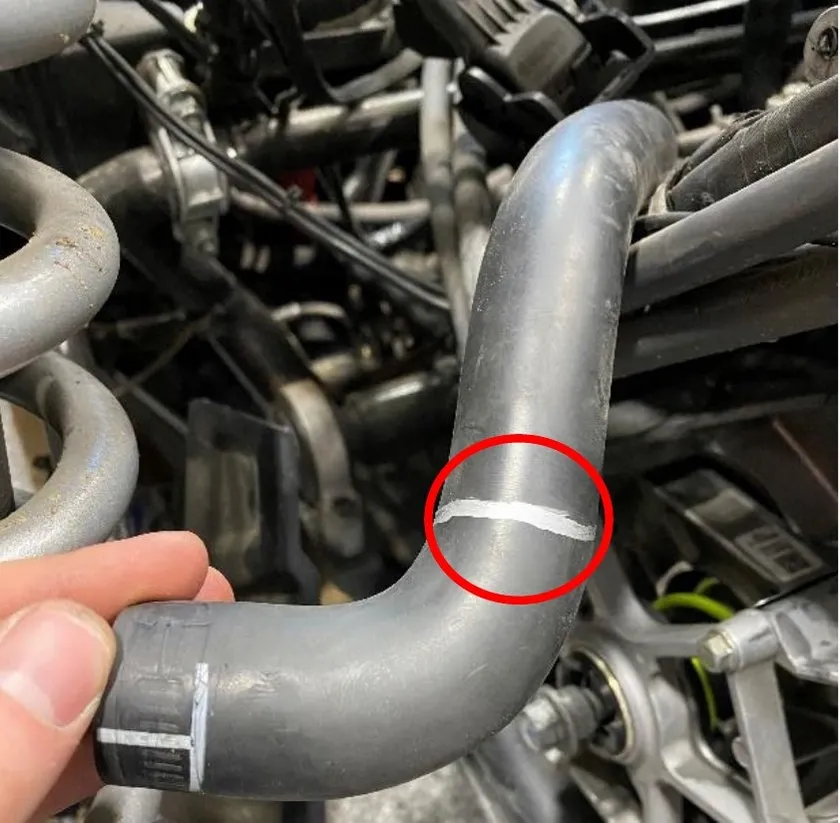
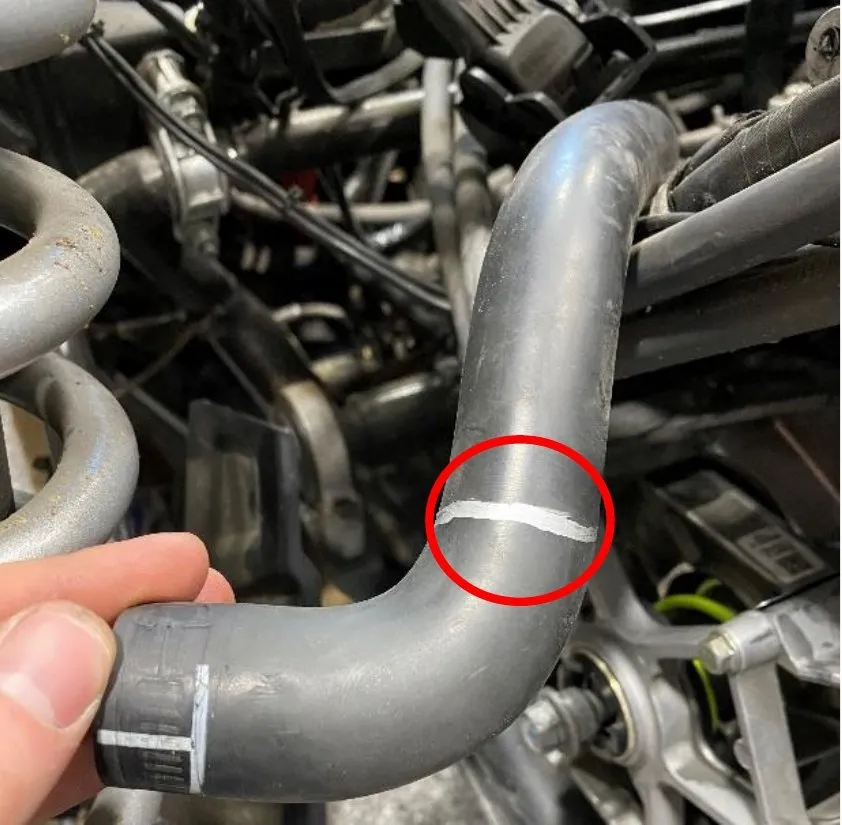
On the end of the crankcase vent hose that was disconnected, cut the 1” 90-degree off. You want the hose down to a straight 3/4". Mark it with a silver sharpie. (See figure 3)
- Step 4
Remove the transmission vent line, located on the rear frame.
- Step 5
Install the EVP catch can on the rear frame rail. (See figure 2.)
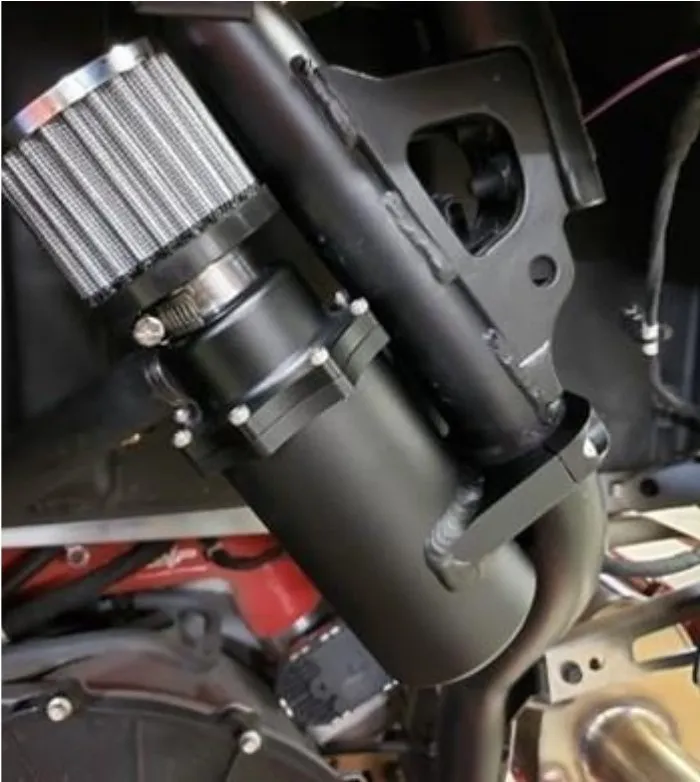
Fig. 2 - Step 6
Install the provided 16” piece of hose to the catch can and run it toward the front.
- Step 7
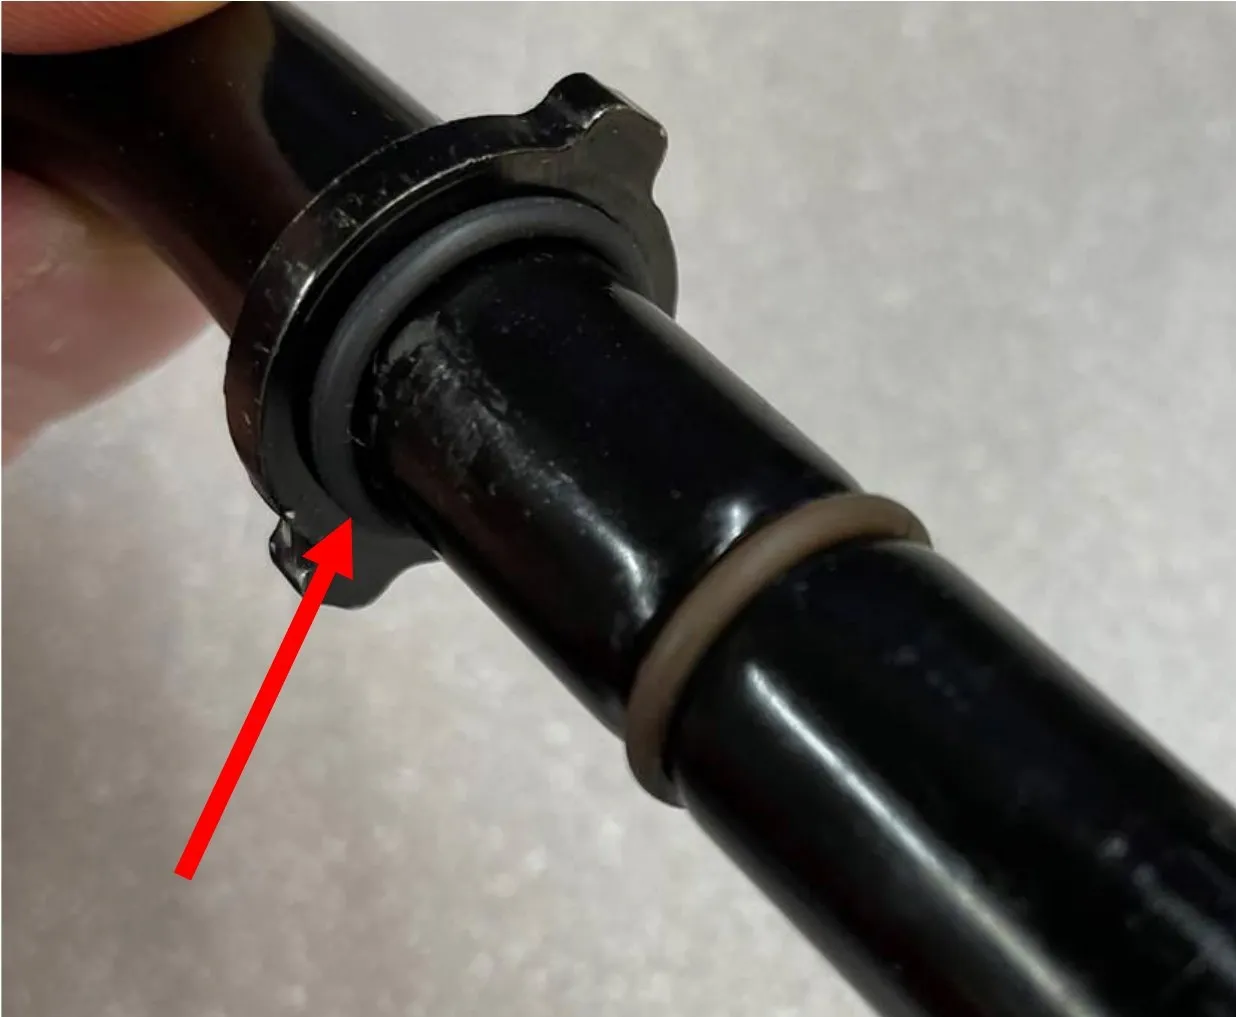
Install the EVP oil cap, reusing the O-ring off the stock oil cap. (See figure 3)
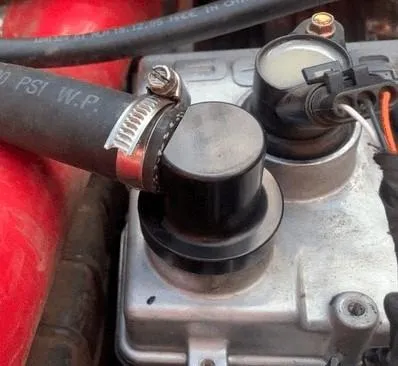
Fig. 3 - Step 8
Using the 30” section of hose, connect it to the new oil cap and then route it to the catch can. (See figure 4.) Remove the fastener that is holding the transmission vent line. Use a 3/8in. drill bit to enlarge the hole to install the rubber grommet.
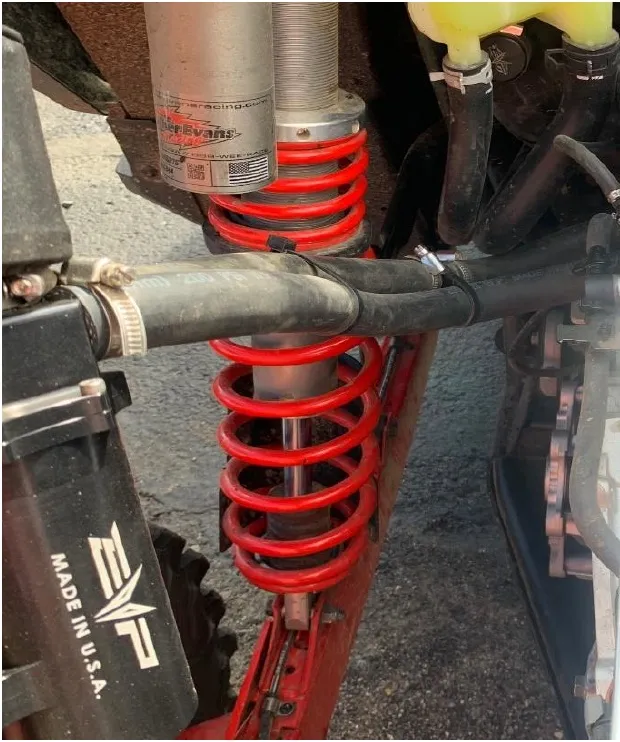
Fig. 4 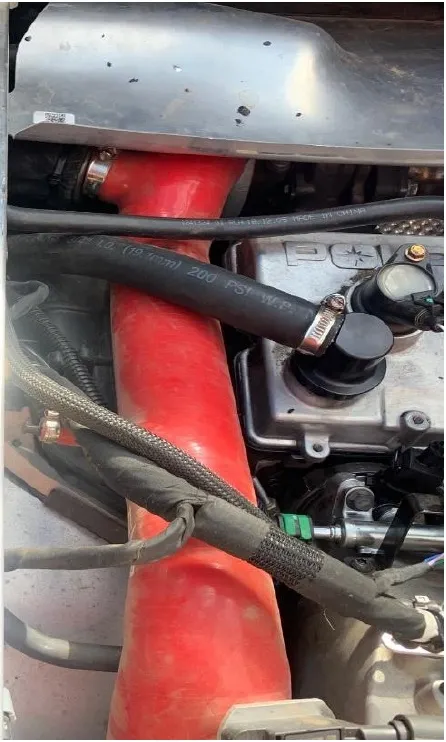
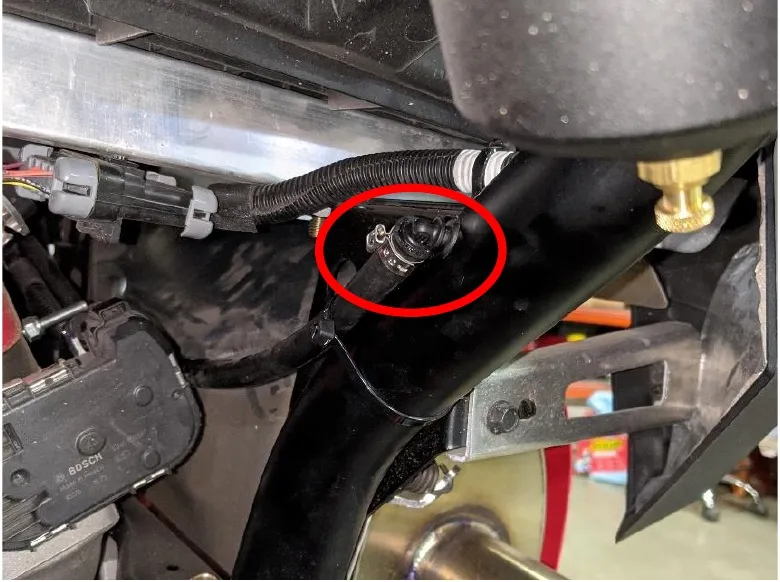
Fig. 5 - Step 9
Cut the vent line so that the 90-degree hose barb will connect to the transmission vent line and connect into the gromet. (See figure 5.)
- Step 10
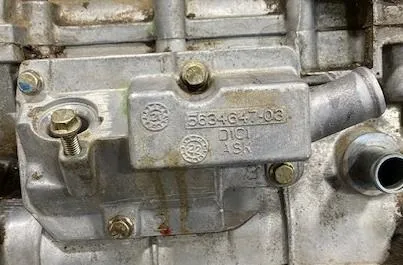
Located through the turbocharger access panel, underneath the turbocharger you will find the OEM crankcase block. If the engine is dirty, spray the area with brake cleaner or compressed air. Make sure your engine is cold prior to this.
- Step 11
Remove the oil dip stick screw and “C” clamp using an 8mm socket. Remove dip stick tube and O-ring.
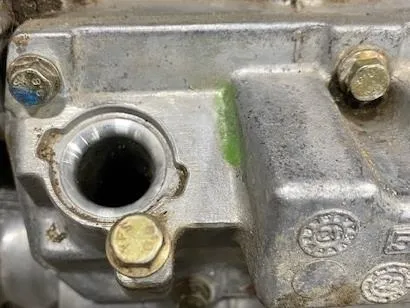
- Step 12
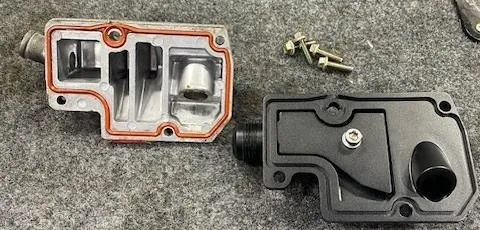
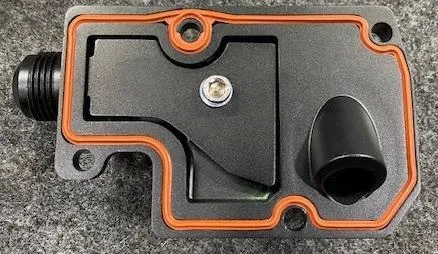
Remove the (4) crank case manifold screws using a 8mm socket. Remove the orange gasket and lay it in the new crank case manifold block. You can use some dielectric grease.
 Note
If running E85 this gasket will grow, let it sit for 12 hours and it will shrink back to normal size.
- Step 13
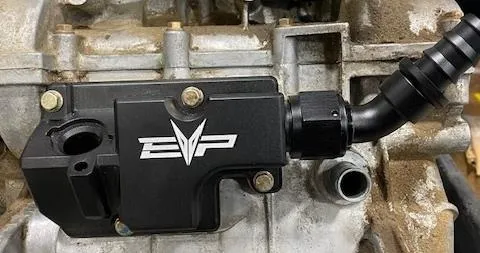
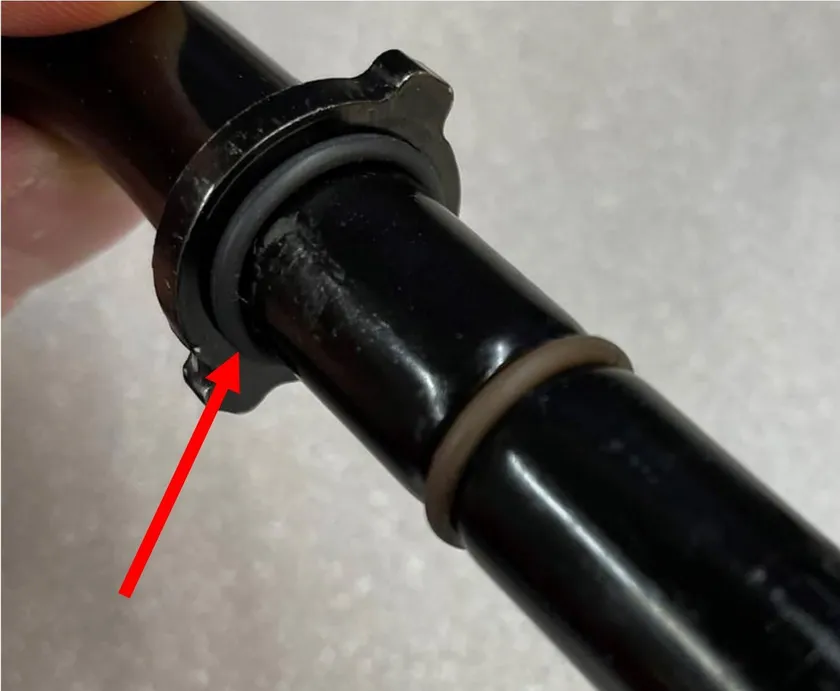
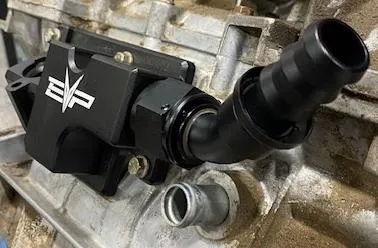
Install the new crank case manifold block, torque all (4) fasteners to 10 ft-lb. Reinstall the oil dip stick tube, install supplied 5/8 ID- 3/4 OD O-ring under the lip, making sure the O-ring is clean of debris. Install the -12AN fitting making sure the 45-degree barb is facing upwards at the 2-O’clock position.
- Step 14
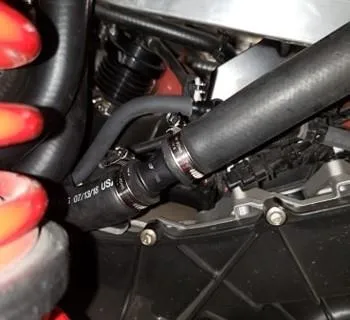
Take the crank case vent line and cut it off 1” below the 90 degree bend and bring it to the back and use the 3/4 to 3/4 hose fitting and connect the lines using the 30.1mm pinch clamps. (See figure 2.)
Need technical support?
Submit a ticket with your vehicle and what you're seeing, and our support team will get back to you.
