 BUY NOW, PAY LATER. Starting at 0% APR


Can-Am X3 Replacement Fuel Pump, Grams 265LPH
Installation instructions for the X3 Replacement Fuel Pump, Grams 265LPH on the Can-Am Maverick X3 (SKU 500FC0003). Parts, tools, and full procedure.
Before you start
It is best to syphon all fuel out of the tank prior to starting this job.
The fuel pump relay harness must be installed prior to powering up the dash or starting the vehicle–failure to do so will damage your ECU.
Procedure
Installation
- Step 1
Remove plastics covering fuel tank. See picture below for location
- Step 2
Unplug electrical connector going into the top of the pump.
- Step 3
Unhook fuel hose by removing the red clip from the connection. Then push down on the fitting while pushing in on the back side of the fitting – then lift the fitting off the pump assembly.
- Step 4
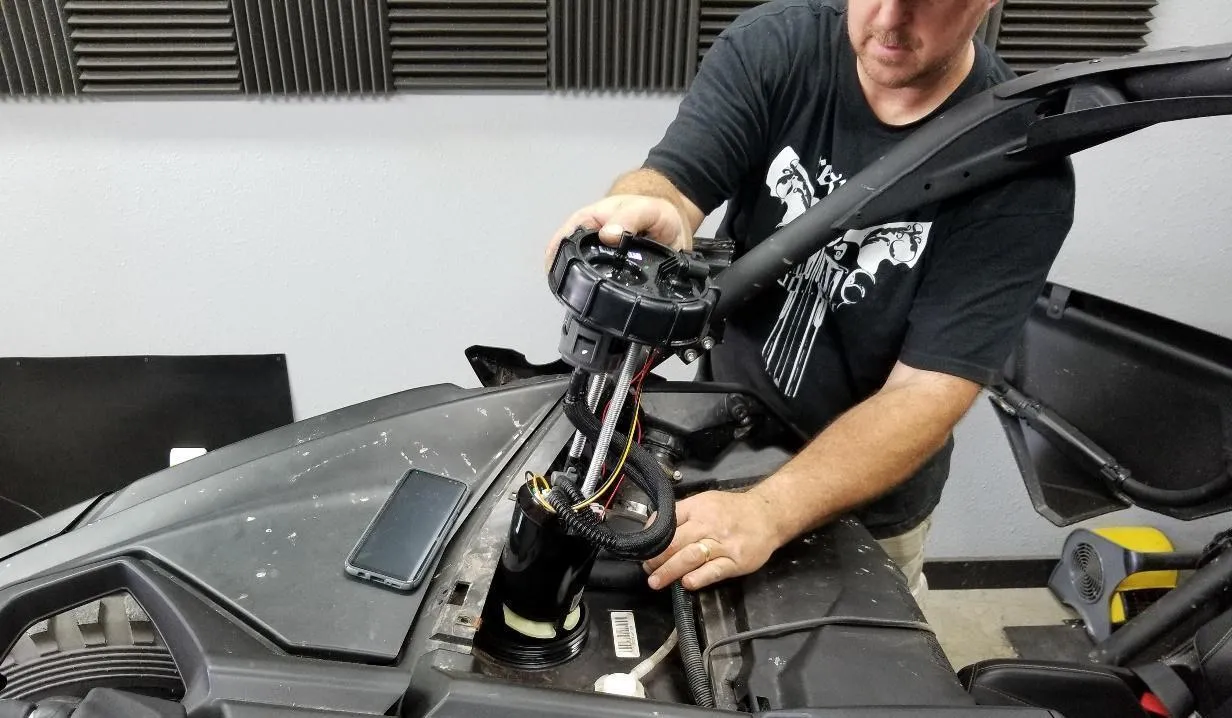
Rotate pump assembly cap counterclockwise and remove. Remove assembly. (see the pictures for clarification)
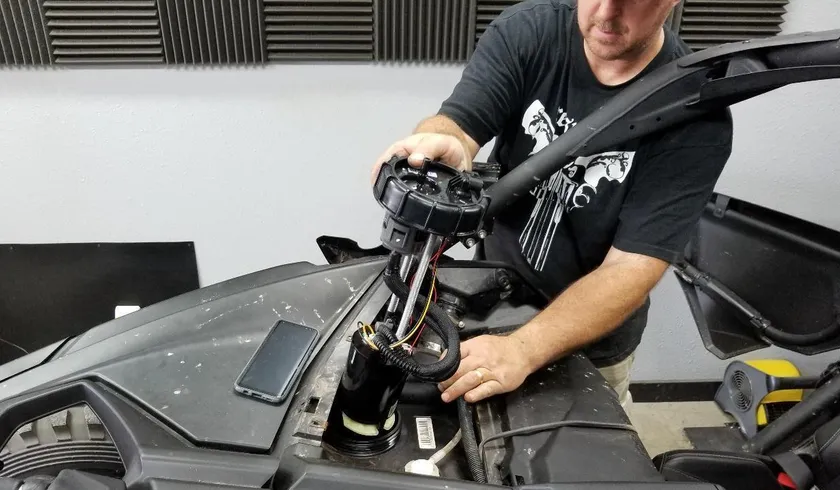
- Step 5
With the fuel pump on a workbench and the fuel drained out of the pump assembly, press in on the tabs to release the housing covering the tank.

- Step 6
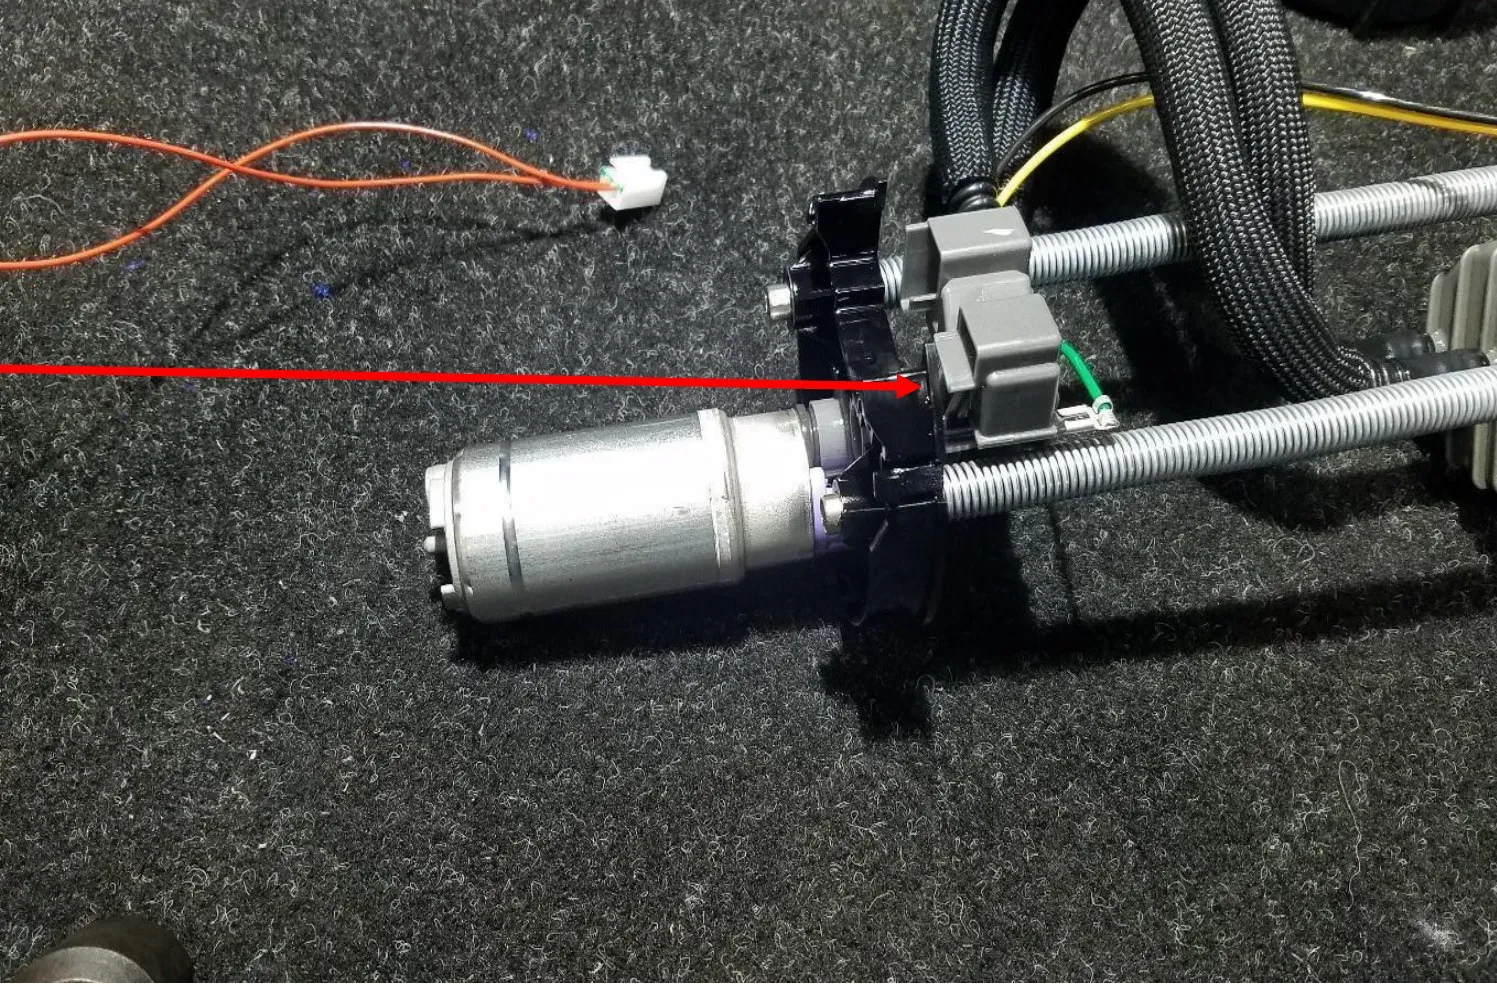
Below is what the assembly looks like with the housing off.
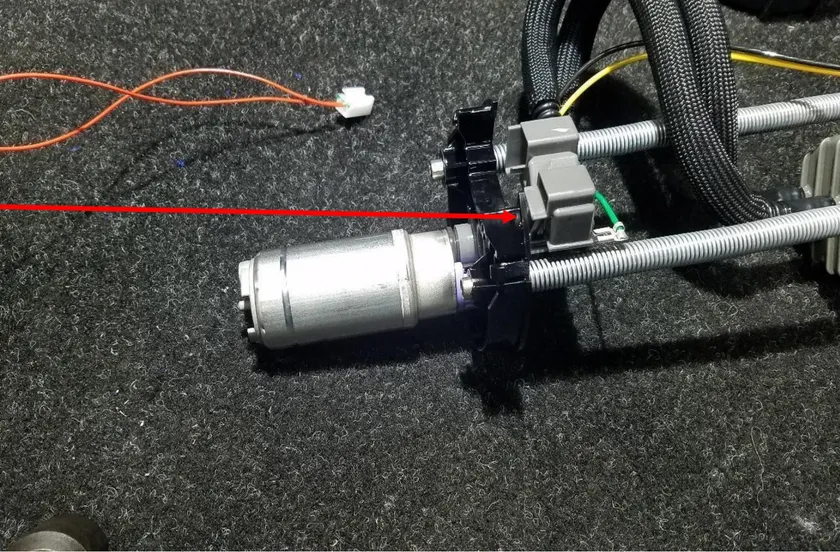
Keep rubber grommet in place. - Step 7
Pull the pump out of its seat and disconnect the electrical connection.
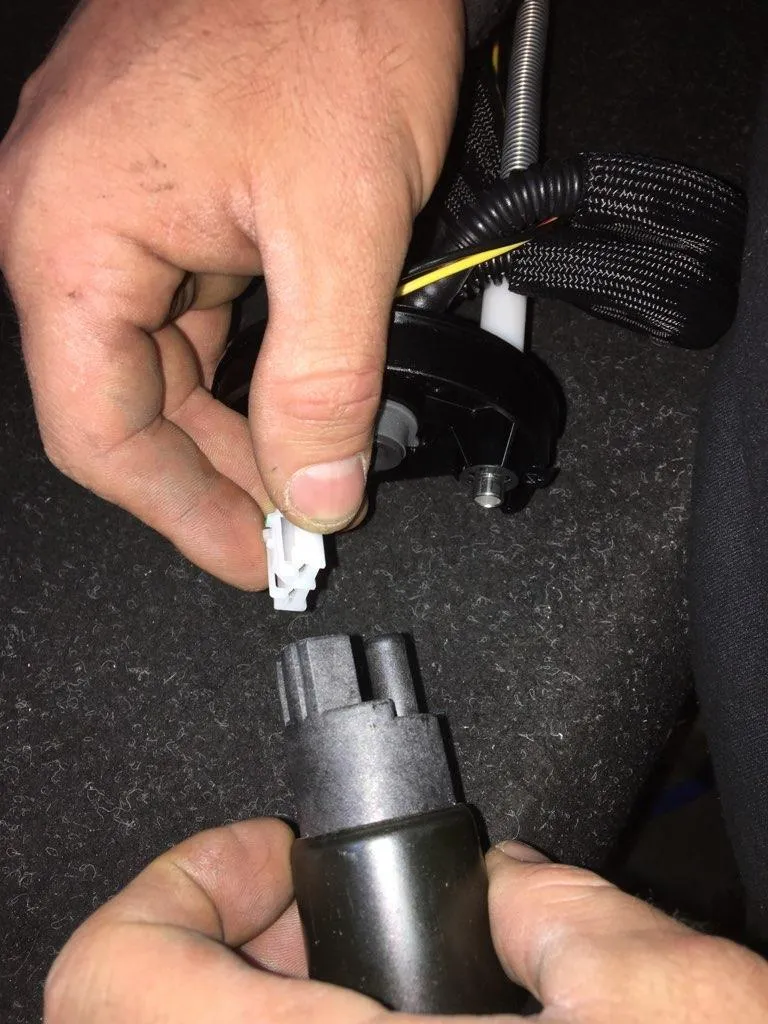
- Step 8
Install the EVP supplied fuel pump into the plastic housing that was removed. Make sure the pump is oriented and fitted correctly into the bottom of the housing - when properly oriented, the pump will drop into place and it will not rotate.
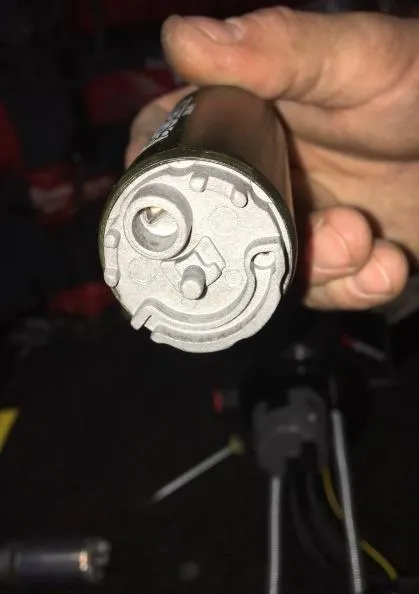
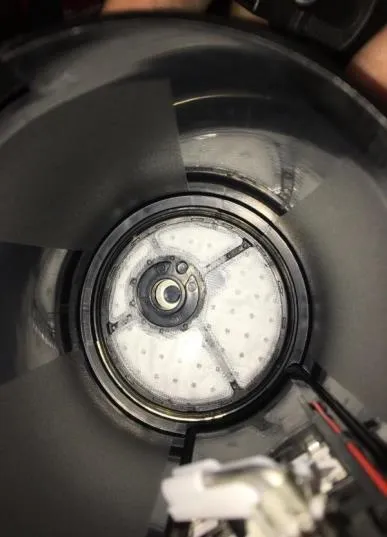
- Step 9
Plug the electric connection into the pump.
- Step 10
Carefully align the tabs and reinsert the cap into the housing – do not force it – if it does not fit in with moderate pressure, something is not correct – Recheck.
- Step 11
Reinstall pump assembly
- Step 12
Install EVP plug n play fuel pump relay harness.
- Step 13
Connect the yellow wire with the ring terminal and the relay to one of the bolts that secure the fuel pump protector strap to the frame. Make sure the ring terminal is grounded to the frame.
- Step 14
Replace OEM fuel pump fuse with the supplied 20 amp in location F5.

Need technical support?
Submit a ticket with your vehicle and what you're seeing, and our support team will get back to you.
