 BUY NOW, PAY LATER. Starting at 0% APR


XR Series Intake Installed Below:
Can-Am X3 Intercooler Tip-Up Bracket Kit
Installation instructions for the X3 Intercooler Tip-Up Bracket Kit on the Can-Am Maverick X3 (SKU 100FC0128). Parts, tools, and full procedure.
In the box
Parts and tools
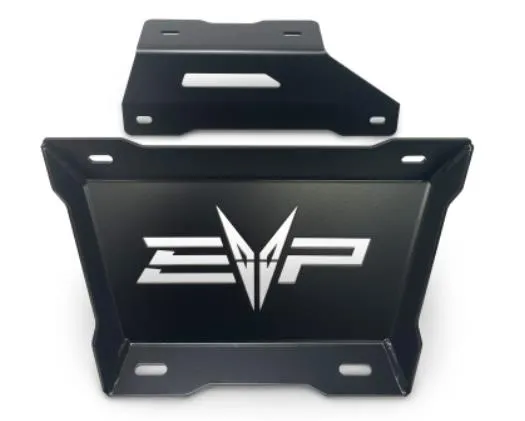
Included parts
- 1Front Bracket
- 1Rear Bracket
- 1Hardware Kit
Required tools
- 13mm Socket
- 11mm Socket
- T-30 Torx
- Dremel or Cutting Tool
- Silver Sharpie
- Drill and 1/4" drill bit
Required accessories
- EVP Bed Delete Kit
Procedure
Installation
- Step 1
Remove OEM intercooler and air intake covers. Remove charge tubes from the intercooler. Remove intercooler shroud with air intake.
- Step 2
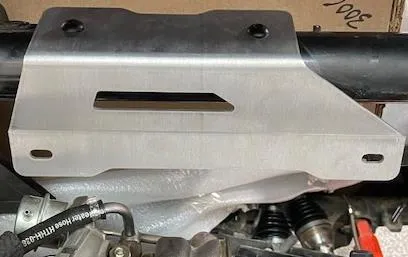
Install the front intercooler tip up bracket, reusing the (2) OEM torx bolts. Do NOT tighten all the way.
- Step 3
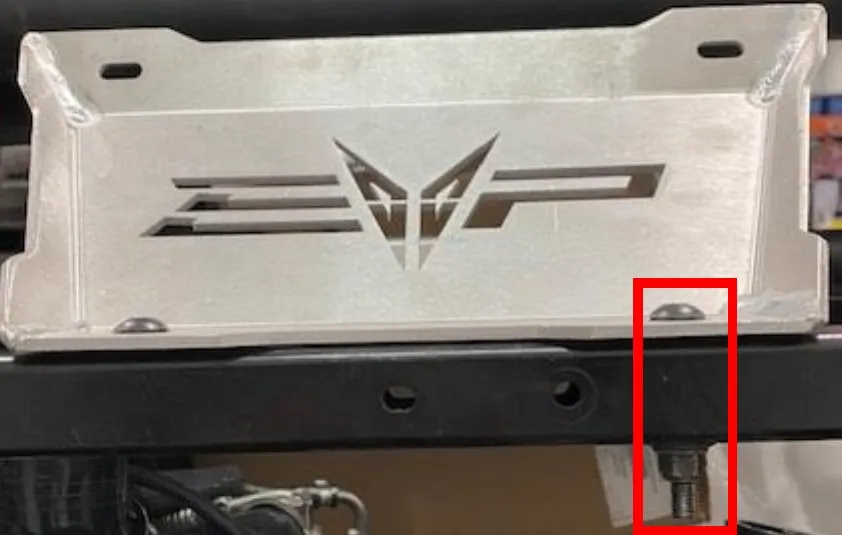
Install the rear intercooler tip up bracket, using the Nutzert on the bed delete. You will need to drill a hole in the bed delete to fasten down the right side. Use a 1/4" drill bit. Use supplied 45mm torx screw, washer, and nut.
- Step 4
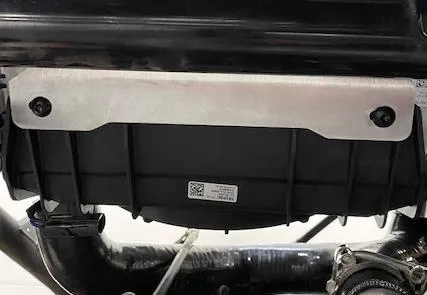
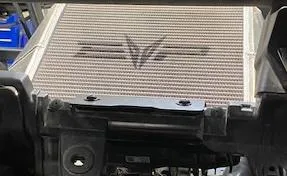
Install your intercooler using the supplied (4) Torx Screws. It is easier to have your silicone attached loosely to the turbocharger and throttle body.
- Step 5
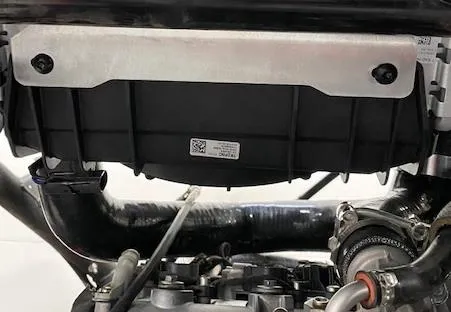
Tighten the intercooler bolts, then tighten the intercooler tip up brackets. Plug in the intercooler fan, reconnect the silicone charge tubes. You can now fasten down all silicone charge tubes.
- Step 6
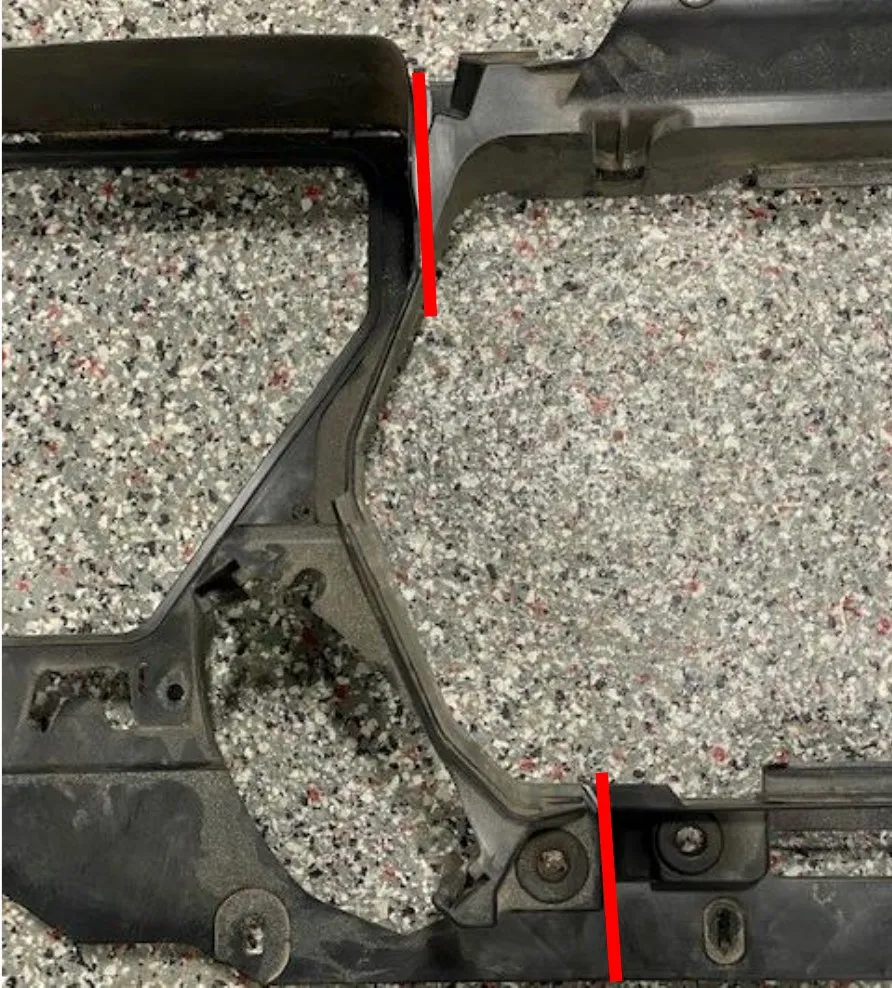
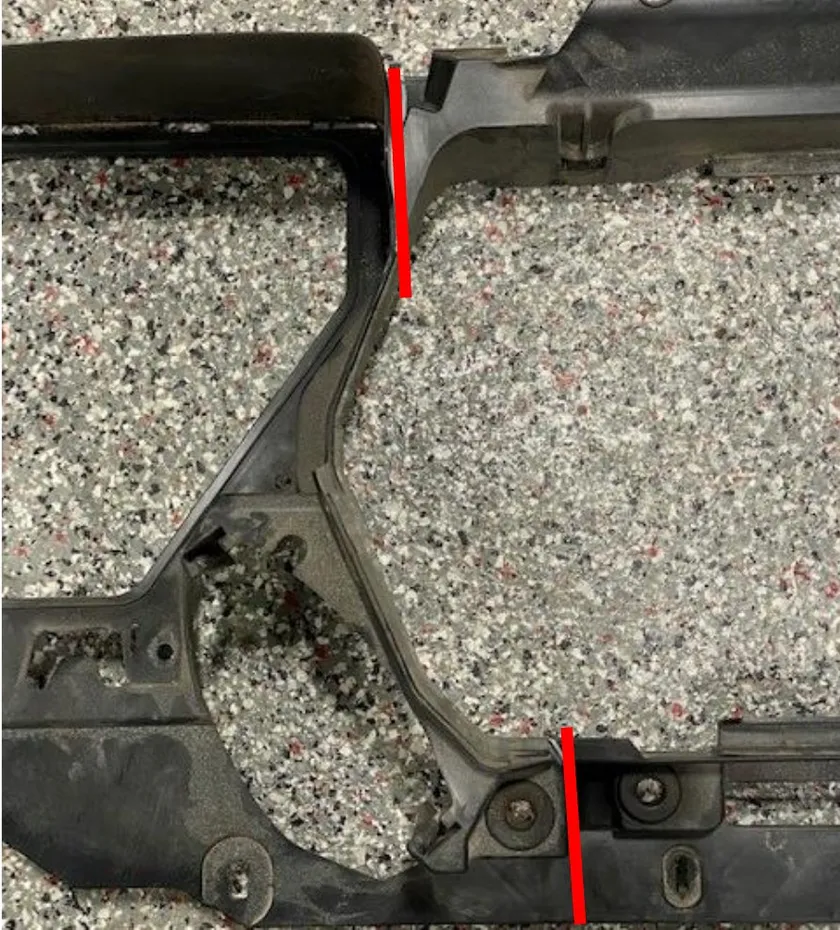
At this point you can either run the stock air box, EVP High Flow Intake, or EVP XR Series High Flow Intake. For running the stock air box or EVP High Flow Intake, the OEM plastic shroud will need to be cut. See below (Red Lines). For EVP High Flow Intake Instructions please find them on our website.
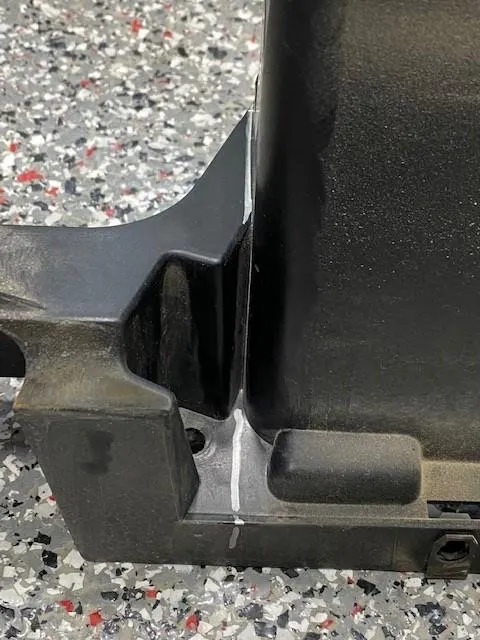
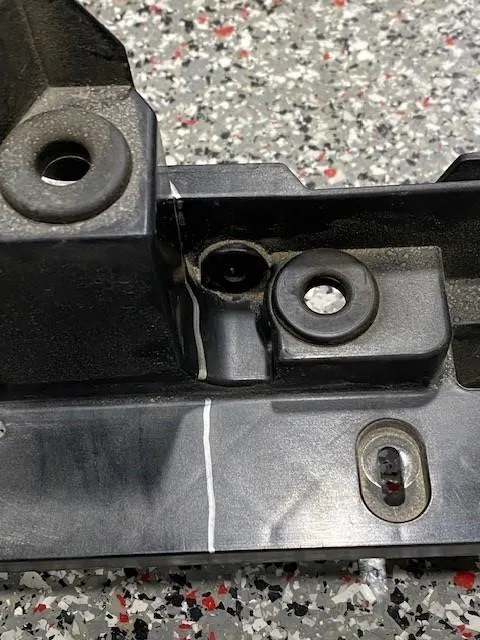 Note
We used a dremel and silver sharpie to mark what needs to be cut.
- Step 7
You will only reuse the air intake/coolant reservoir portion of the shroud. Re install this piece using the OEM mount behind the drivers seat and firewall.
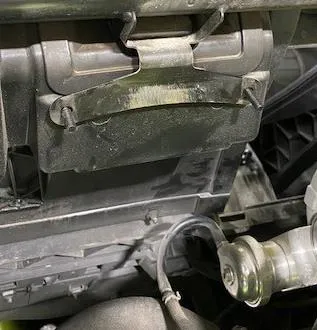
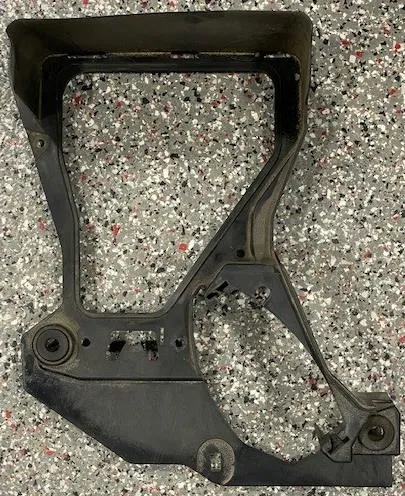
- Step 8
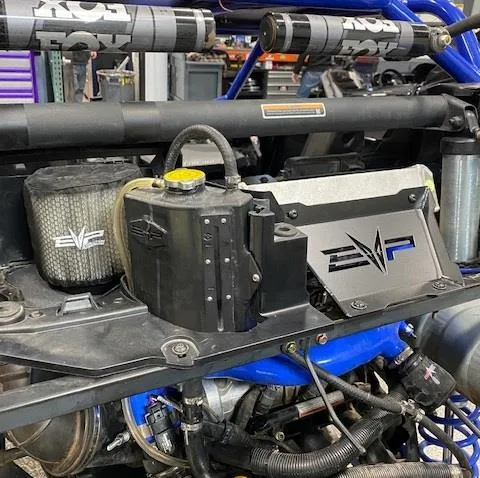
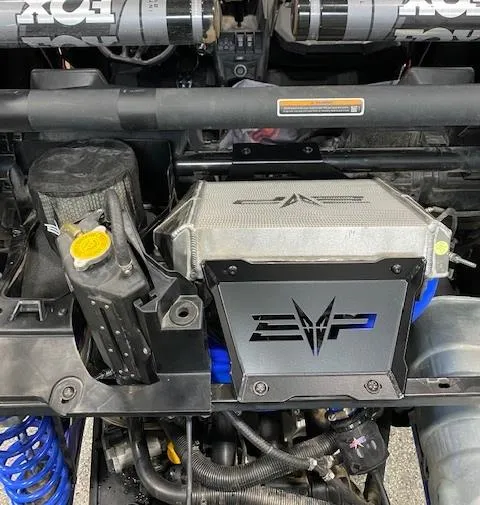
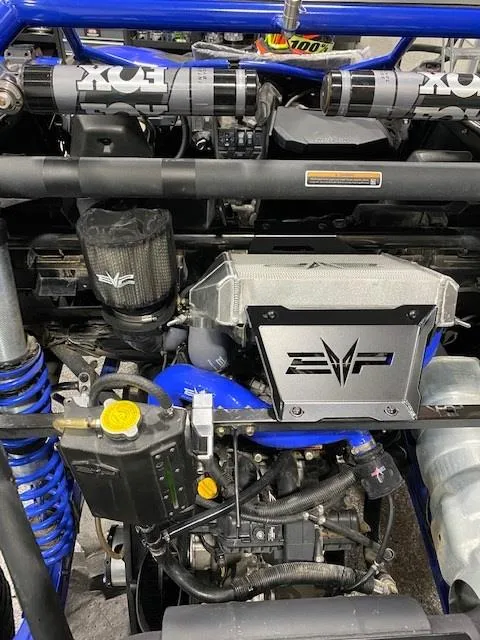
Reinstall the coolant reservoir and air intake. Pictures below is the EVP High Flow Intake.
Emissions notice. This product is exempt from the emission standards and related requirements of 40 C.F.R. § 1051 as provided by 40 C.F.R. § 1051.620, and California law [e.g., vehicle code §§ 27156 and 38391]. This product is sold only for use in connection with EPA certified, purpose-built, nonroad vehicles used solely for closed course, nonroad competition/racing and not used for any recreational purpose or on public highways or right of ways maintained by and open to the public. This product is sold only in connection with machines that do not fall under state and/or federal noise or emission standards/regulations. Purchasers who/that purchase this product represent and warrant that the product is purchased only in connection with EPA-certified, emission-regulations-exempt and noise-regulations-exempt competition/racing vehicles as interpreted under applicable state and/or federal law.
Need technical support?
Submit a ticket with your vehicle and what you're seeing, and our support team will get back to you.
