 BUY NOW, PAY LATER. Starting at 0% APR


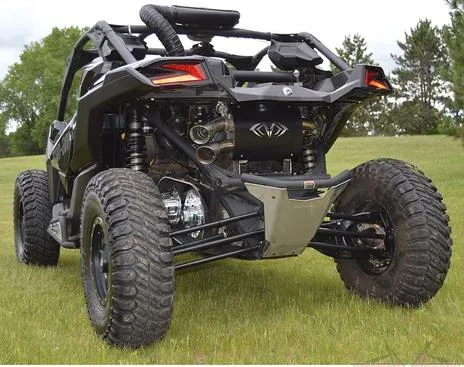
Can-Am X3 Captains Choice Electronic with Heat Shield
X3 Captains Choice Electronic with Heat Shield
In the box
Parts and tools
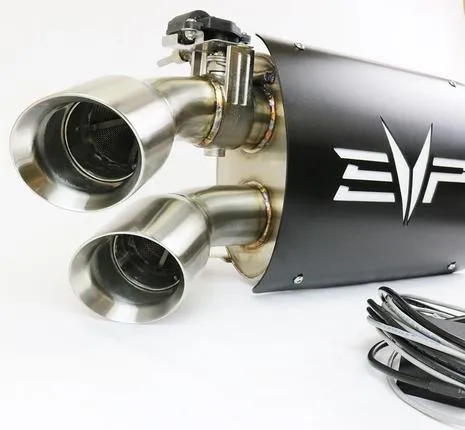
Included parts
- 1Electronic Captains Choice with Heat Shield.
- 1Electronic Harness
Required tools
- T-30 Torx
- Spring Puller
- Flat Head Screwdriver
- 18mm Socket
- 13mm Socket
Procedure
Installation
- Step 1
Remove rear valance covering the OEM exhaust muffler.
- Step 2
Using a heavy-duty spring tool, remove the 4 springs holding the muffler to the race bypass pipe.
- Step 3
Remove the 4 bolts and nuts securing the muffler to the frame of the machine and remove muffler.
- If installing a race bypass, remove the OEM O2 sensor. Remove the upper and lower heat shields by removing the worm drive clamps.
- Loosen V-Band clamp at the turbo/race bypass connection.
- With the clamp loose, using a screwdriver, pry around the circumference of the clamp until it pops off. Be careful only to pry on the inner part of the clamp – do not pry on the thin outer band or the clamp will be permanently damaged.
- Step 4
Install race bypass pipe. Make sure the flanges of the turbo and pipe meet correctly.
- Step 5
Reinstall V-Band clamp and partially tighten.
- Step 6
Install E-Captains Choice exhaust in the reverse of how the OEM muffler was removed.
- Step 7
Reinstall heat shields on the race bypass and reinstall O2 sensor and reconnect plug.
- Step 8
Finish tightening V-Band clamp between turbo and race bypass.
Procedure
Wiring
- Step 1
Electronic Captain’s Choice comes with plug and play harnesses.
- Step 2
Remove passenger side seat (2) 18mm in the rear and (2) 13mm sockets in the front. Pop out the side panel between the passenger seat and center console.
- Step 3
Route supplied (grey) power cable from the exhaust actuator through the fire wall into the center console and up to the dash. Route supplied (black) power cable with in-line fuse from the bus bar up to the dash.
- Step 4
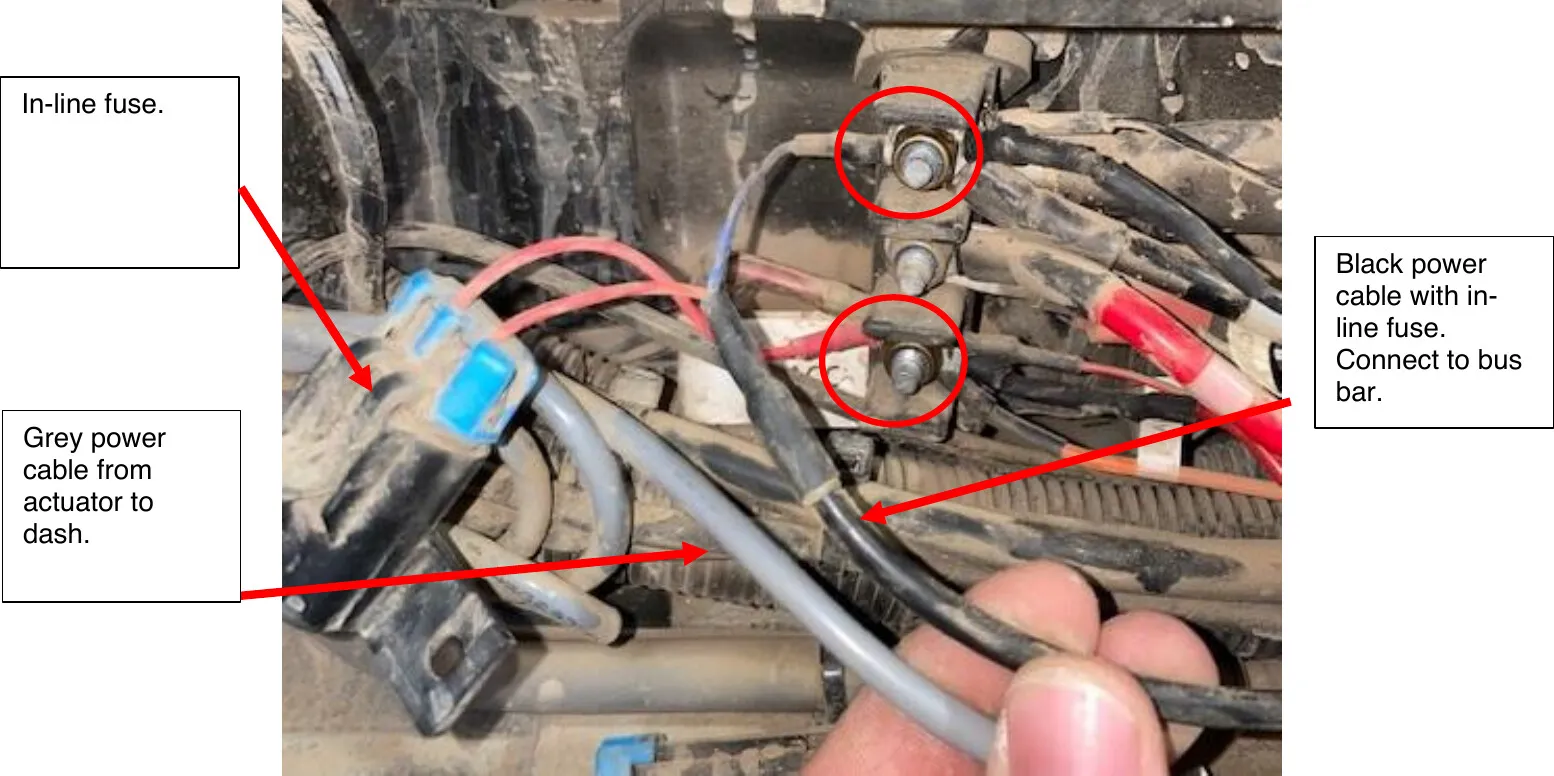
Connect the (black) power cable with in-line fuse to the bus bar. Connect the ground (blue wire) to the ground of the bus bar. Connect the positive (red) wire to the “key-on” or “accessory” bank on the bus bar. (See below photo)
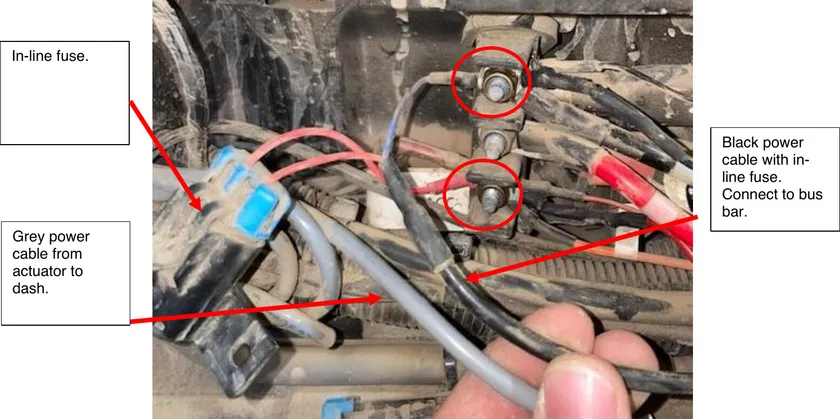
Black power cable with in-line fuse. Connect to bus bar. - Step 5
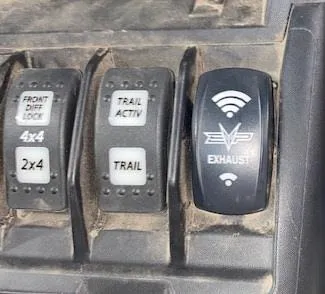
Pop a blank switch out of the dash and install the EVP exhaust switch. Connect both sides of the switch and mount it into the dash. Push it in till it seats.
- Step 6
Zip tie power cables neatly inside the center console. Re-install side panel to the center console.
- Step 7
Reinstall the passenger seat.
Need technical support?
Submit a ticket with your vehicle and what you're seeing, and our support team will get back to you.
