 BUY NOW, PAY LATER. Starting at 0% APR


Can-Am X3 Bed Delete Kit
Installation instructions for the X3 Bed Delete Kit on the Can-Am Maverick X3 (SKU Black (925FC0029), Brushed (925RC0034)). Parts, tools, and full procedure.
In the box
Parts and tools
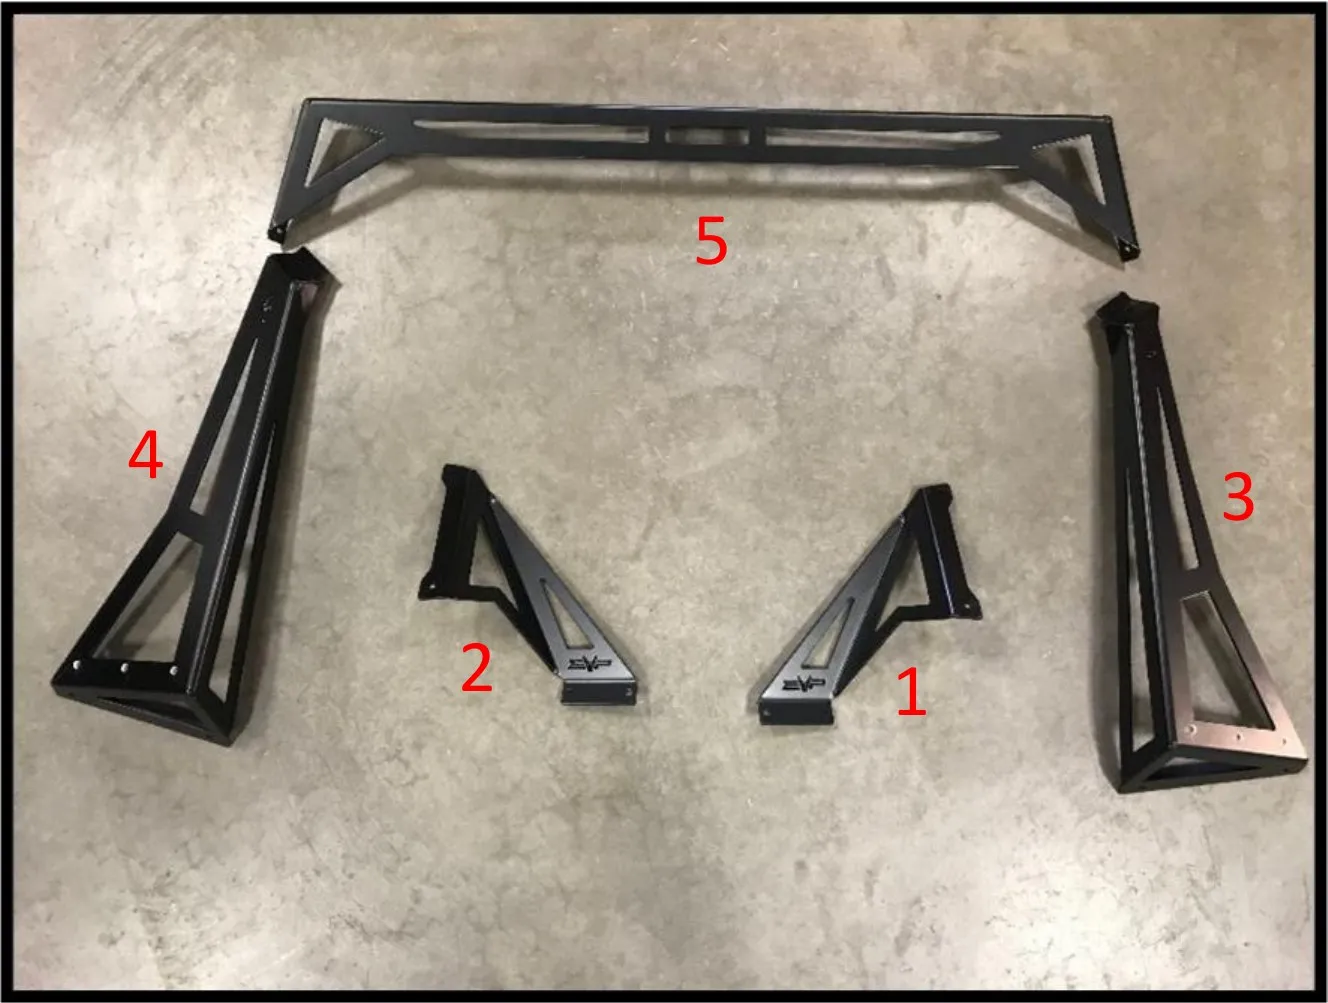
Included parts
- 1Front Right Support Bracket
- 1Front Left Support Bracket
- 1Rear Right Support Bracket
- 1Rear Left Support Bracket
- 1Center Rear Support Bracket
- 101/4 x 3/4" Stainless Button Head Screw
- 41/4 x 1/2” Stainless Button Head Screw
- 21/4 x 2 1/2" Stainless Button Head Screw
- 161/4" Stainless Washer
- 161/4” Nylon Lock Washer
Required tools
- T-30 Torx
- T-40 Torx
- 10mm Socket
- 5/32” Allen
- 7/16” Socket
Procedure
Installation Instruction
- Step 1
Remove the T30(4) fasteners that hold the bed to the chassis.
- Step 2
Remove the T30(10) fasteners and 10mm nuts that hold the bed to the body.
- Step 3
If your machine has the stock cage, remove the T40(4) fasteners from the cage posts.
- Step 4
Remove the T30(5) fasteners and rear facia from the machine.
- Step 5
Lift the bed and frame supports from the chassis and set aside, they will not be reused.

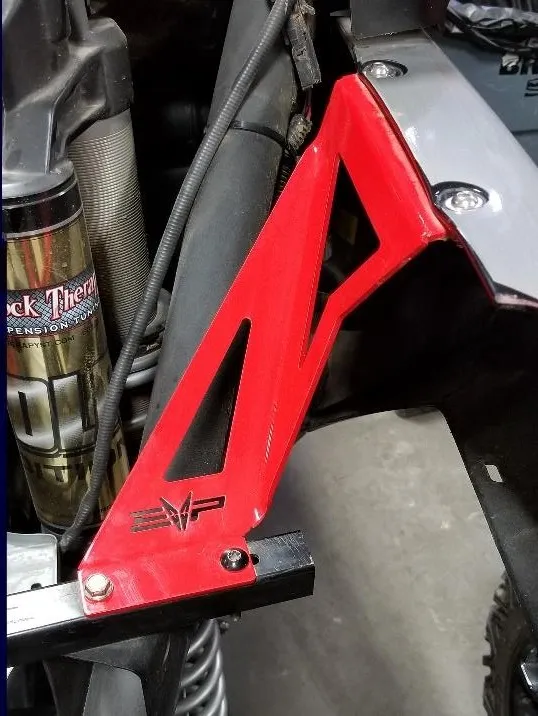
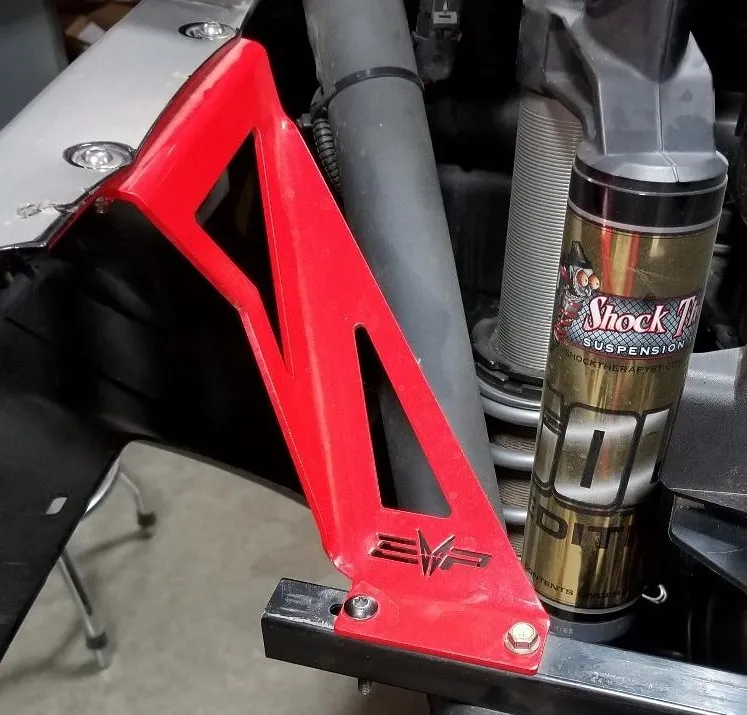
- Step 6
Remove the 10mm(2) bolts on the bed support. These will be reused on the fender supports brackets.
- Step 7
Use the 1/4 x 1/2" screws (4) with lock nuts (4) and washers(4) loosely install the left and right front fender support brackets.
NoteThe washer is used at the head of the screw.
- Step 8
Use the 10mm(2) bolts and T30(2) fasteners with 10mm nuts to mount the lower portion of the fender supports to the bed support.
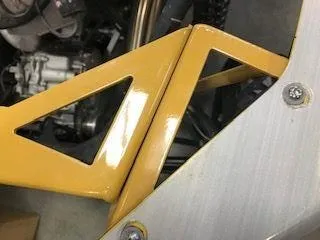
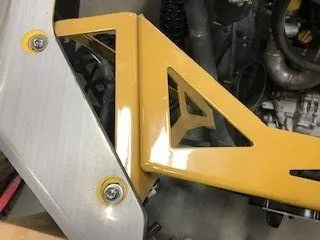
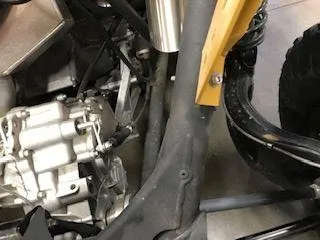
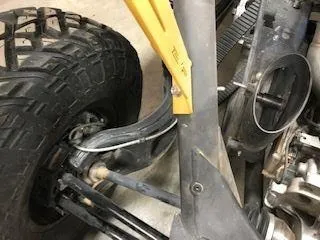
- Step 9
Use the 1/4 x 3/4" screws (4) lock nuts (4) and washers (4) loosely install the left and right rear fender support brackets the brake light and body.
- Step 10
Use the 1/4 x 2½” screws (2) lock nuts (2) and washers (2) to mount the bracket to the frame.
- Step 11
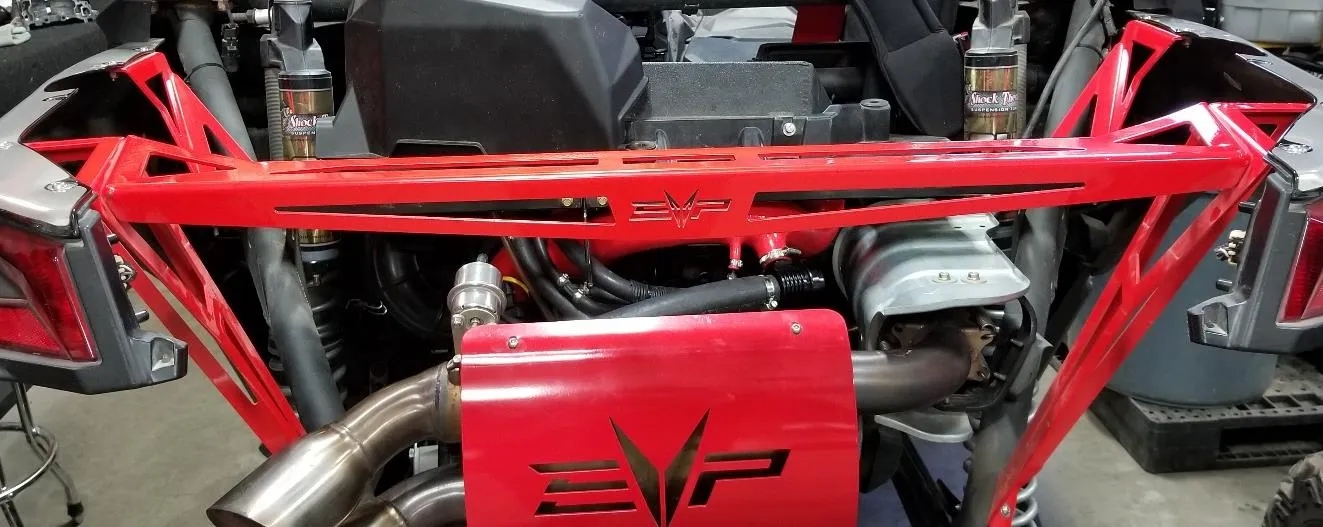
Use the 1/4 x 3/4" screws (6) lock nuts (6) and washers (6) loosely install the center rear support bracket.
- Step 12
After the bed delete kit is assembled torque all fasteners to 64 in-lbs. (5.3 ft lbs)
Need technical support?
Submit a ticket with your vehicle and what you're seeing, and our support team will get back to you.
