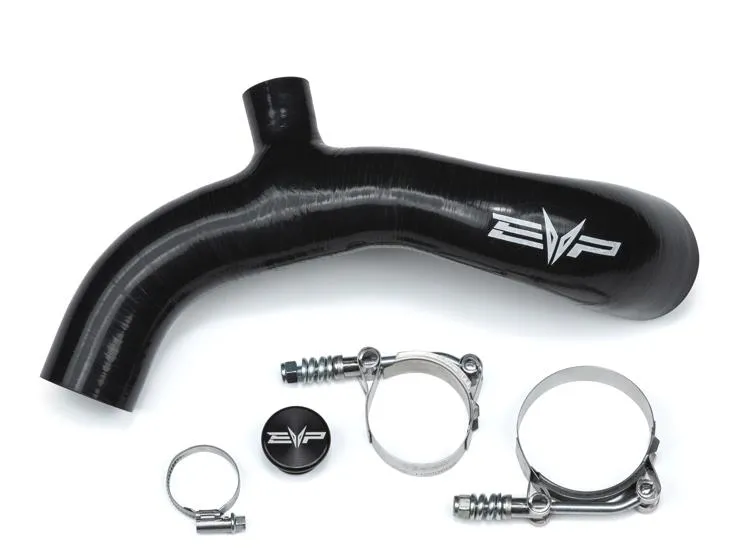
Can-Am X3 Base Model (120-135hp) Charge Tube & Blow Off Valve (No

X3 Base Model (120-135hp) Charge Tube & Blow Off Valve (No intercooler)

SKU
100FC0172 (red), 100FC0171 (blue), 1532010008 (black)
Legacy SKU
100FC0172, 100FC0171, 100FC0170
Revision
Rev_020623

In the box

Parts and tools

X3 Base Model (120-135hp) Charge Tube & Blow Off Valve (No intercooler)

Included parts

  • NOIC Charge Tube
  • Hardware Kit
  • BOV Kit (Optional)

Required tools

  • 10, 11mm Socket
  • Screwdriver(s)
  • T-25 socket

Procedure

Installation

  1. Step 1

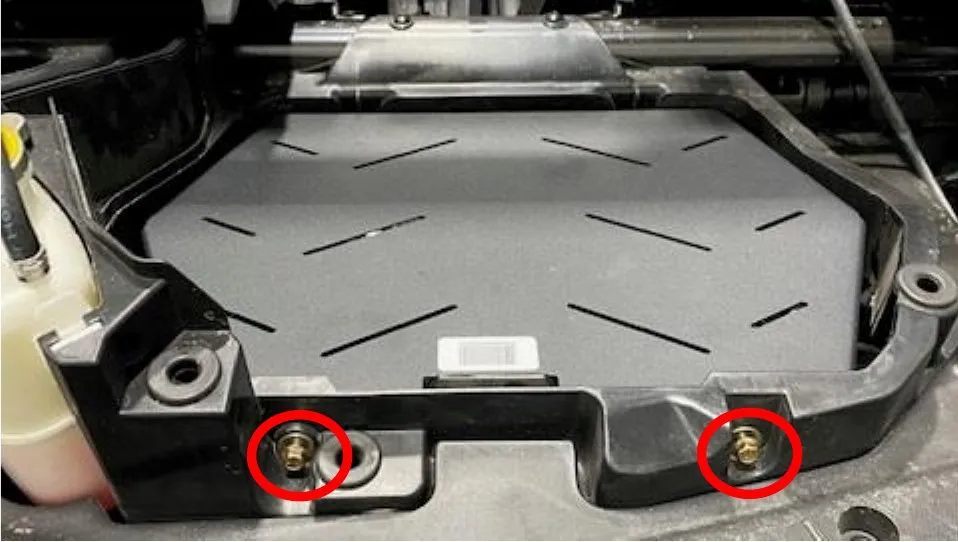
    Remove the plastic intercooler and intake covers. Loosen and remove (4) screws securing the intercooler blank plate, using a 10mm socket. Two are located behind the turbocharger access panel.
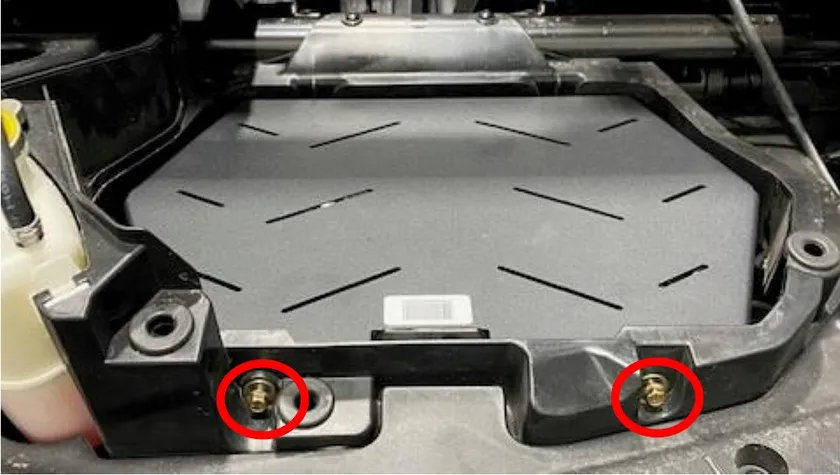
    Remove the plastic intercooler and intake covers. Loosen and remove (4) screws securing the intercooler blank plate, using a 10mm socket. Two are located behind the turbocharger access panel.
  2. Step 2

    Loosen both worm drive clamps holding the CVT duct in, remove the duct from the car.
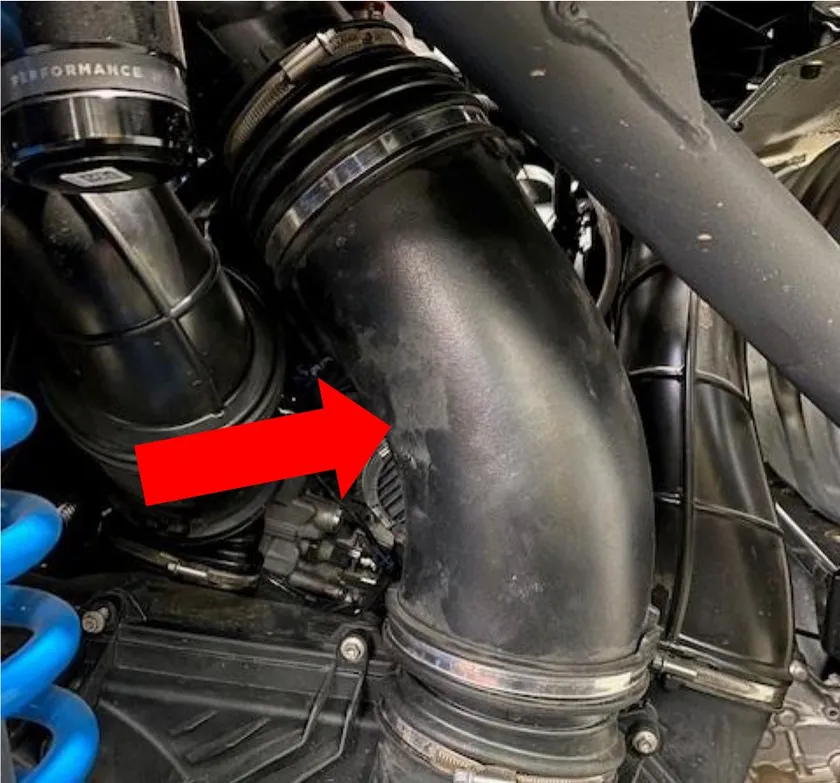
    Loosen both worm drive clamps holding the CVT duct in, remove the duct from the car.
  3. Step 3

    Loosen both clamps on turbocharger and throttle body sides. Remove the OEM charge tube.
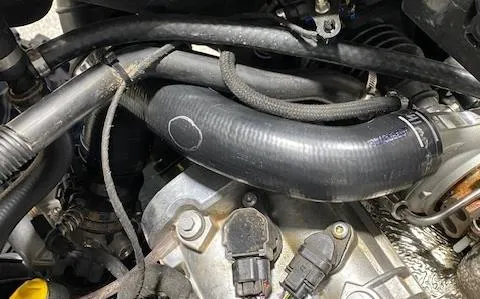
    Loosen both clamps on turbocharger and throttle body sides. Remove the OEM charge tube.
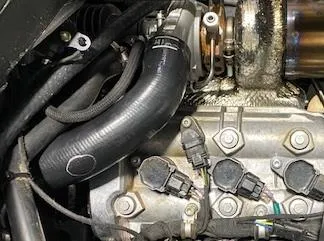
    Loosen both clamps on turbocharger and throttle body sides. Remove the OEM charge tube.
  4. Step 4

    Install the new silicone onto the throttle body and turbocharger. Use supplied T-bolt clamps to secure.
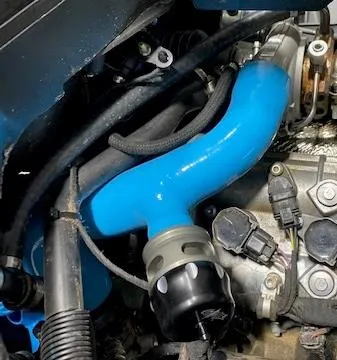
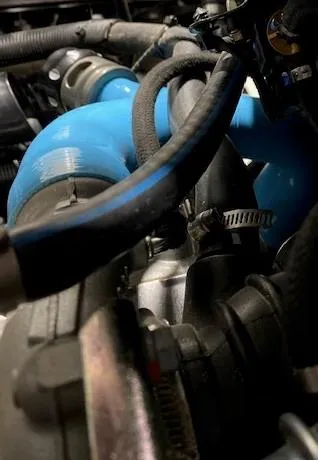
    Install the new silicone onto the throttle body and turbocharger. Use supplied T-bolt clamps to secure.
    Install the new silicone onto the throttle body and turbocharger. Use supplied T-bolt clamps to secure.
  5. Step 5

    Install the blow off valve into the charge tube, install the pre filter and clamp down with supplied hardware. If you don’t want to run a BOV, install the billet plug into the charge tube and clamp down.

  6. Step 6

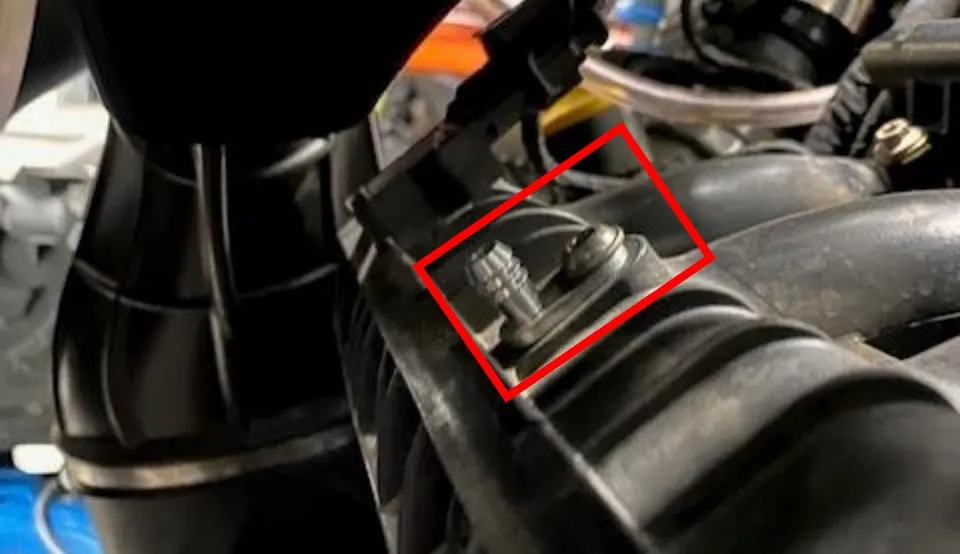
    Install the billet adaptor into the plenum. Remove the OEM plastic blank using a T-25 socket. Reuse the OEM green o ring onto the billet adaptor. Apply dielectric grease onto the o ring if needed. Secure with the T-25 screw.
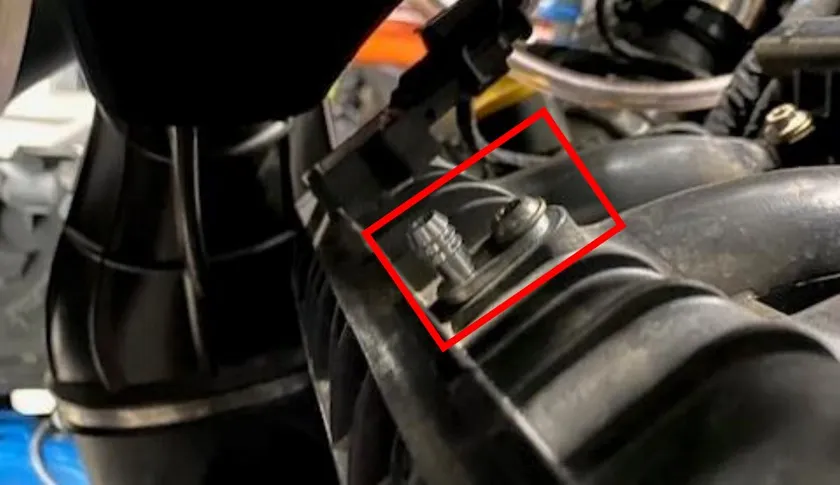
    Install the billet adaptor into the plenum. Remove the OEM plastic blank using a T-25 socket. Reuse the OEM green o ring onto the billet adaptor. Apply dielectric grease onto the o ring if needed. Secure with the T-25 screw.
  7. Step 7

    Install the vacuum line to the BOV and billet adaptor on the plenum. Use a pinch clamp or zip tie to secure.

  8. Step 8

    Reinstall the intercooler blank and CVT duct. Make sure everything is tight.
Emissions notice. This product is exempt from the emission standards and related requirements of 40 C.F.R. § 1051 as provided by 40 C.F.R. § 1051.620, and California law [e.g., vehicle code §§ 27156 and 38391]. This product is sold only for use in connection with EPA certified, purpose-built, nonroad vehicles used solely for closed course, nonroad competition/racing and not used for any recreational purpose or on public highways or right of ways maintained by and open to the public. This product is sold only in connection with machines that do not fall under state and/or federal noise or emission standards/regulations. Purchasers who/that purchase this product represent and warrant that the product is purchased only in connection with EPA-certified, emission-regulations-exempt and noise-regulations-exempt competition/racing vehicles as interpreted under applicable state and/or federal law.

Need technical support?

Submit a ticket with your vehicle and what you're seeing, and our support team will get back to you.

Contact Support
We use cookies to improve your experience on our website. Read about how we use cookies in our Privacy Policy. By browsing this website, you agree to our use of cookies. privacy policy
accept

Your cart

×
×