 BUY NOW, PAY LATER. Starting at 0% APR


**We recommend wearing gloves when installing the new muffler. This will keep fingerprints off!!
Polaris Ranger 1500 Magnus Rear Exit Exhaust
Installation instructions for the Ranger 1500 Magnus Rear Exit Exhaust on the Polaris Ranger. Parts, tools, and full procedure.
Before you start
In the box
Parts and tools
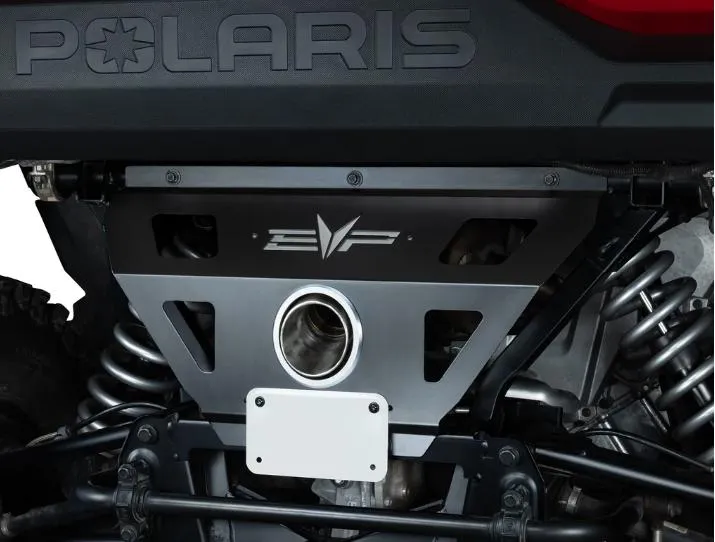
Included parts
- 1Muffler
- 1Exhaust Tip
- 1Heat Shield
- 1Exhaust Gasket
- 1Rear Fascia
Required tools
- M5 Allen Socket
- Metric Sockets
- 22mm Wrench
- Cleaning Supplies
Procedure
Installation
- Step 1
Remove the bed. Remove (4) 13mm nuts and (2) U-shaped clamps. Unplug the rear light harness.
- Step 2
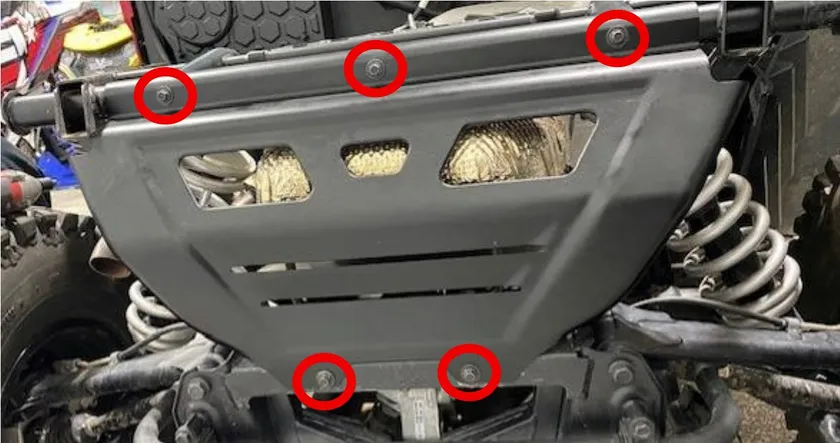
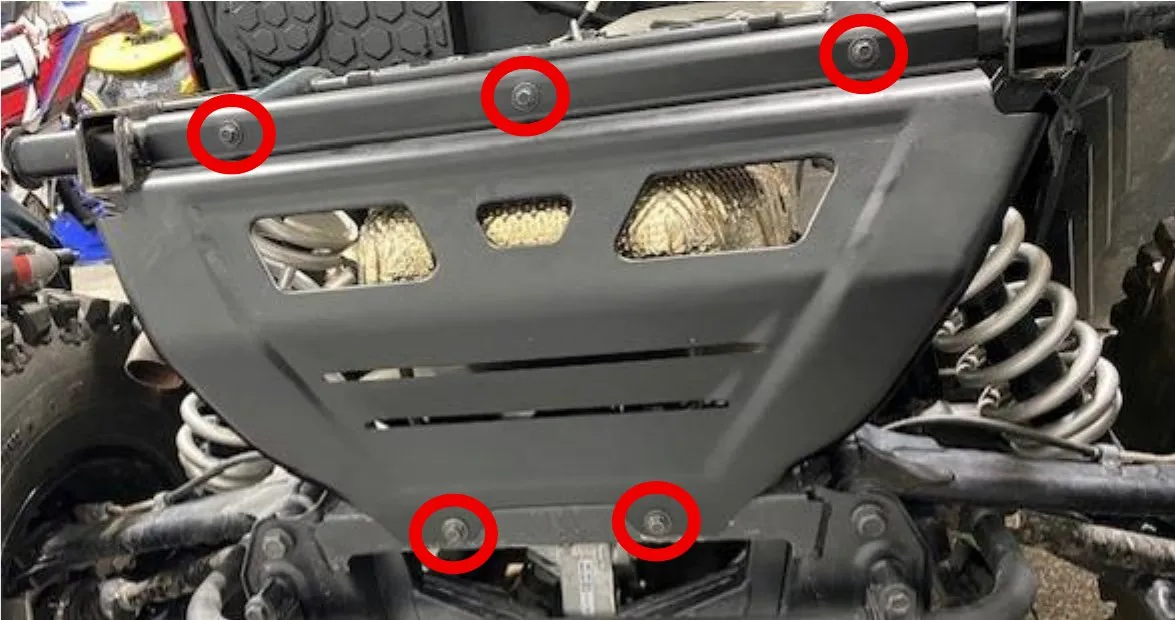
Remove the rear fascia. Remove (5) 10mm screws.
- Step 3
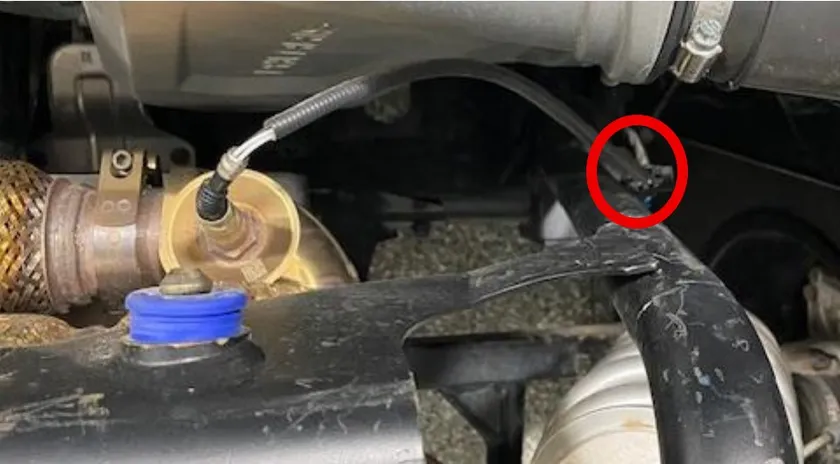
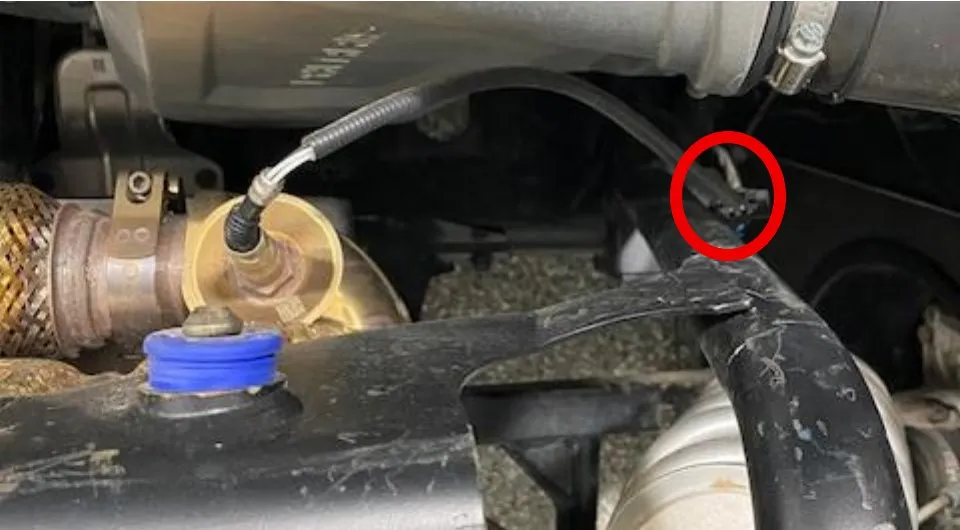
Unplug the O2 sensor. Keeping the sensor in the OEM muffler for now.
- Step 4
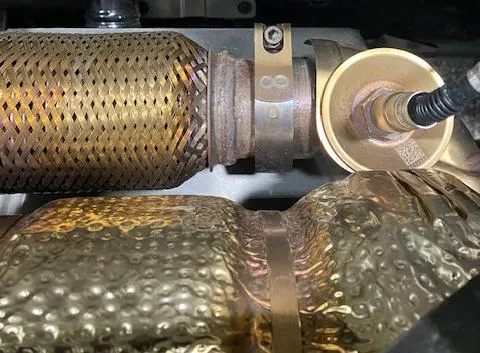
Loosen the OEM V-band clamp using a 5mm Allen. Sometimes the clamps can stick, it is best to pry all around the clamp so it can be reused. Don’t bend the clamp.
- Step 5
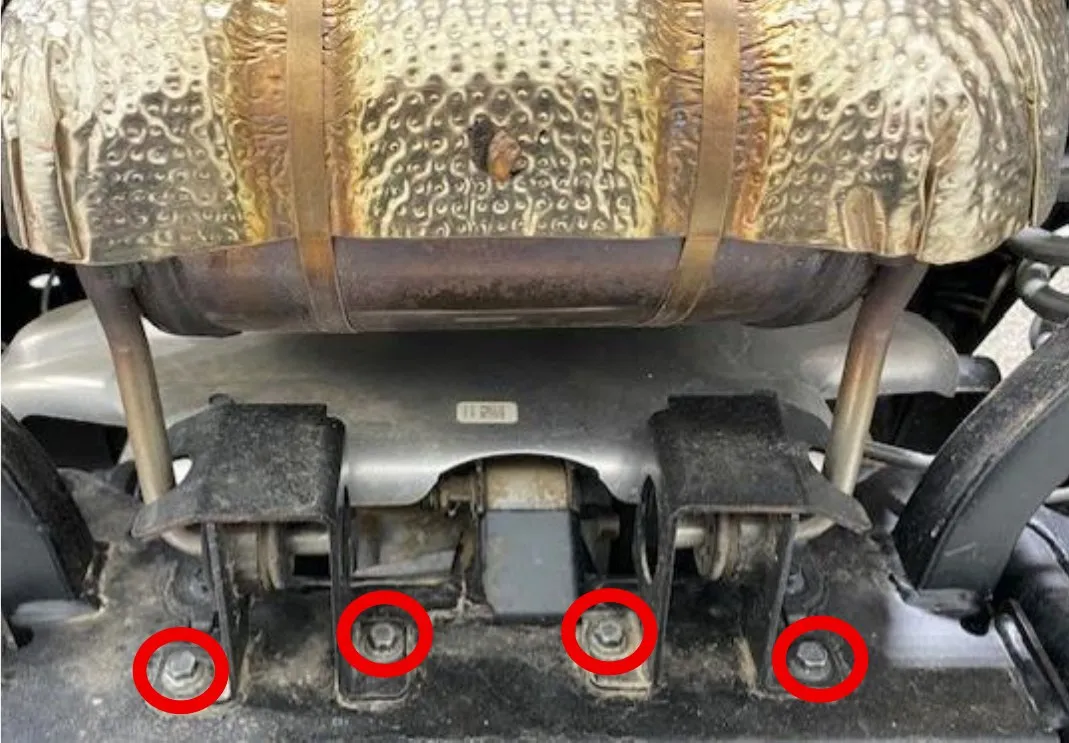
Remove the rear muffler supports. Remove (4) 10mm screws. Keep the mounts on the muffler for now.
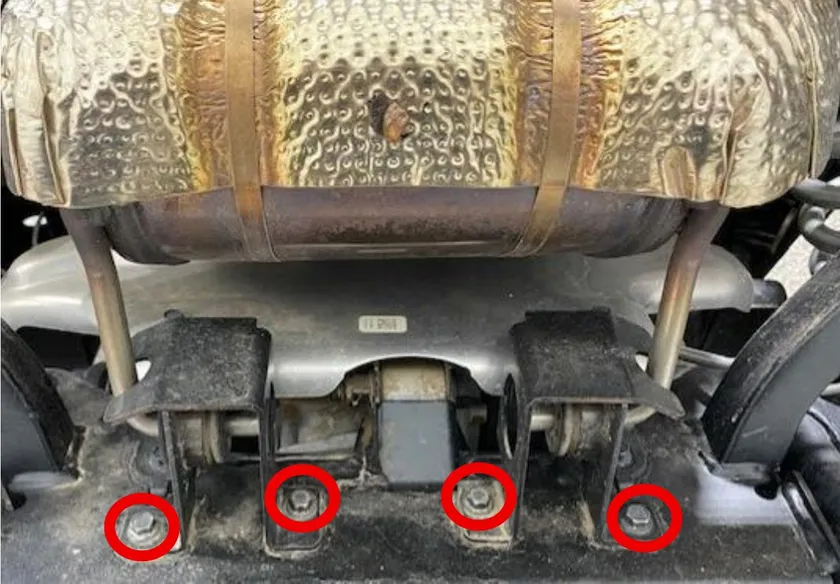
- Step 6
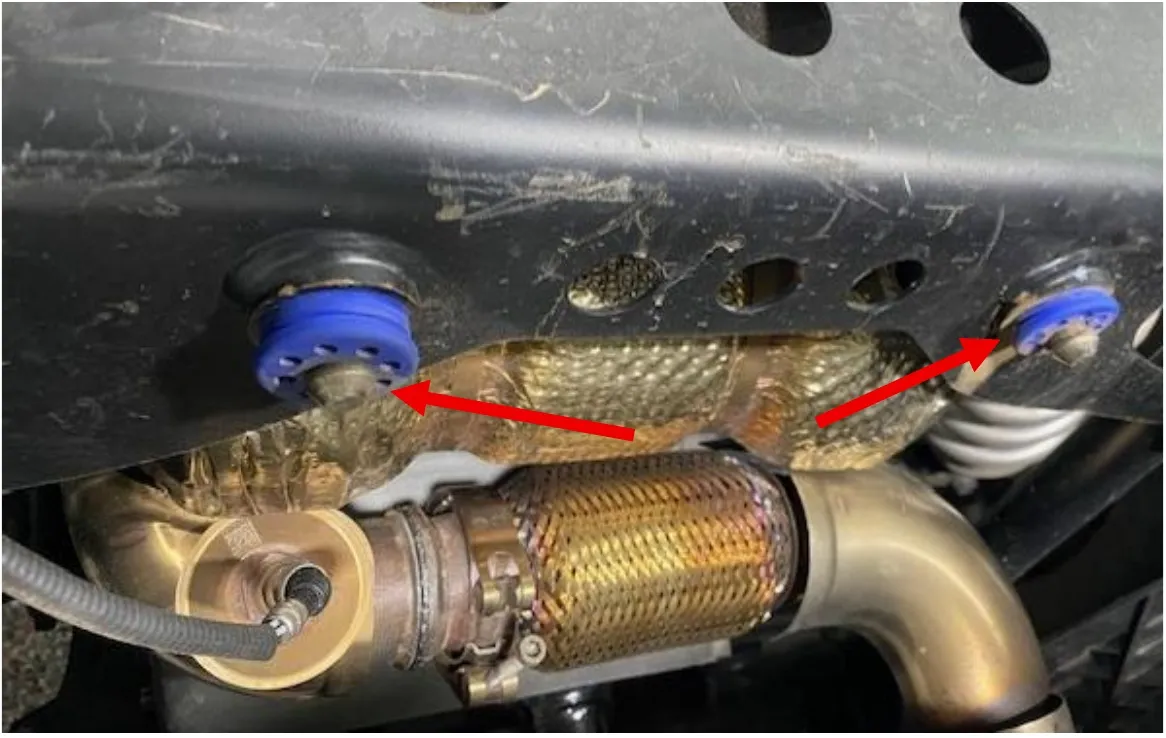
Slowly pull the muffler out of the rear of the vehicle. You must get the (2) front hangers out of the blue grommets. Remove the downpipe from the muffler. You can keep the OEM tip on to remove the muffler.
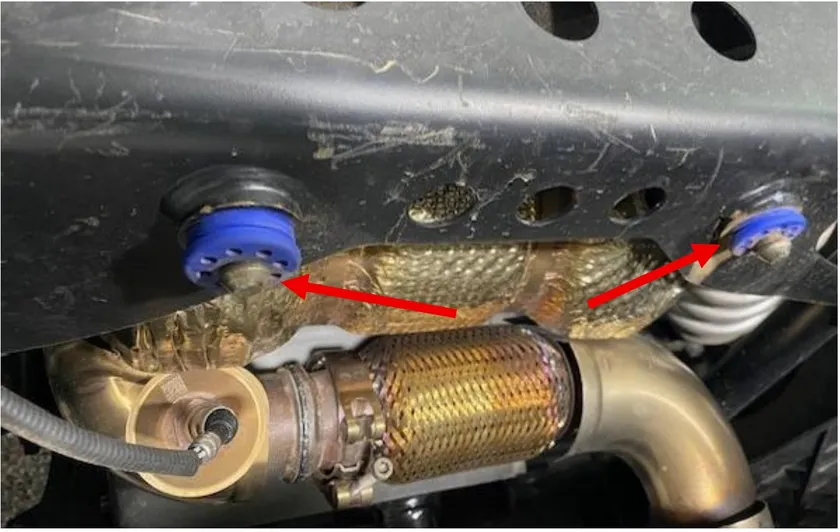
- Step 7
Check the exhaust gasket and V-band clamp. Sometimes the gasket can be reused. Pry the old gasket out, install the new gasket making sure it is flush in the metal portion.
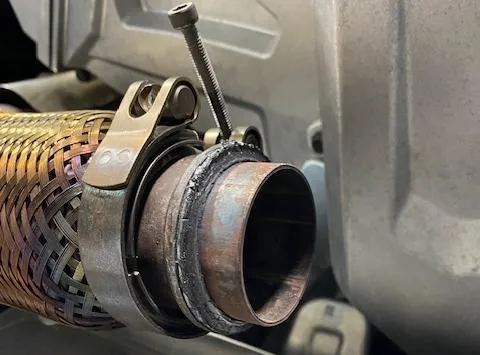
- Step 8
Remove the O2 sensor with a 22mm wrench. Install it into the new muffler with some anti-seize on the threads.
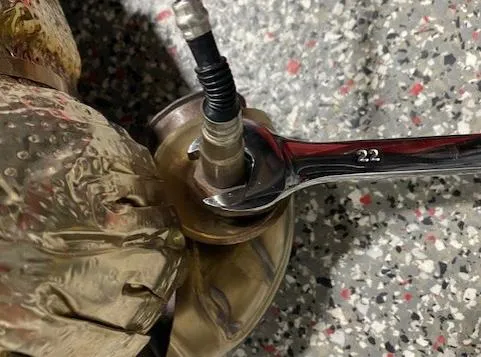
- Step 9
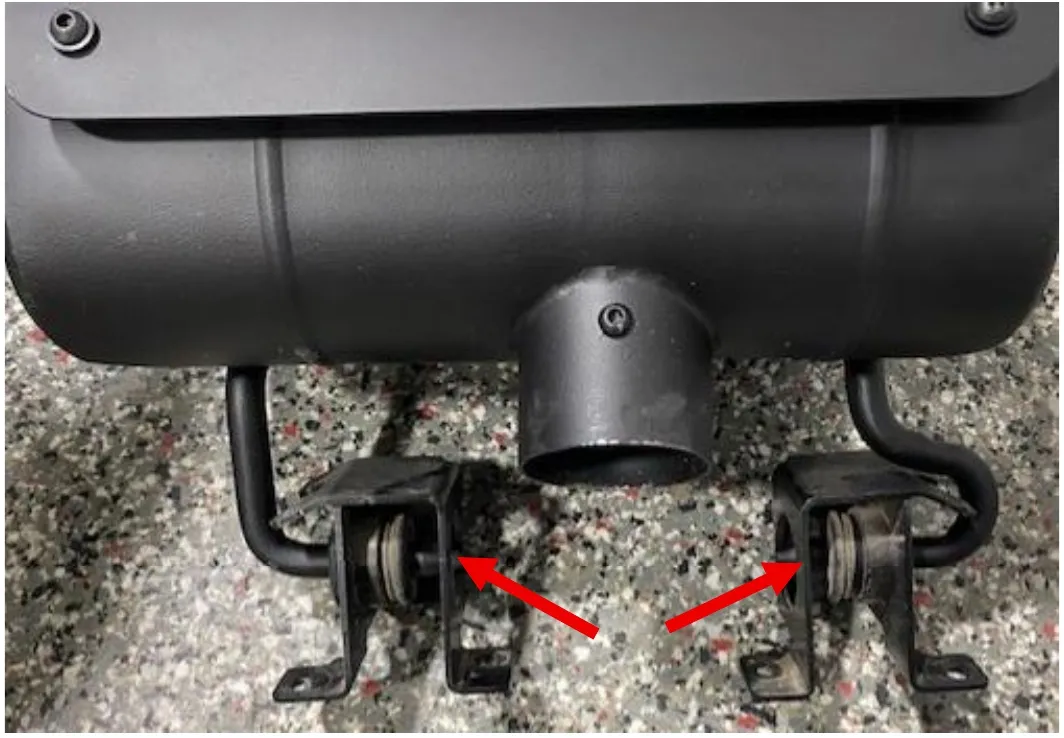
Remove the rear OEM hanger brackets from the OEM muffler and move over to the new muffler. It helps to spray some soapy water on the grommets before installing.
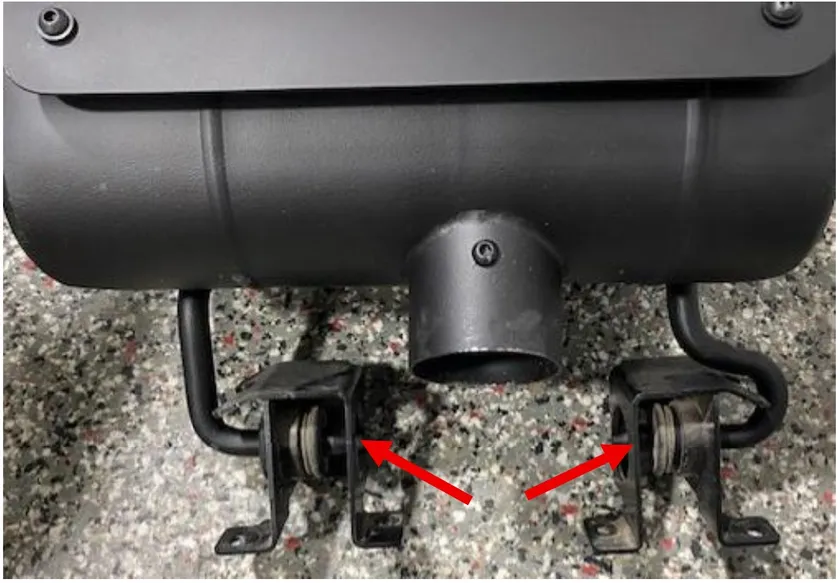
- Step 10
Install the new muffler into the vehicle. Install the (2) front hangers into the blue grommets and align the downpipe with the new muffler. Slide the V-band clamp over the muffler and gasket metal piece. Snug the V-band up, don’t over tighten. Install the 02 sensor if you haven’t already.
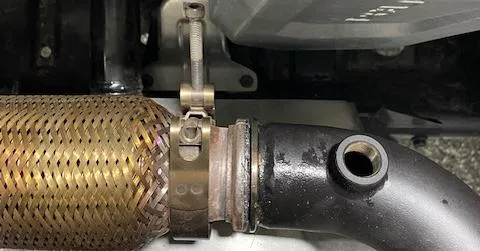
- Step 11
Install the tip and clamp onto the muffler. Apply copper anti-seize on the exhaust tip threaded clamp. Adjust the tip to your liking and tighten down with a 13mm socket.
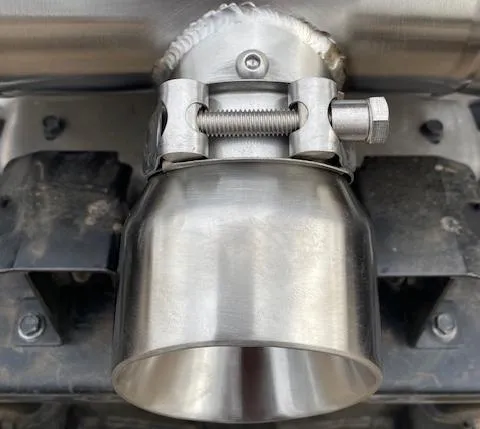
- Step 12
Wipe the entire muffler down with isopropyl alcohol using a clean microfiber. IF YOU HAVE A BLACK MUFFLER use a mild spray cleaner and clean microfiber and wipe away fingerprints.
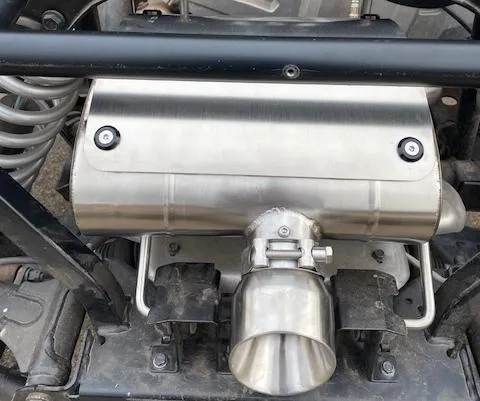
- Step 13
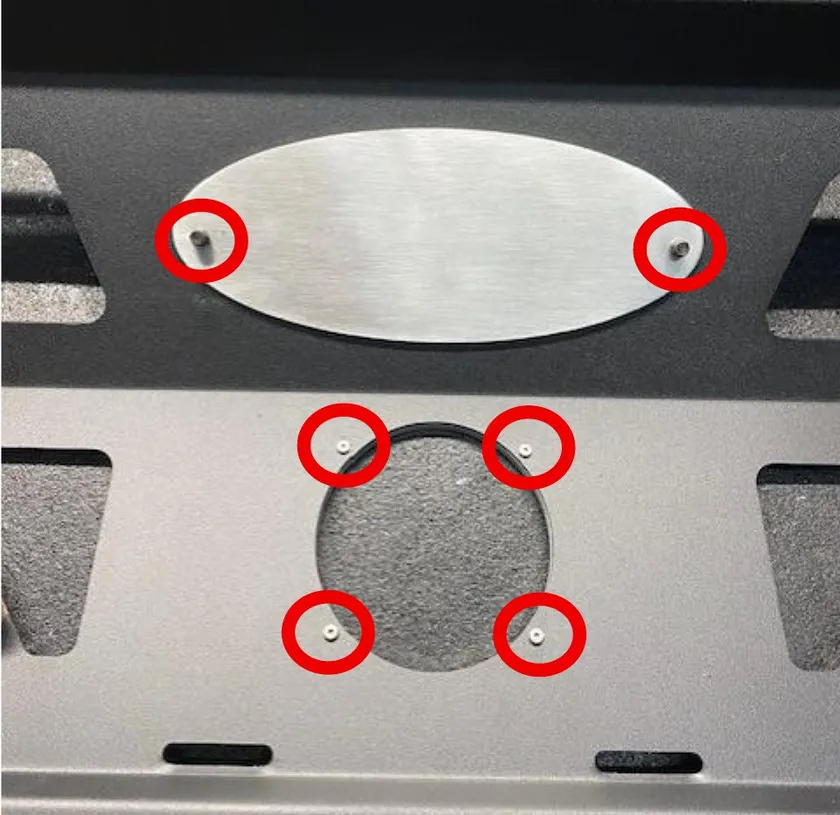
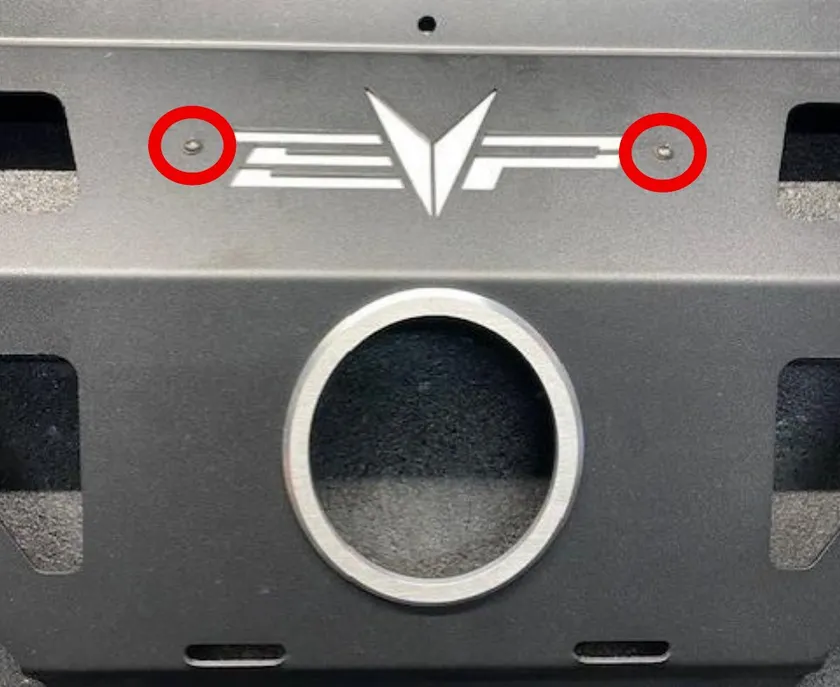
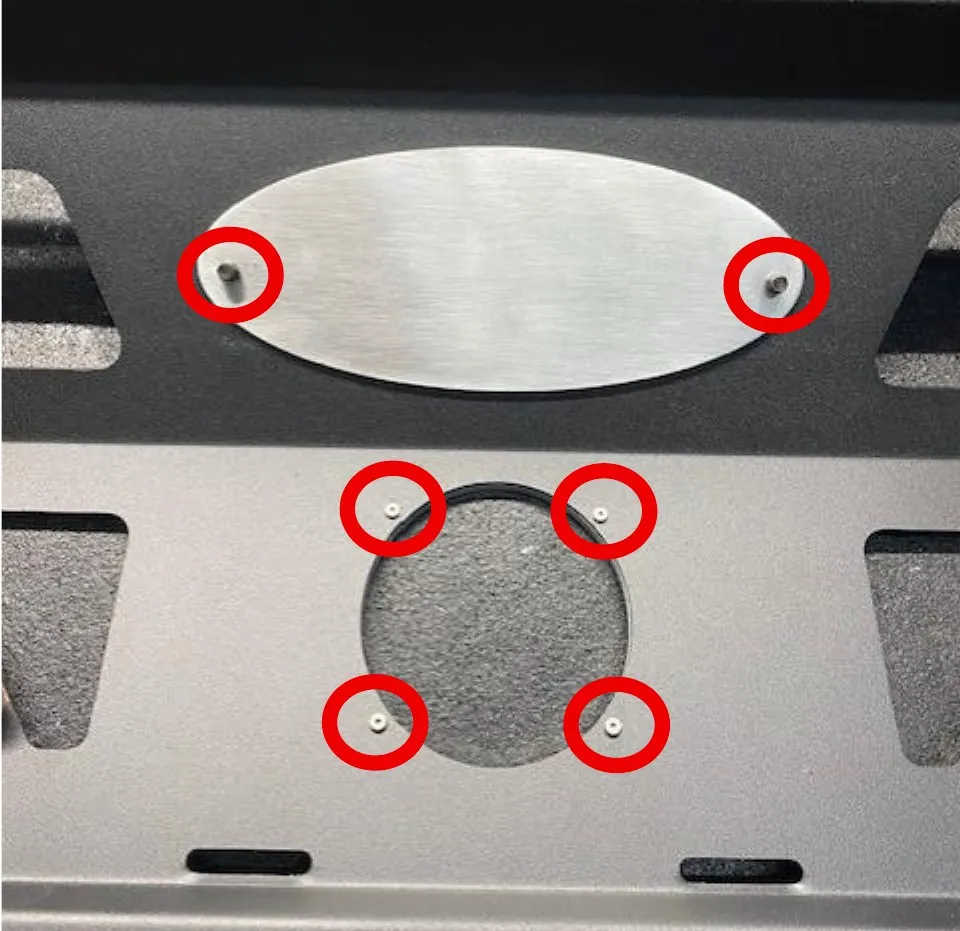
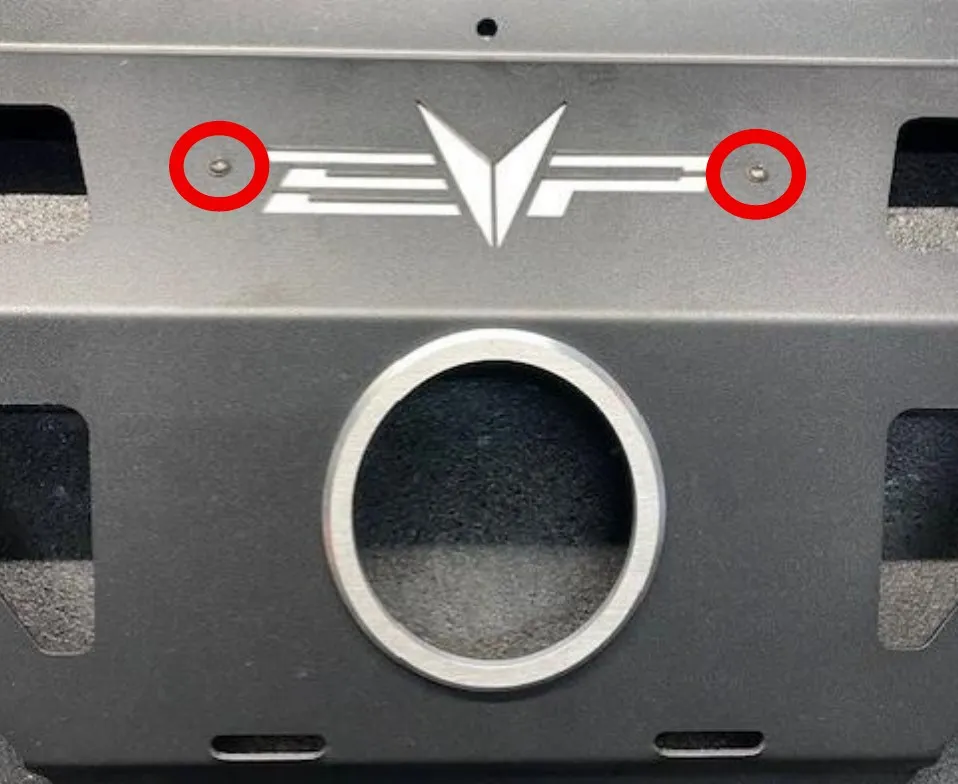
Install the backer plate and exhaust tip trim bezel onto the rear fascia. The backer plate will use M5 Torx screws with washers and locknuts. The trim bezel will use M3 screws. APPLY RED LOCTITE TO THESE SCREWS.
- Step 14
When you start the car the muffler will smoke for awhile. If you have a black muffler, the coating will smoke the first time you start the vehicle. Check for exhaust leaks around the V-band clamp. If everything is good, reinstall the bed.
Need technical support?
Submit a ticket with your vehicle and what you're seeing, and our support team will get back to you.
