Can-Am Maverick R Firewall Access Panel

Installation instructions for the Maverick R Firewall Access Panel on the Can-Am Maverick R (SKU 925FC0999). Parts, tools, and full procedure.

Legacy SKU
925FC0999
Revision
REV_101724

In the box

Parts and tools

Included parts

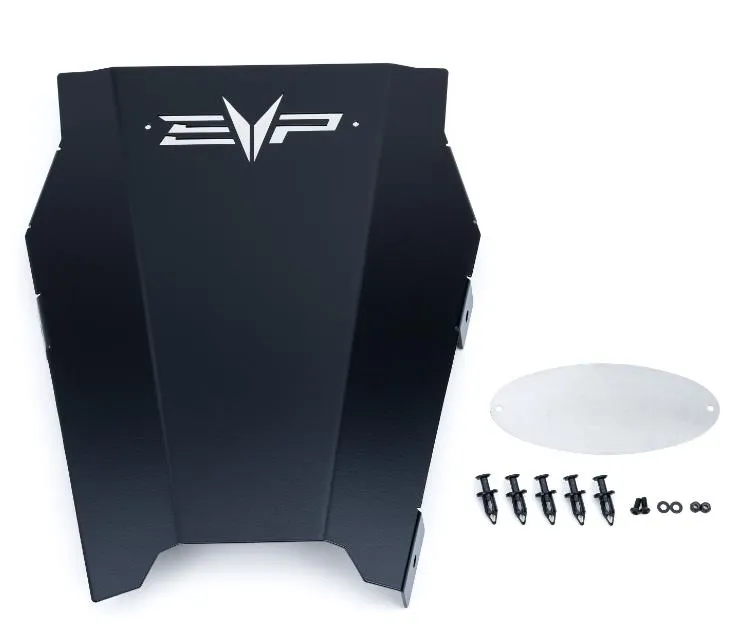
  • 1Firewall Access Panel, Black
  • 1Backer Plate, Raw
  • 2M4 Screw
  • 2M4 Washer
  • 2M4 Nyloc Nut
  • 5Push Darts

Required tools

  • 8, 13, 16, 18mm Socket
  • Cutting Device
  • Tape, Sharpie
Maverick R Firewall Access Panel

Procedure

Installation

  1. Step 1

    Remove both driver and passenger seats. (2) 13mm nut and bolts in the front, (2) 18mm nuts and spacers in the rear. Make sure to remove the bottom seat belt mounts, (2) 16mm screws. You must unplug the driver side seat belt connector.
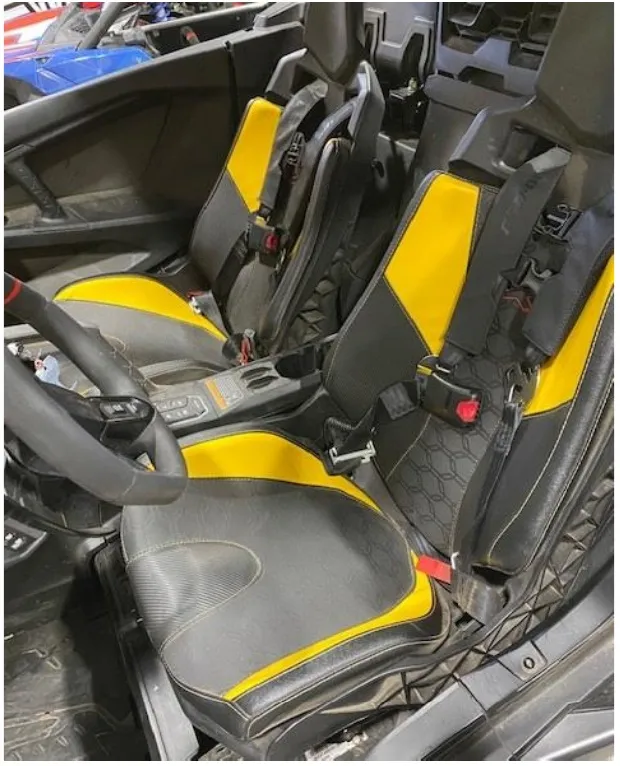
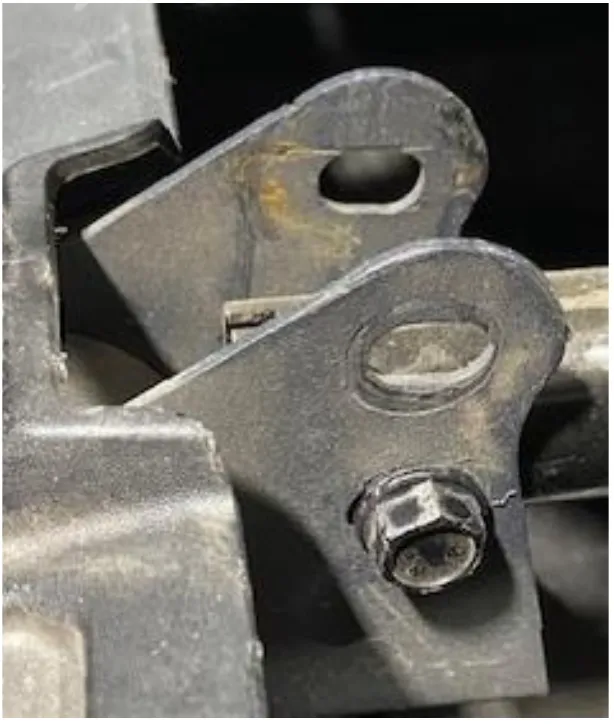
    Remove both driver and passenger seats.
    Remove both driver and passenger seats.
    Remove both driver and passenger seats.
  2. Step 2

    Clean the firewall panel well with a parts cleaner or a degreaser.
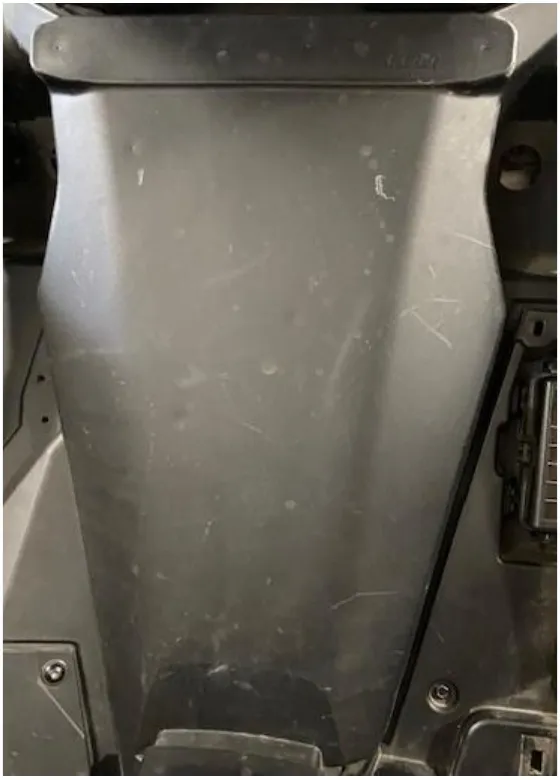
    Clean the firewall panel well with a parts cleaner or a degreaser.
  3. Step 3

    Hold the access panel up to the firewall, you can see it moves up and down a 1/4". You will want to split the difference later. This is just showing you movement.
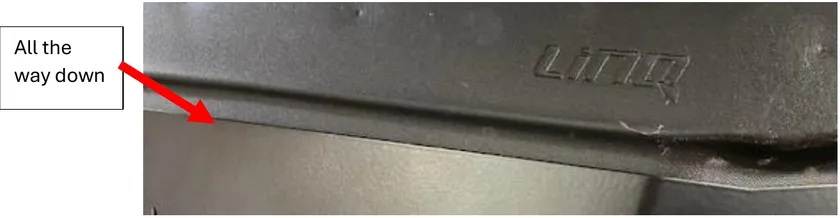
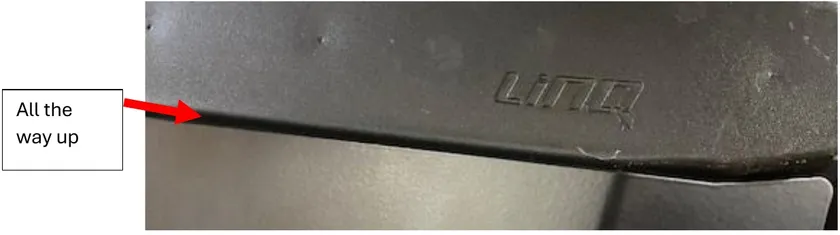
    Hold the access panel up to the firewall, you can see it moves up and down a 1/4".
    Hold the access panel up to the firewall, you can see it moves up and down a 1/4".
  4. Step 4

    Once you see where the panel lays, tape off the outer perimeter of the firewall. Once outer perimeter is taped, tape off 1.0” into the inner perimeter.
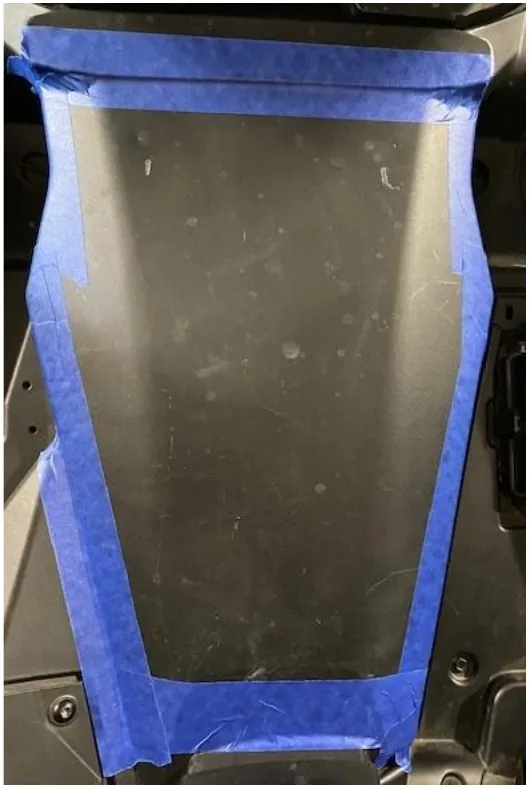
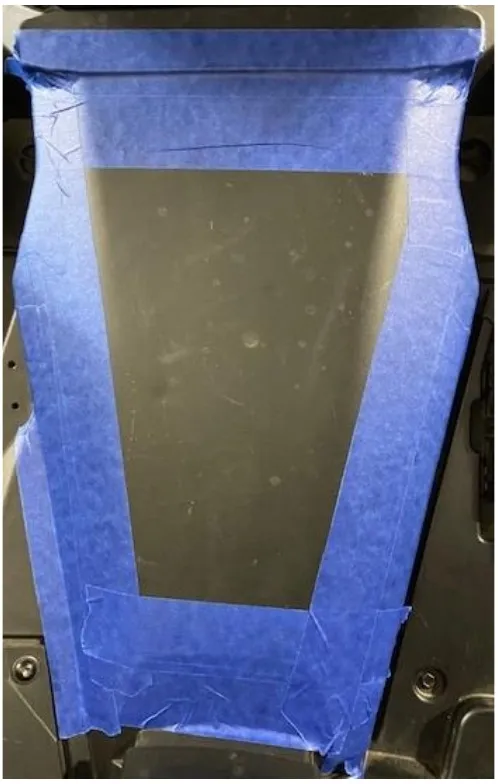
    Once you see where the panel lays, tape off the outer perimeter of the firewall.
    Once you see where the panel lays, tape off the outer perimeter of the firewall.
  5. Step 5

    Remove the cupholders. This isn’t necessary but helps move the harness around.
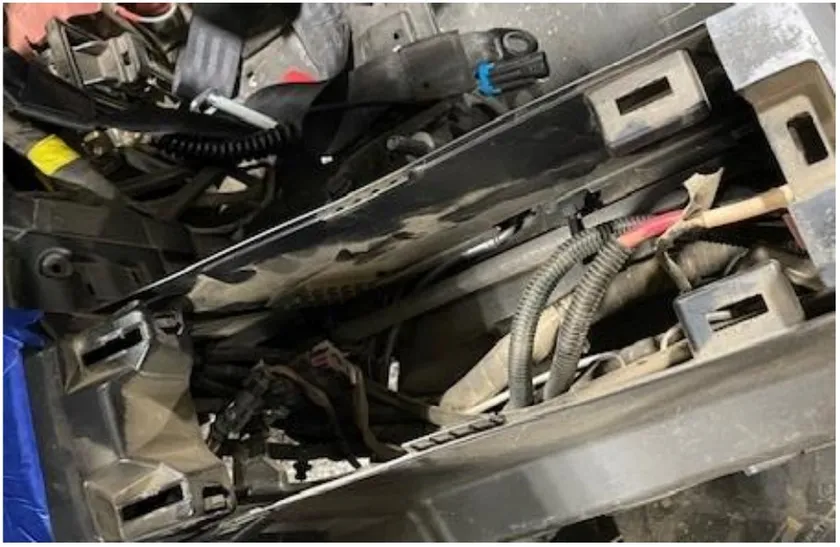
    Remove the cupholders.
  6. Step 6

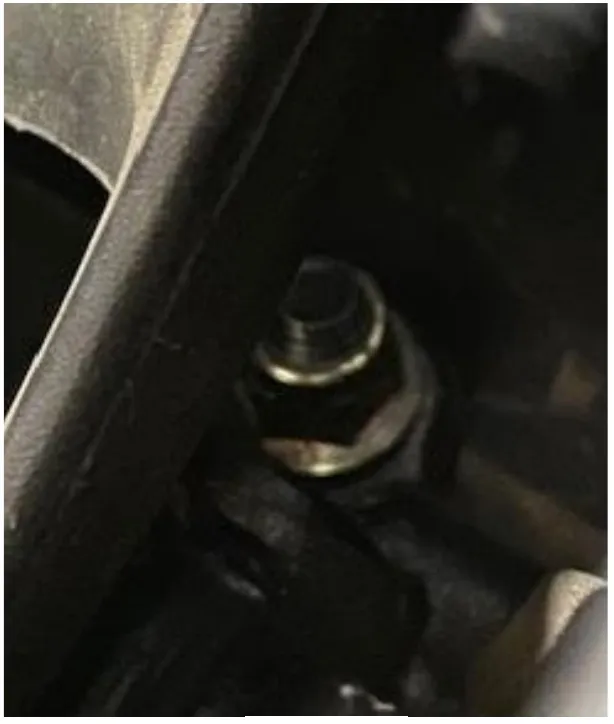
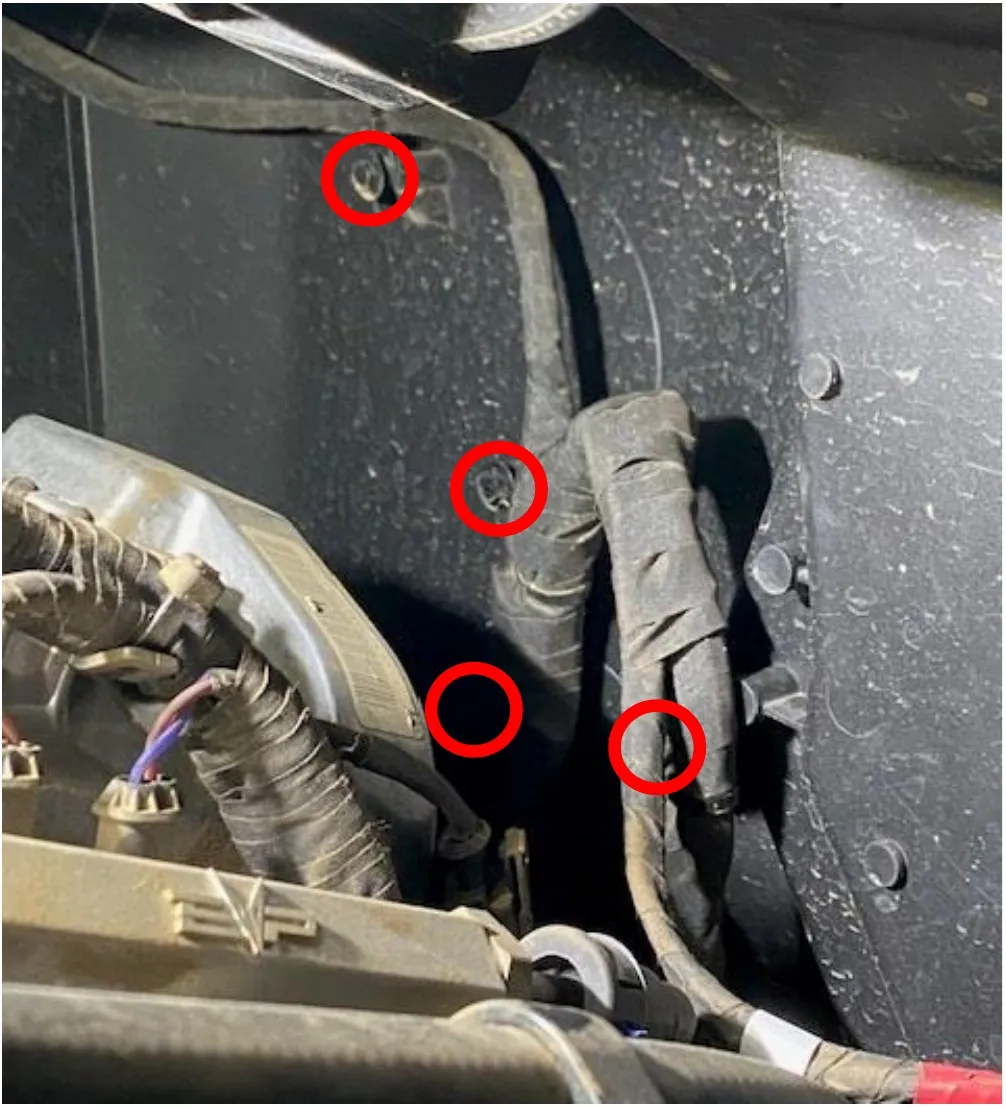
    IMPORTANT STEP on the backside of the firewall, you must remove (4) M8 screws holding the harness to the firewall. There is (1) one you cannot access until later. Zip tie or strap the harness up against the engine. If this step is skipped, you will cut through the harness.
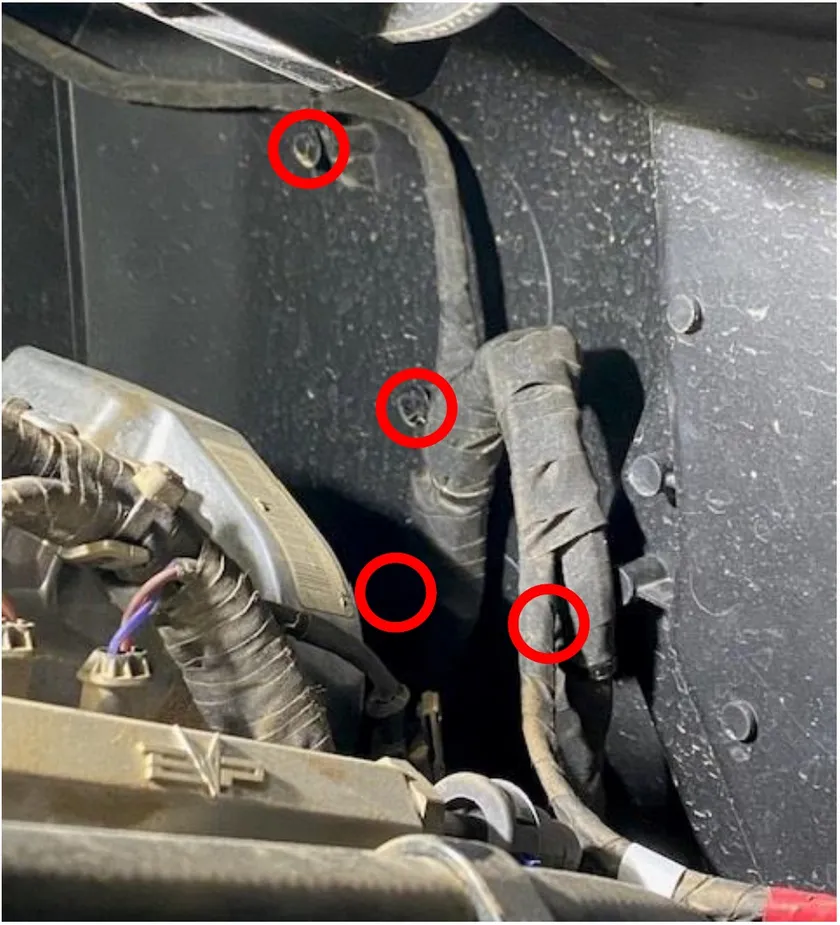
    IMPORTANT STEP on the backside of the firewall, you must remove (4) M8 screws holding the harness to the firewall.
  7. Step 7

    Hold the access panel up to the car, adjust the panel where you want it, outline the entire panel with a sharpie.
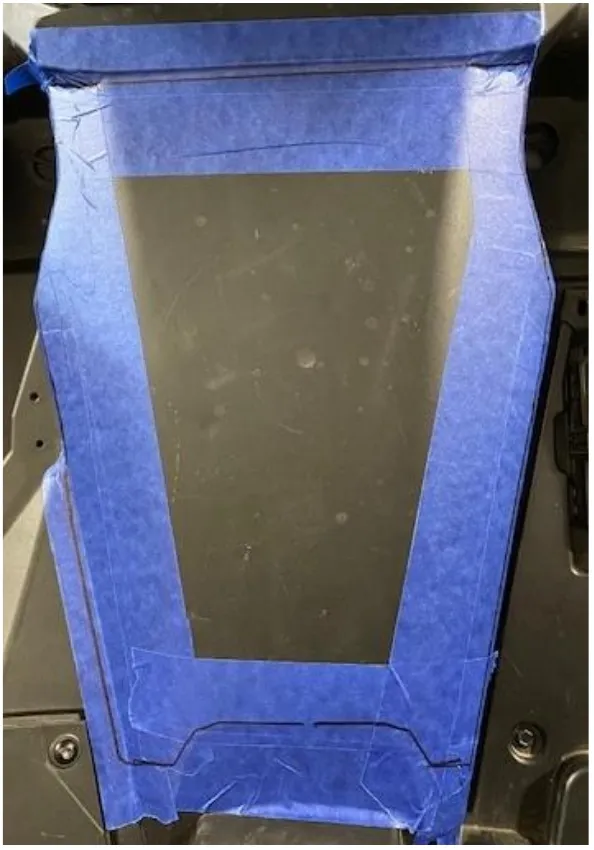
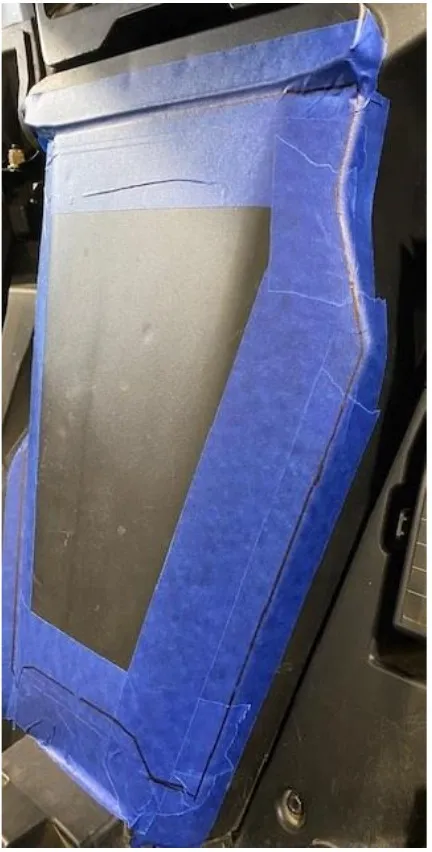
    Hold the access panel up to the car, adjust the panel where you want it, outline the entire panel with a sharpie.
    Hold the access panel up to the car, adjust the panel where you want it, outline the entire panel with a sharpie.
  8. Step 8

    With a caliper and straight edge follow the outline and make an inner template 1/2" inside the outer template.
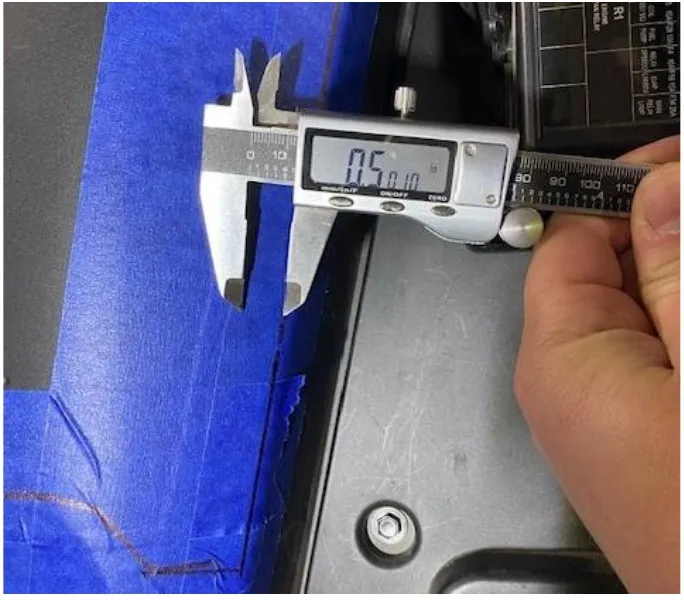
    With a caliper and straight edge follow the outline and make an inner template 1/2" inside the outer template.
  9. Step 9

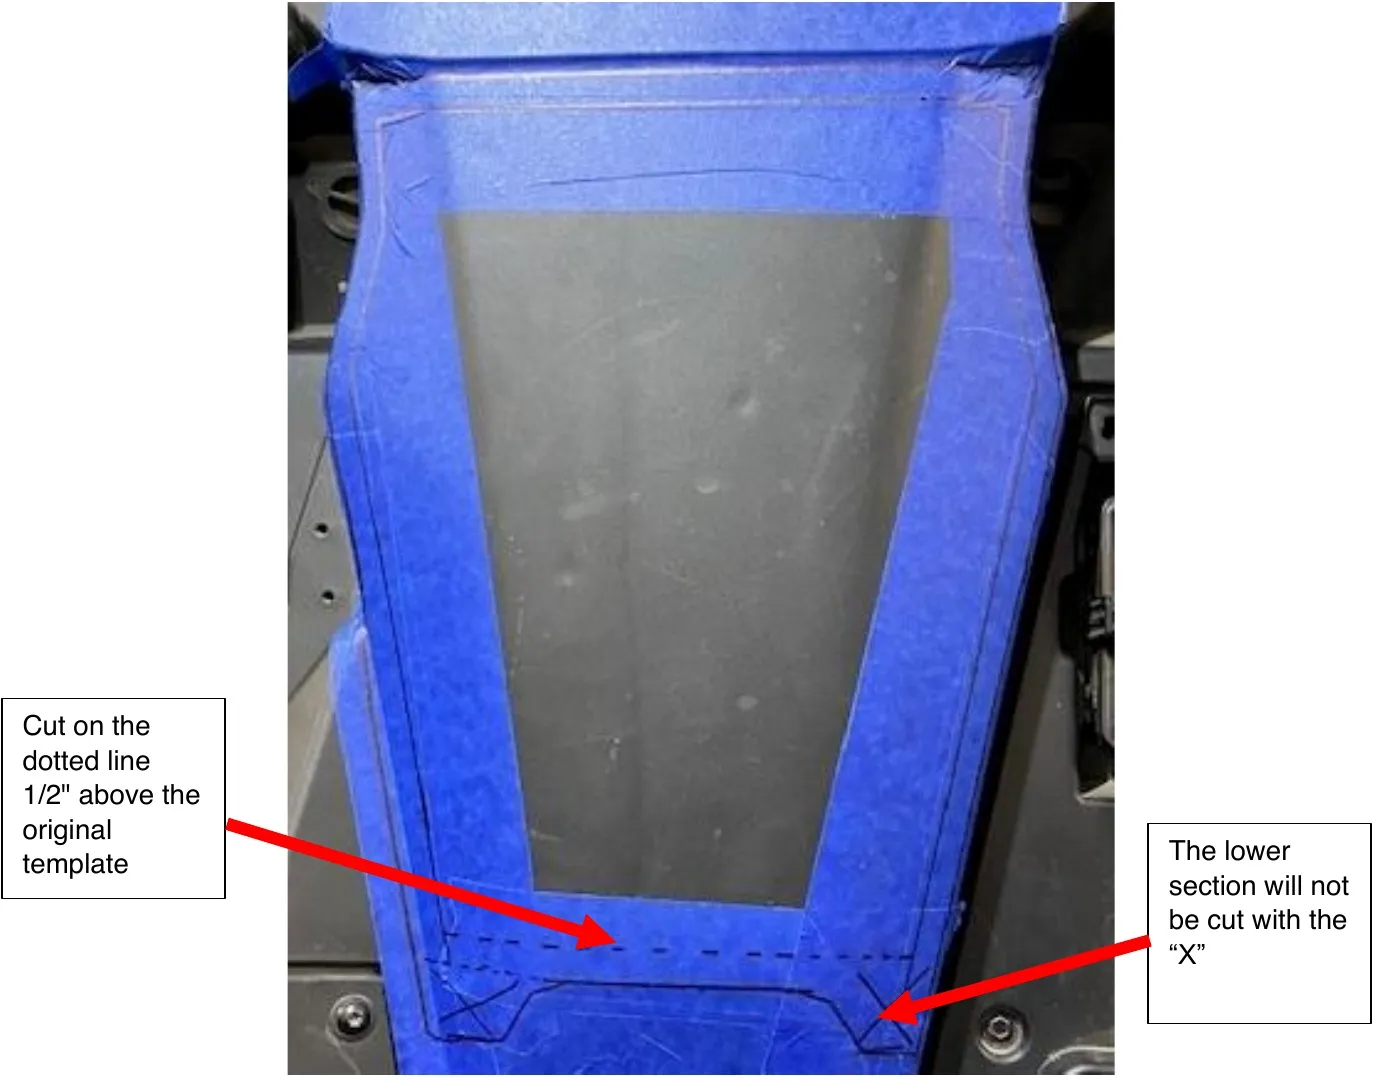
    Notice on the bottom portion (dotted line) just go straight across. There is another harness mount below that dotted line. It is important to be 1/2" above the outer template.
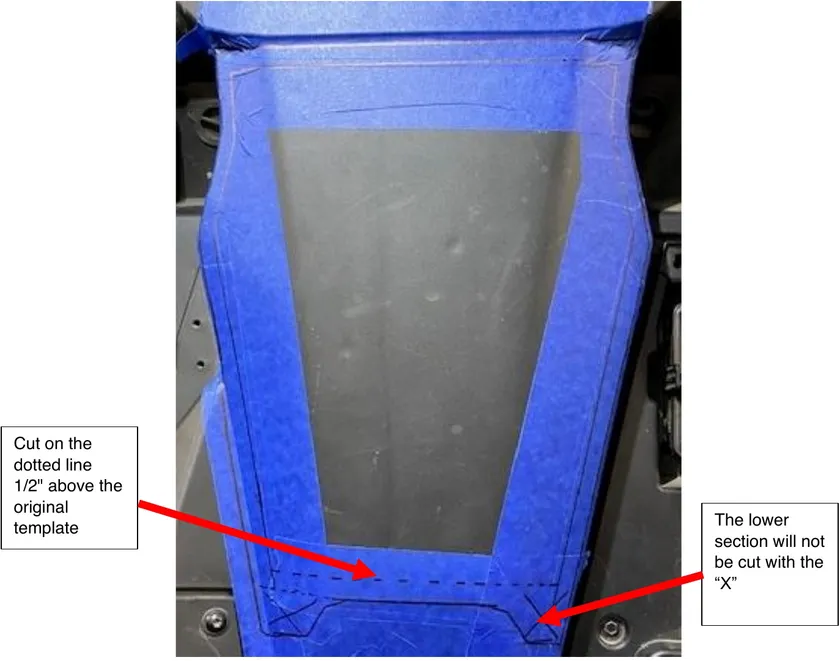
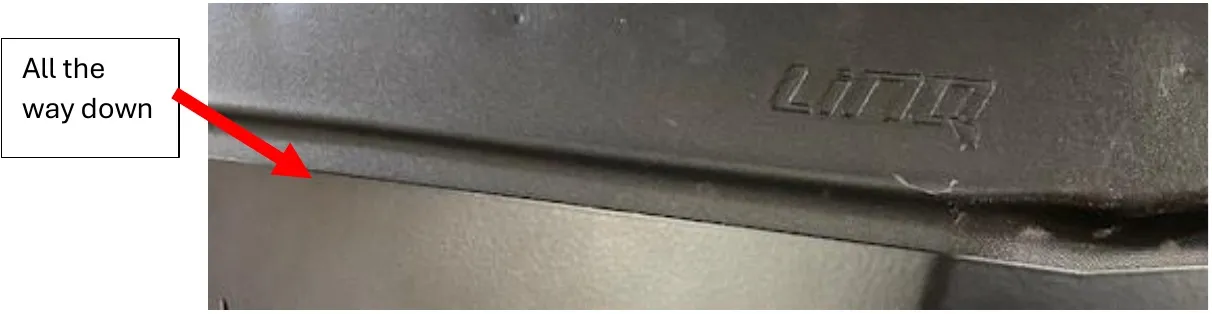
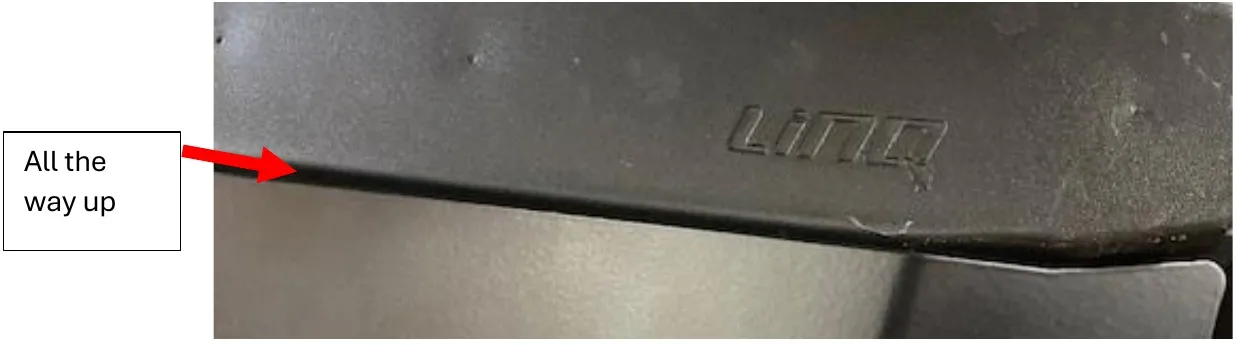
    Cut on the dotted line 1/2" above the original template. The lower section will not be cut with the “X”
    Cut on the dotted line 1/2" above the original template. The lower section will not be cut with the “X”
  10. Step 10

    With a cutting device: Dremel, drill and drill bit, jig saw, or carbide bit cut out the inner template. Only cut the upper half out of the car.
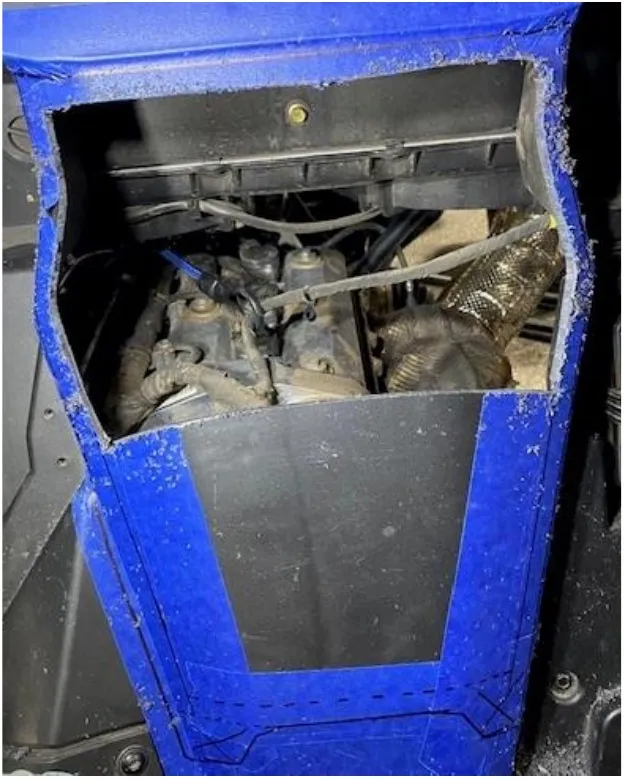
    With a cutting device: Dremel, drill and drill bit, jig saw, or carbide bit cut out the inner template.
  11. Step 11

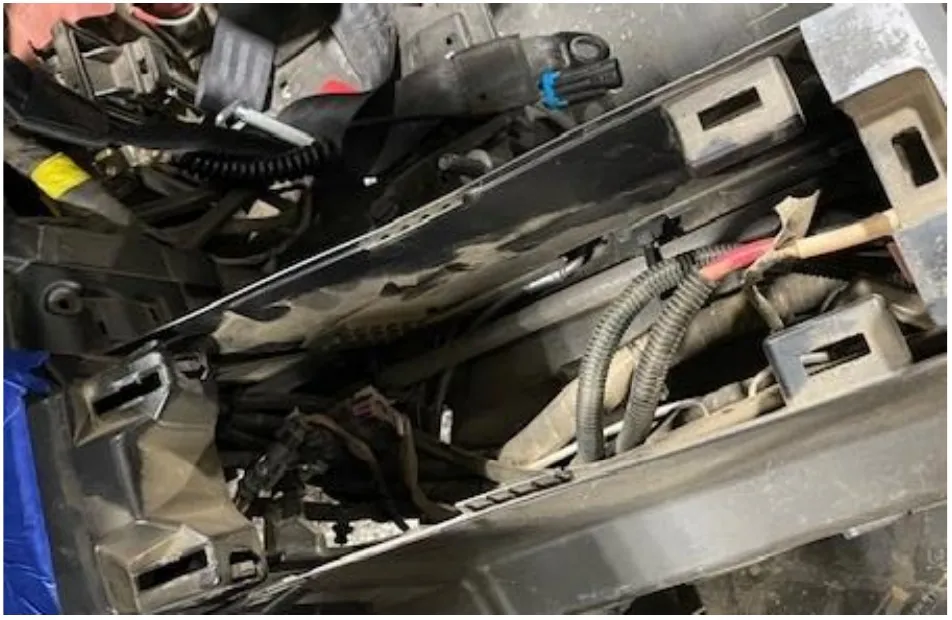
    Through the cut out, you can access the final harness support. Remove the 8mm screw and zip tie the harness up.
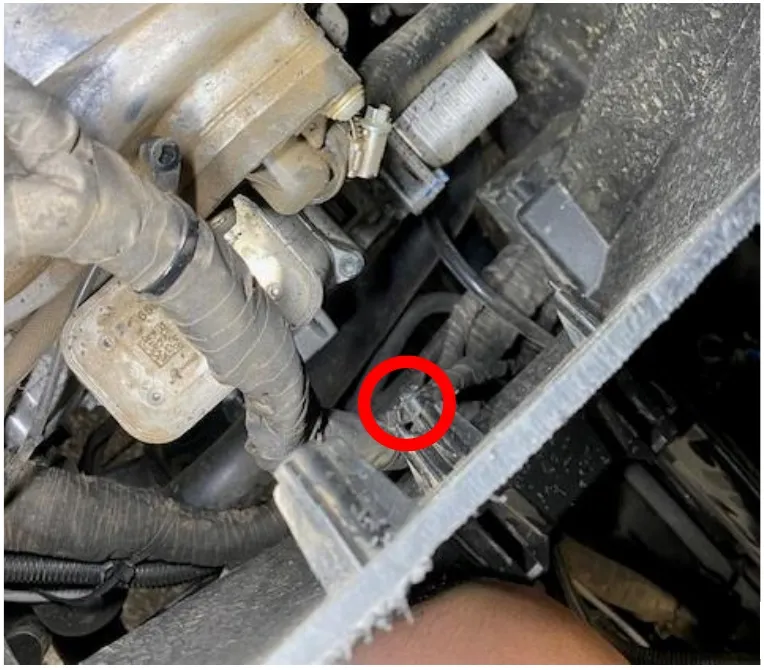
    Through the cut out, you can access the final harness support.
  12. Step 12

    Continue cutting out the lower section of the cut out. Remove the tape, use sandpaper and a small flame to remove any edges.
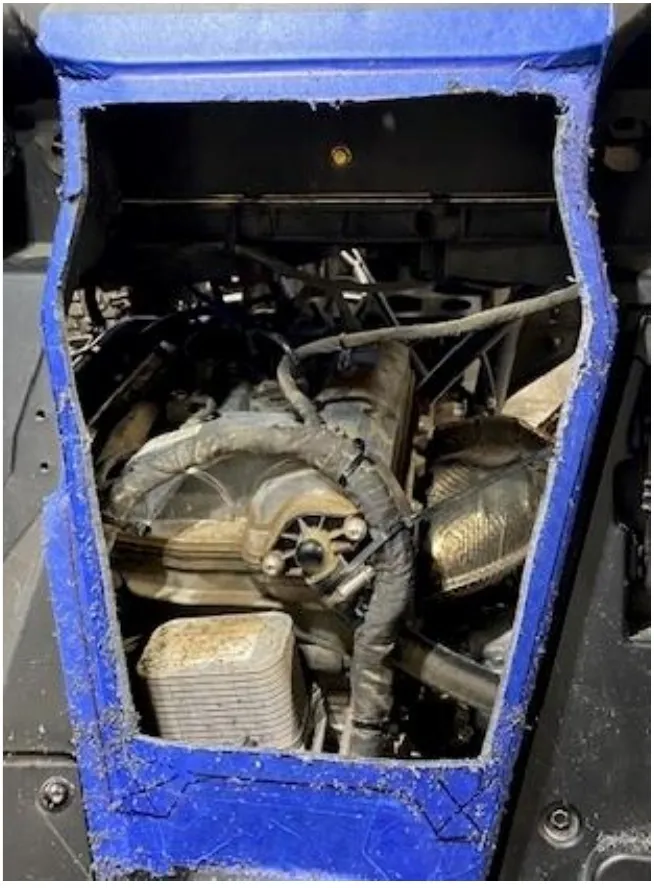
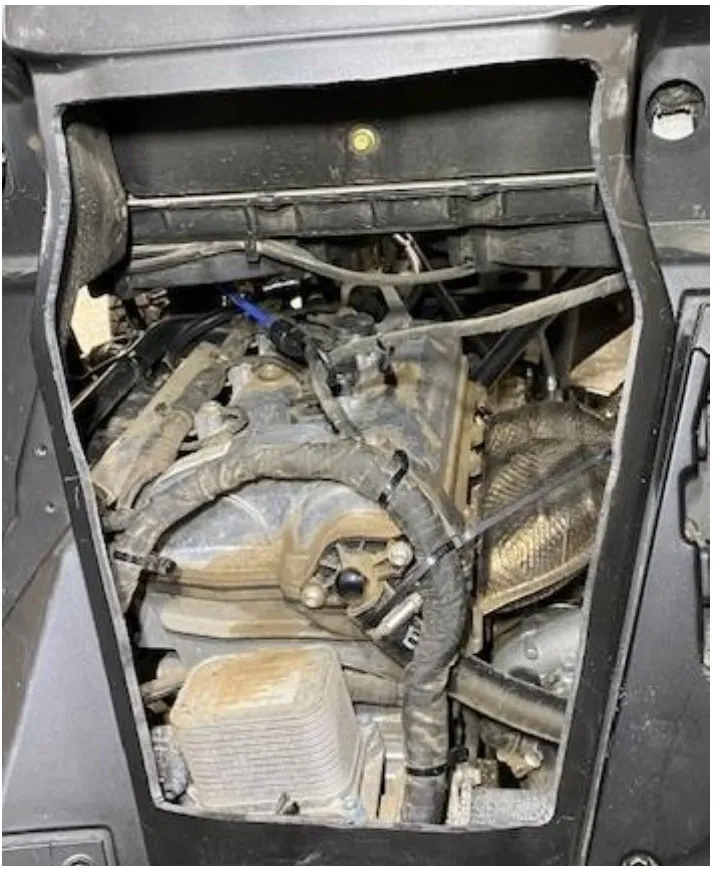
    Continue cutting out the lower section of the cut out.
    Continue cutting out the lower section of the cut out.
  13. Step 13

    Hold the access panel up and press down evenly, center mark all the holes.
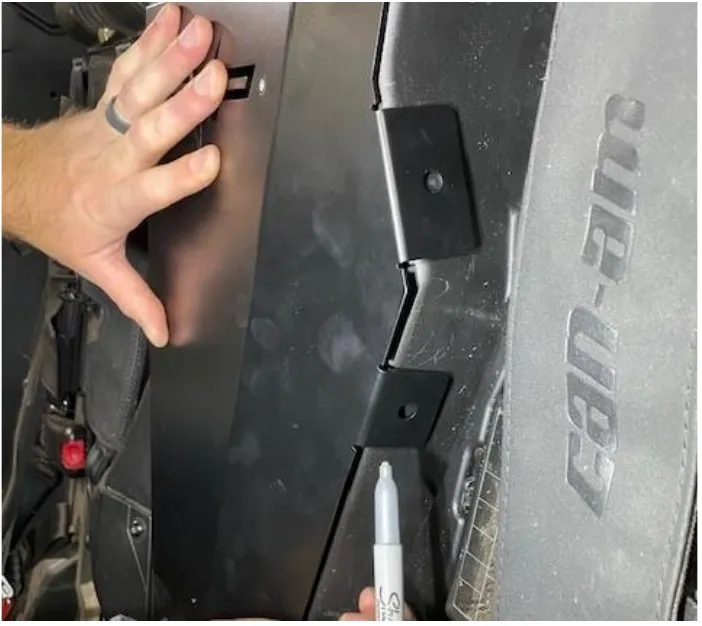
    Hold the access panel up and press down evenly, center mark all the holes.
  14. Step 14

    Drill out the center points with a 1/8” drill bit, finish with a 11/32” bit.
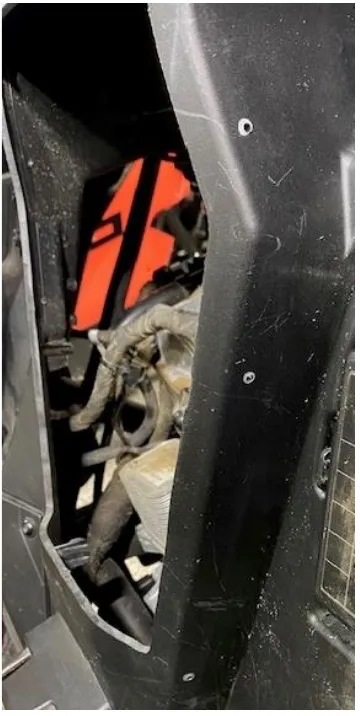
    Drill out the center points with a 1/8” drill bit, finish with a 11/32” bit.
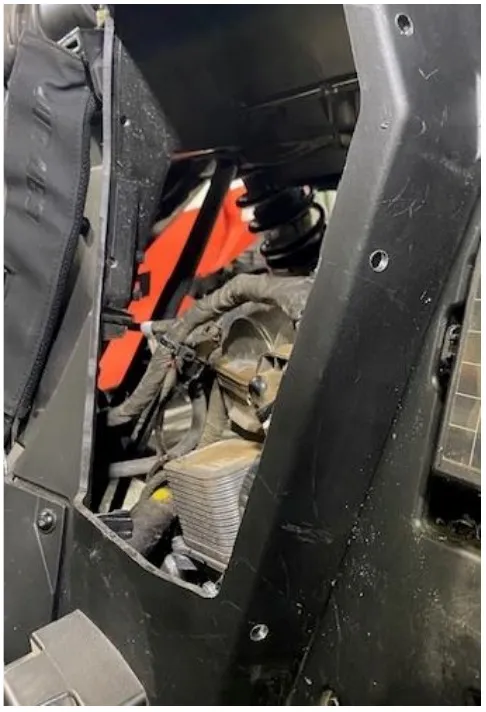
    Drill out the center points with a 1/8” drill bit, finish with a 11/32” bit.
  15. Step 15

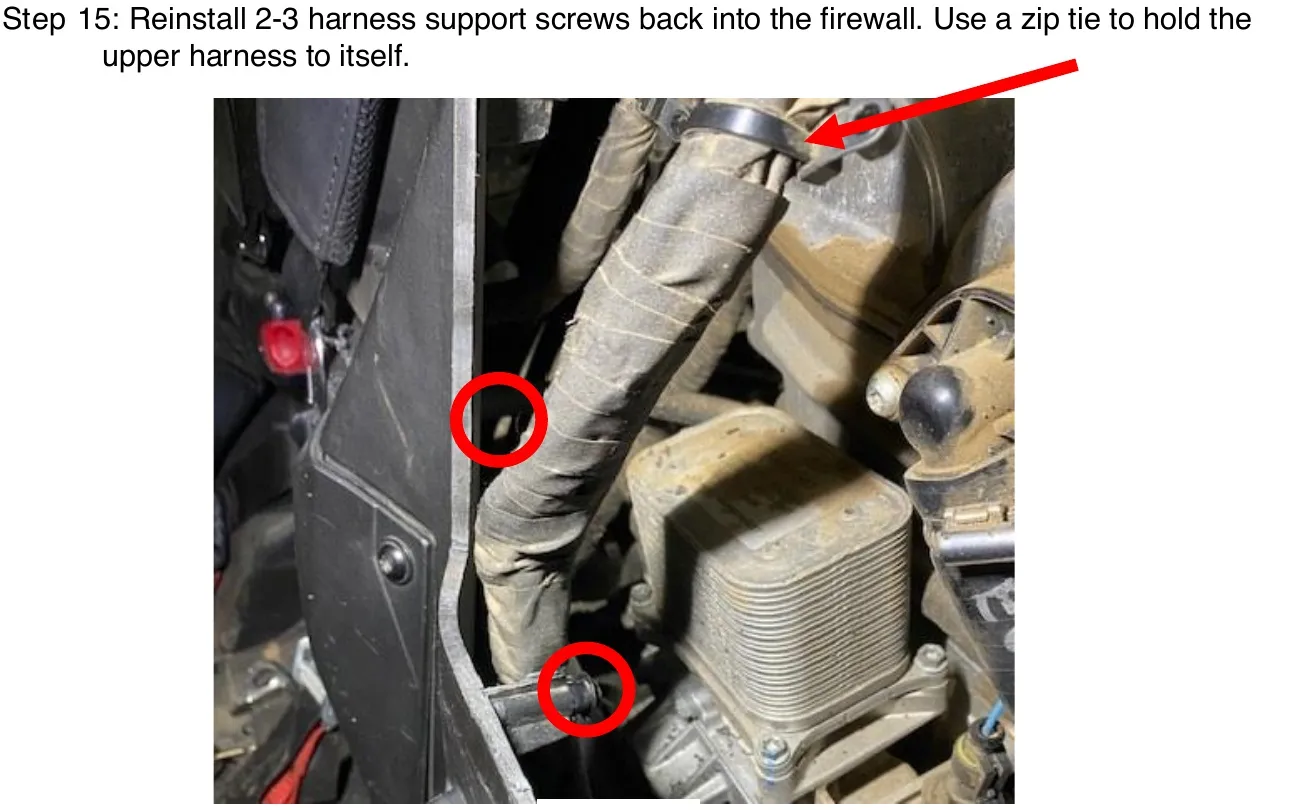
    Reinstall 2-3 harness support screws back into the firewall. Use a zip tie to hold the upper harness to itself.
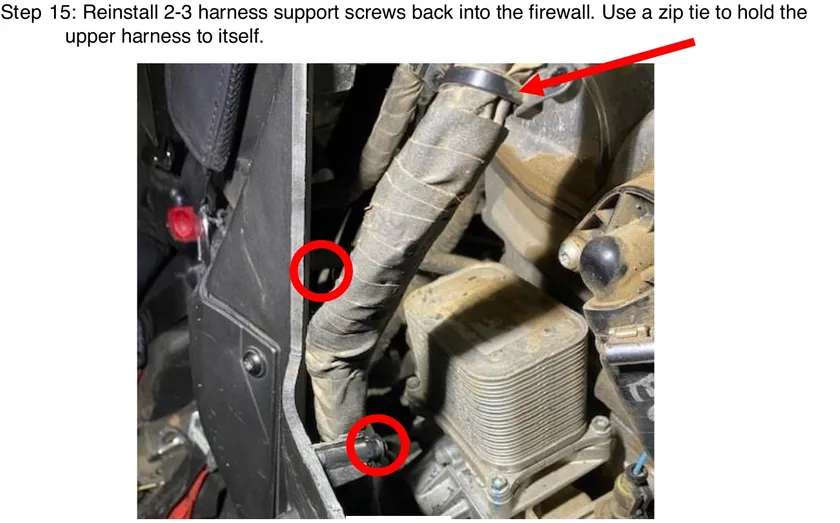
    Reinstall 2-3 harness support screws back into the firewall.
  16. Step 16

    Install the backer plate and hardware. Install the access panel and fasten down with supplied push darts.
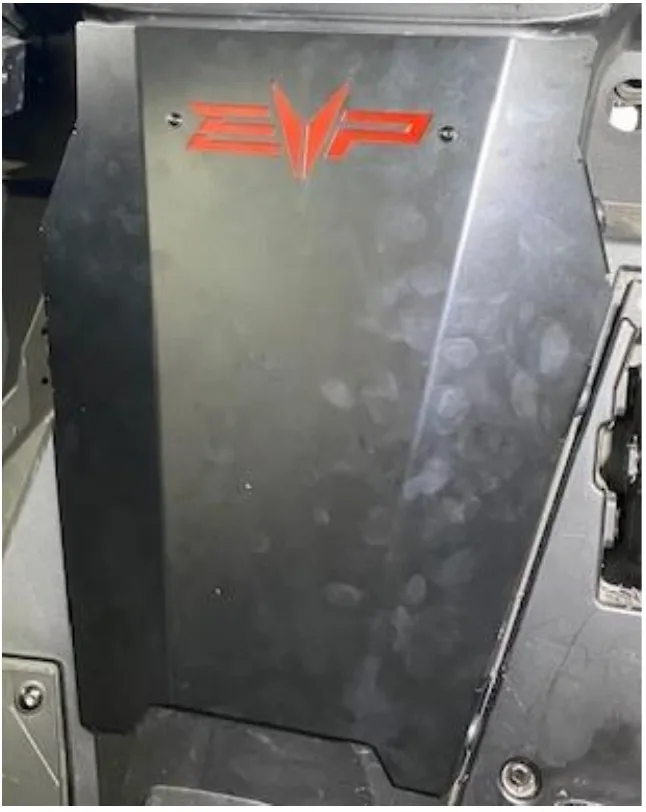
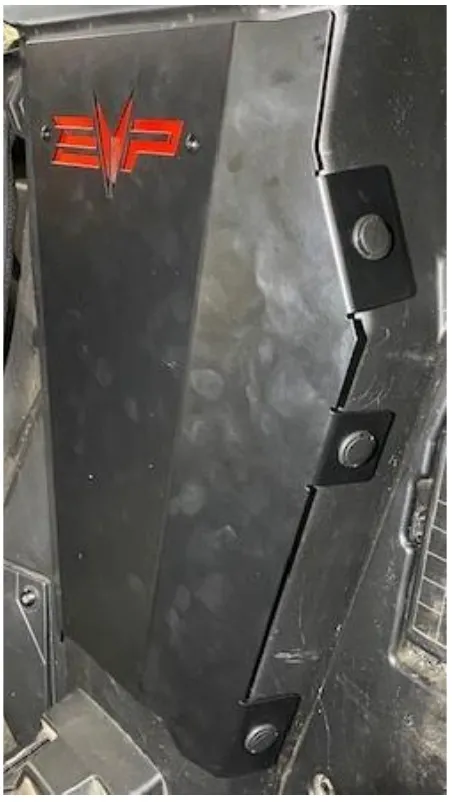
    Install the access panel and fasten down with supplied push darts.
    Install the access panel and fasten down with supplied push darts.
Emissions notice. This product is exempt from the emission standards and related requirements of 40 C.F.R. § 1051 as provided by 40 C.F.R. § 1051.620, and California law [e.g., vehicle code §§ 27156 and 38391]. This product is sold only for use in connection with EPA certified, purpose-built, nonroad vehicles used solely for closed course, nonroad competition/racing and not used for any recreational purpose or on public highways or right of ways maintained by and open to the public. This product is sold only in connection with machines that do not fall under state and/or federal noise or emission standards/regulations. Purchasers who/that purchase this product represent and warrant that the product is purchased only in connection with EPA-certified, emission-regulations-exempt and noise-regulations-exempt competition/racing vehicles as interpreted under applicable state and/or federal law.

Need technical support?

Submit a ticket with your vehicle and what you're seeing, and our support team will get back to you.

Contact Support
We use cookies to improve your experience on our website. Read about how we use cookies in our Privacy Policy. By browsing this website, you agree to our use of cookies. privacy policy
accept

Your cart

×
×