 BUY NOW, PAY LATER. Starting at 0% APR


Honda Talon Slip-On Exhaust
Installation instructions for the Honda Talon Slip-On Exhaust on the Honda Honda. Parts, tools, and full procedure.
In the box
Parts and tools
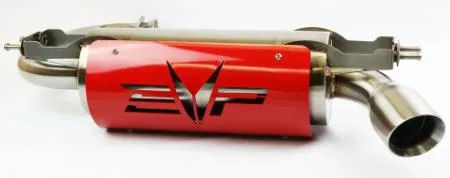
Included parts
- 1Rear Muffler
- 1Colored Heat Shield
- 12.5” Accu-Seal Band Clamp
- 1Inlet Pipe with Ball Flare
- 12 Bolt Flange
Required tools
- 10mm,15mm Socket
- #5, #6 Allen Wrench
- 10,12,17,22mm Open End Wrench
- Rachet
- Blue Loctite
- High Temp Anti-Seize
- 6” Extension
Procedure
Installation
- Step 1
Using a 10mm socket to remove the rear valance under the bed. There is (1) bolt on each side.
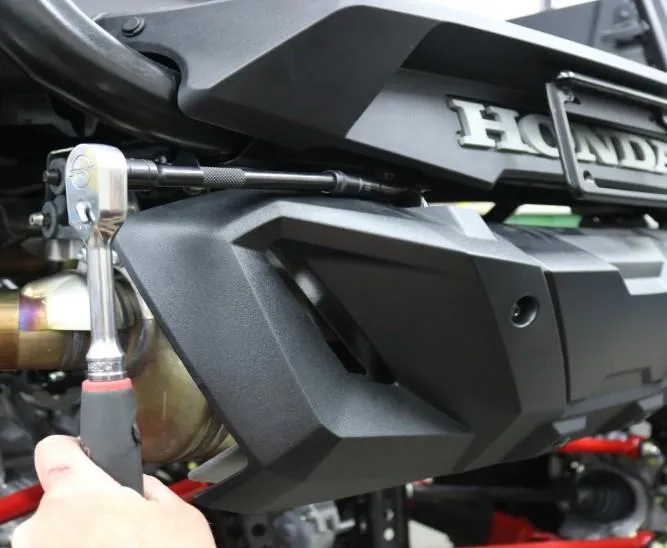
Fig. 1 NoteThis piece will no longer be used. (Figure 1)
- Step 2
Using a 22mm open end wrench, remove the 02 sensor. Be careful with the 02 sensor, it will be re-used.
- Step 3
Using a rachet with a 6” extension and 12mm socket and remove (2) bolts with springs holding the flange to the head pipe. These bolts and springs will be re-used when installing your new EVP exhaust.
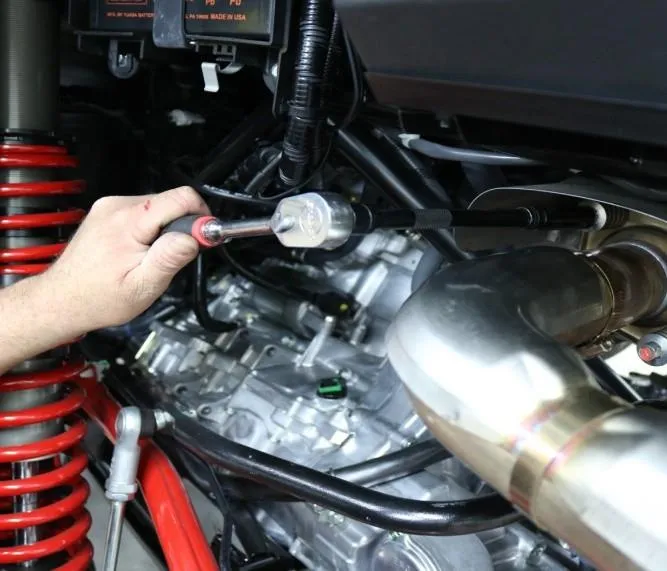
Fig. 2 Noteyou may need to squirt penetrating oil while doing this. (Figure 2)
- Step 4
Spray lubricant onto the steel post where the rubber hangers meet the exhaust. There are (2) rubber mounts, one on the driver and passenger side. You may need to pry them away from their mounting positions. These will be reused, if you notice cracks or broken mounts, replace. (Figure 3)
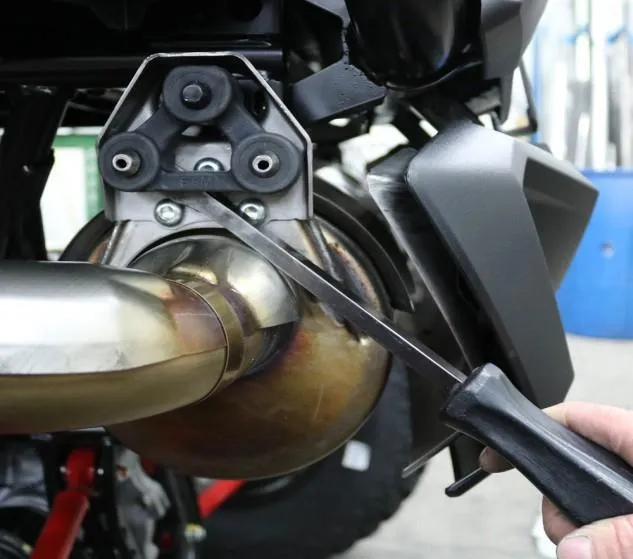
Fig. 3 - Step 5
Using the #6 Allen wrench, remove the hanger support bracket. Total of (3) bolts. Remove the OEM exhaust system.
Procedure
Installing the EVP Exhaust
- Step 1
Make sure the 2-bolt flange has the chamfer side facing the “flared” portion of the inlet pipe. Install the 2.5” Accu-Seal clamp over the muffler inlet.
- Step 2
Slip the inlet pipe into the swage portion of the muffler. With a 15mm socket, snug the Accu-Seal Clamp so both pieces are held together. DO NOT TIGHTEN THE CLAMP.
- Step 3
On the passenger side ONLY, re-install the hanger support using (3) Allen bolts and apply Blue Loctite on the treads.
- Step 4
Reinstall the rubber hanger onto the passenger side.
- Step 5
Slide the EVP muffler into the passenger side and push the rubber mount onto the muffler.
- Step 6
Mount the drivers side support hanger and rubber. Fasten the rubber onto the muffler supports. (Figure 4)
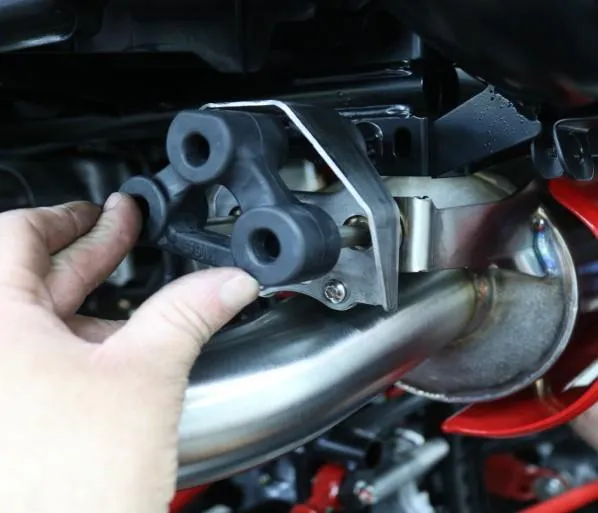
Fig. 4 - Step 7
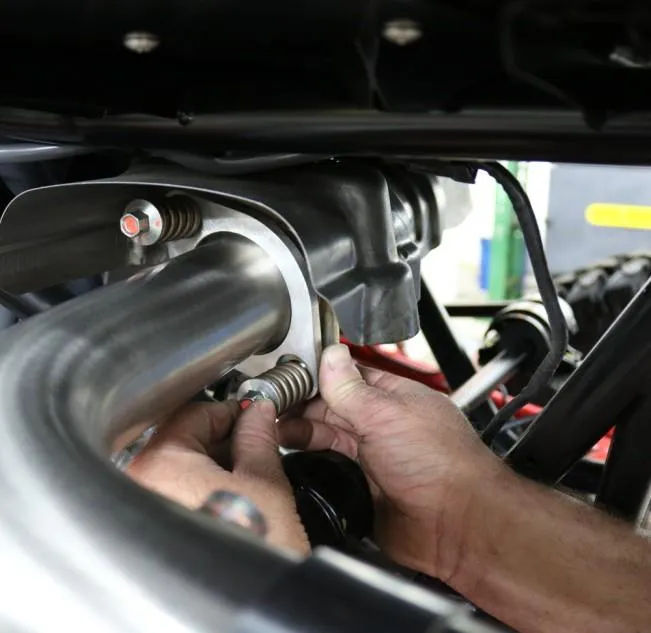
Install the 2-bolt flange, the machine taper should be facing the inlet cone. Reuse the factory bolts, springs and nuts and place blue Loctite on the threads. Tighten each bolt equally so the flange seals against the tube flare.
- Step 8
Install the 02 sensor, apply high temp anti-seize onto the threads. Counter turn the 02 sensor (5) times before installing, this will make sure the wires are not twisted. Use a 22mm open end wrench to tighten, DO NOT over tighten. (Figure 6)
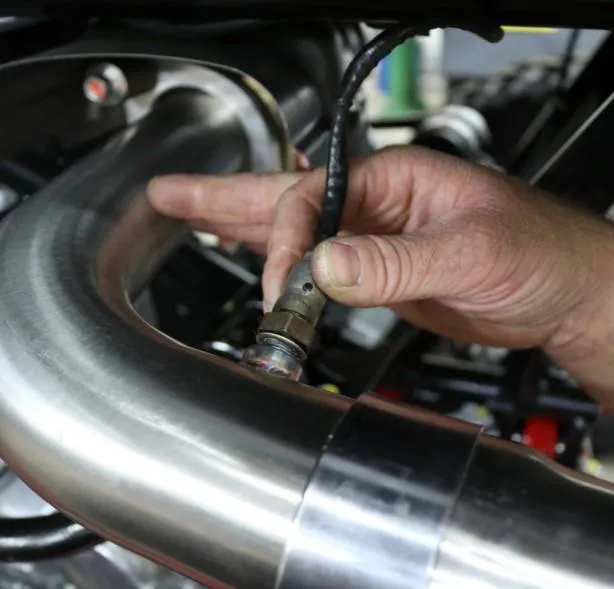
Fig. 6 - Step 9
Before you tighten the 2.5” Accu-Seal clamp make sure there is no binding between the inlet pipe and muffler. With a 15mm socket torque to 50-60 ft/lbs. (Figure 7)
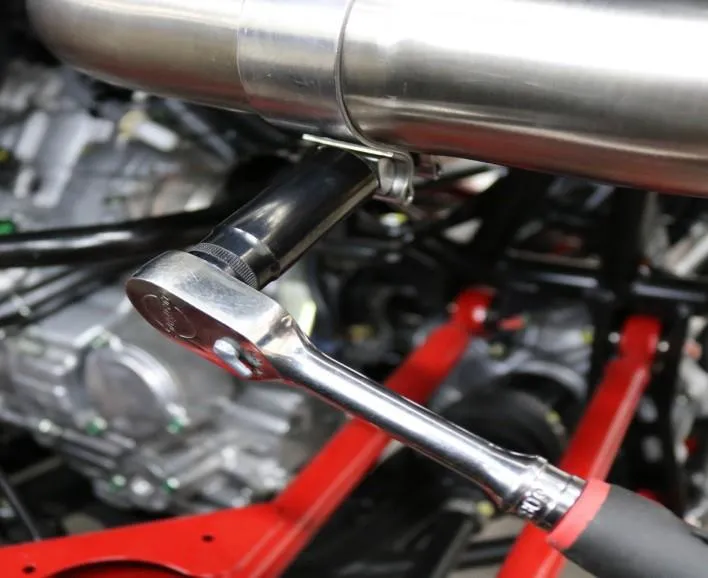
Fig. 7 - Step 10
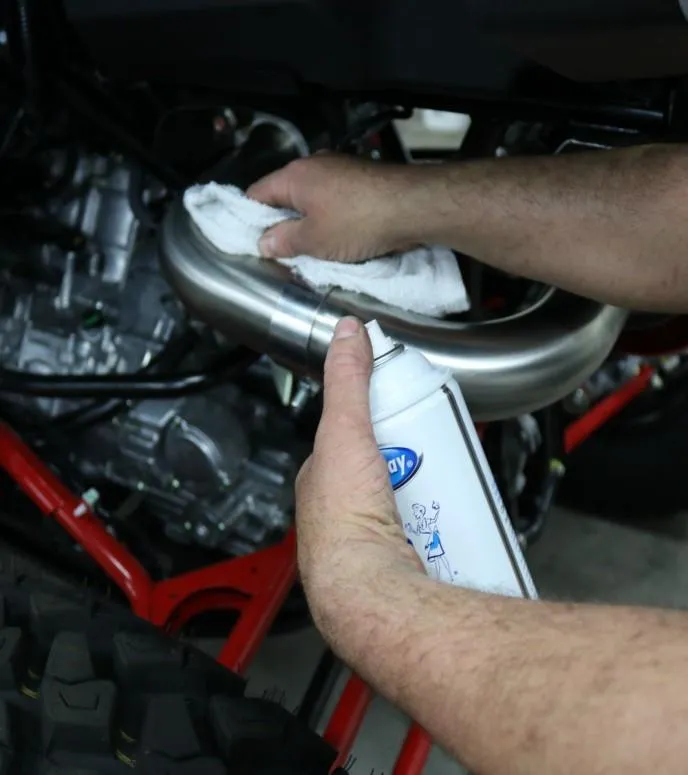
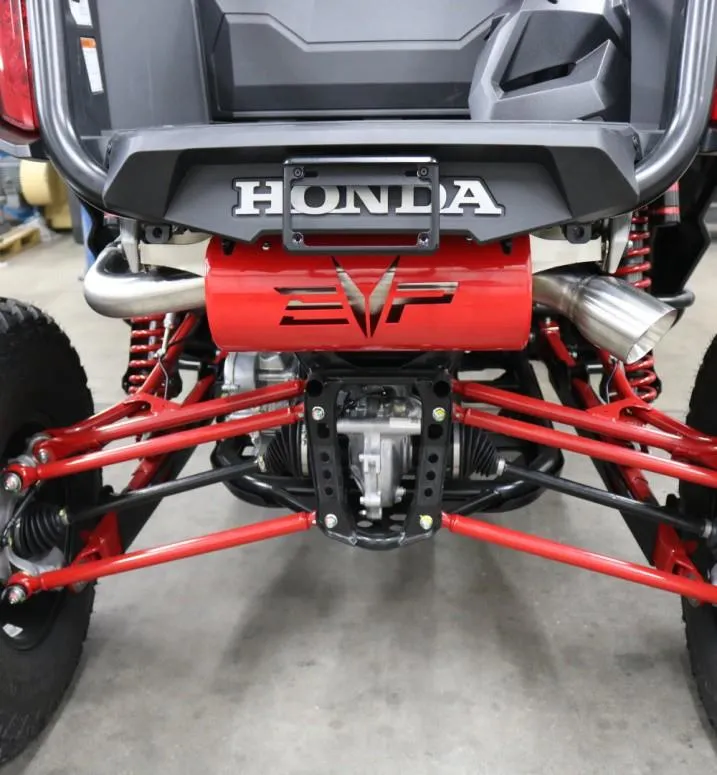
Your new EVP exhaust is installed. Before you start the machine, wipe the exhaust down with a micro-fiber cloth and glass cleaner. This will make sure to finger/handprints etch into the stainless before the first heat cycle.
Need technical support?
Submit a ticket with your vehicle and what you're seeing, and our support team will get back to you.
