 BUY NOW, PAY LATER. Starting at 0% APR


Can-Am EVP S3 Fast-Back Cage
Installation instructions for the EVP S3 Fast-Back Cage on the 2021 Can-Am Maverick X3. Parts, tools, and full procedure.
Before you start
This cage requires a bed delete that is not included in this kit. EVP bed delete kit (Black (925FC0029), Brushed (925RC0034). These installation instructions were done on a 2021 X3 Turbo RR XRS.
In the box
Parts and tools
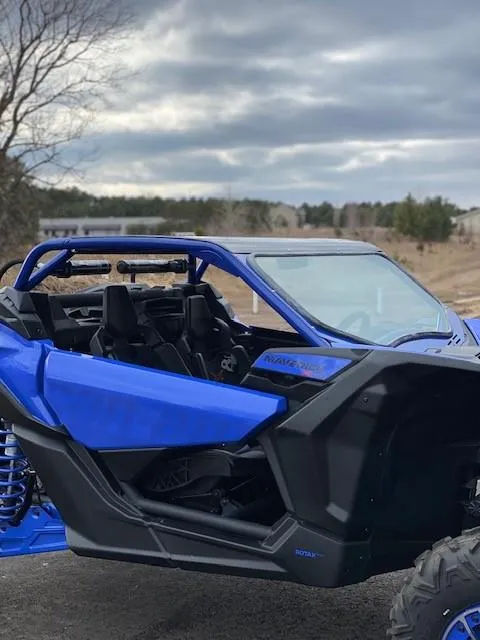
Included parts
- 1EVP S3 Cage
- 1Hardware Kit
Required tools
- Torque Wrench
- T-20, T-30, T-40 Torx
- 16, 17mm socket
- Blue Loctite
- 18mm open end wrench
Procedure
Installation Steps
- Step 1
Remove passenger side dash by removing (5) T-30 Torxs and (2) push darts. (Figure 1)
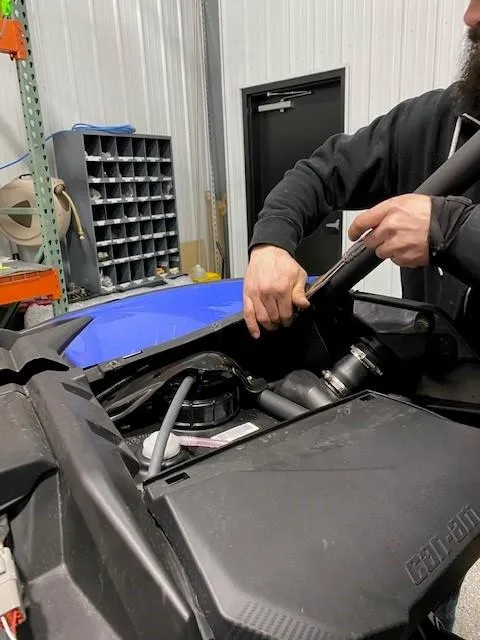
Fig. 1 - Step 2
With a 17mm socket remove (2) front passenger pillar cage bolts from underneath the dash. On the drivers side the dash does NOT need to be removed. Remove (2) 17mm head bolts from the driver’s side. (Figure 2)
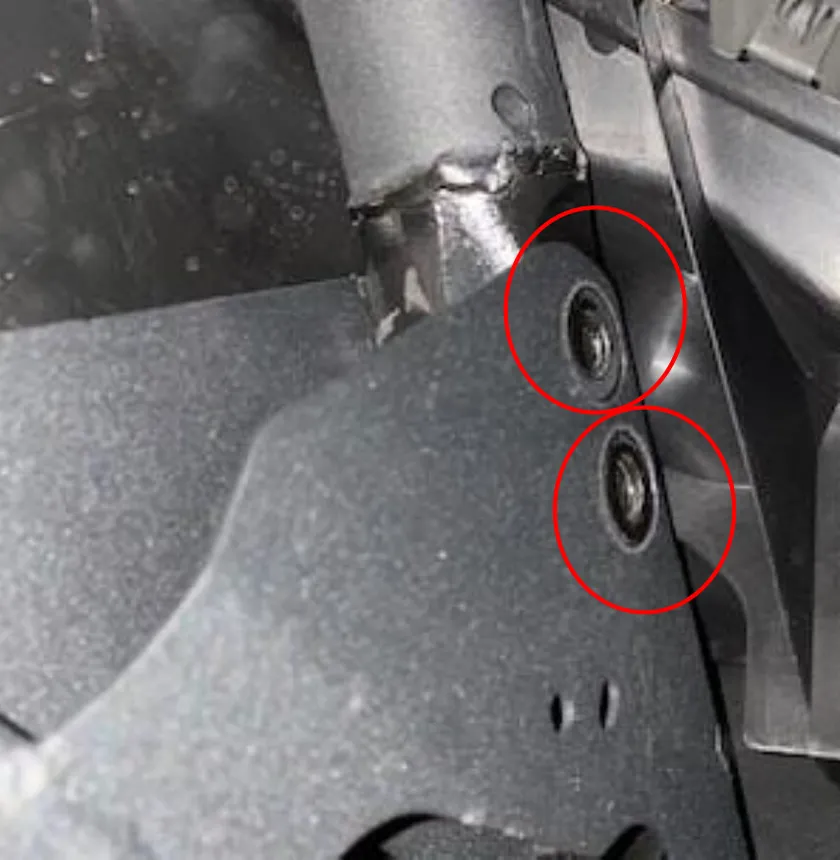
Fig. 2 - Step 3
On the passenger/driver rear pillar, remove the black housing around the cage. Use a T-30 Torx and remove (2) screws. Pull the black housing straight back because there is a clip securing it to the vehicle. (Figure 3)
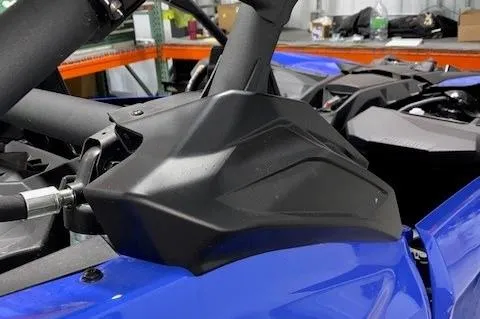
Fig. 3 - Step 4
Remove both shock reservoir claps off the OEM cage. Use an M5 Allen and remove (4) bolts per clap.
NoteThis is only on the X3 Turbo RR not the DS Turbo/RR)
- Step 5
Remove both rear fenders from the box, removing (5) T-30 Torx and (1) T-20 Torx underneath the box, next to the taillight.
- Step 6
On the rear box pillars, remove (2) 13mm bolt and nut for each side. These are only accessible from underneath the box. (See figure 4)
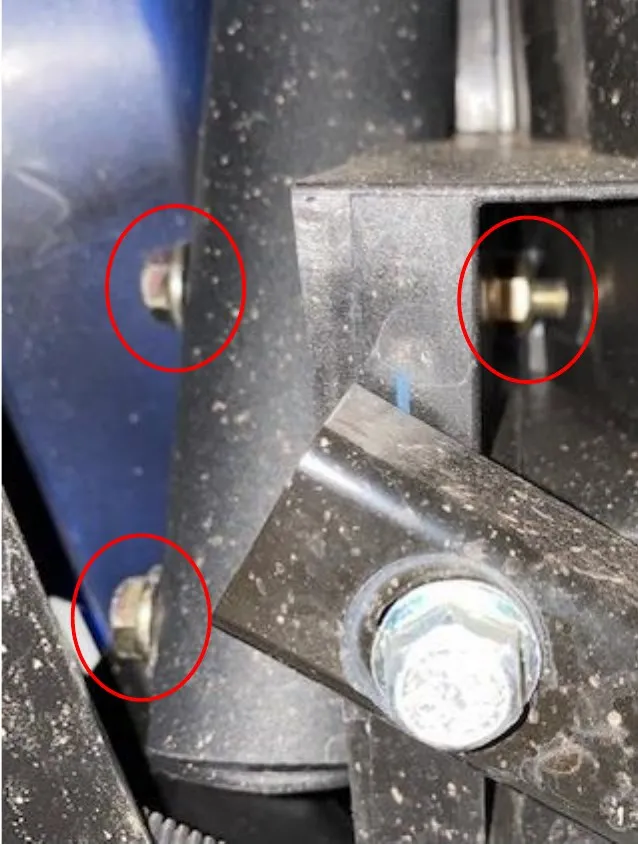
Fig. 4 - Step 7
On the top of the rear box pillar, remove (2) T-40 Torx and use a 14mm socket on the back side. Once this is complete you can pull the rear box pillars off the frame and out of the rear fender. (See Figure 5).
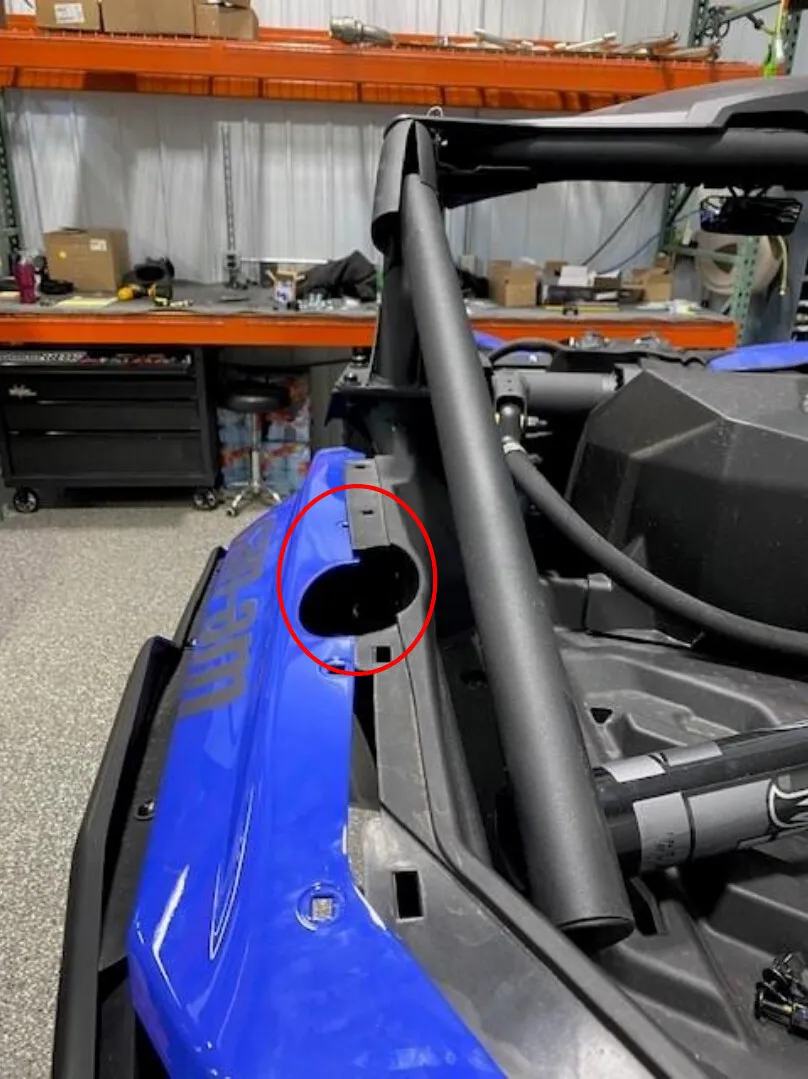
Fig. 5 - Step 8
For both middle cage pillars, remove (3) bolts from the cage plates to the frame, using a 16mm socket and 18mm open end wrench. Do this to both sides. (See figure 6).
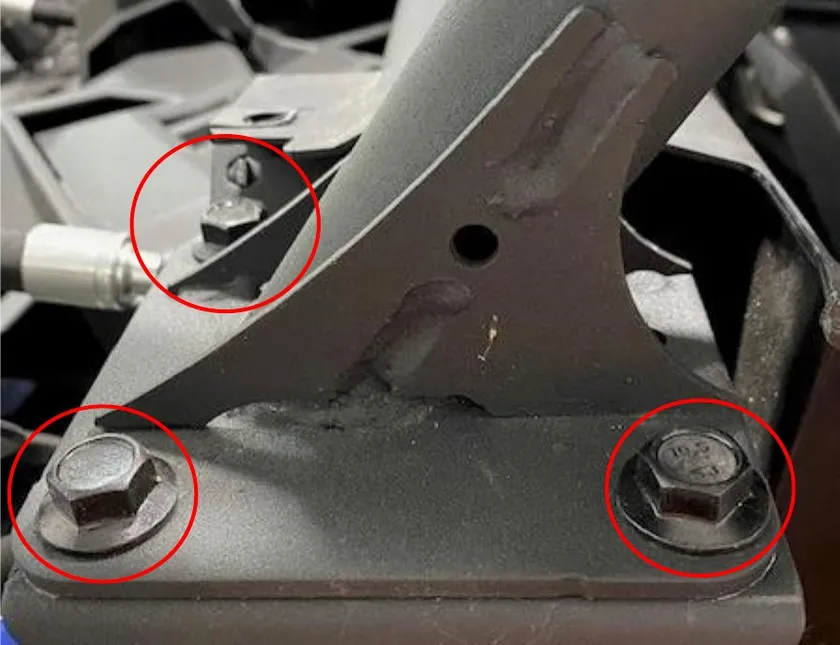
Fig. 6 - Step 9
With another set of hands, remove the cage from the vehicle by walking it towards the rear of the vehicle.
- Step 10
Install the new EVP S3 cage the same way, walking the cage from the rear of the vehicle. Slide the front pillars in first.
- Step 11
With blue Loctite and re-using the front OEM pillar bolts (4) (2 1/2" M12x1.75) hand tighten the front pillars.
- Step 12
With blue Loctite, install (3) bolts per side on attaching the cage plate to the frame of the vehicle. This may take some prying to get all the holes lined up.
- Step 13
Once all (10) cage bolts are installed, torque them all to 85 ft-lbs. (See figure 7)
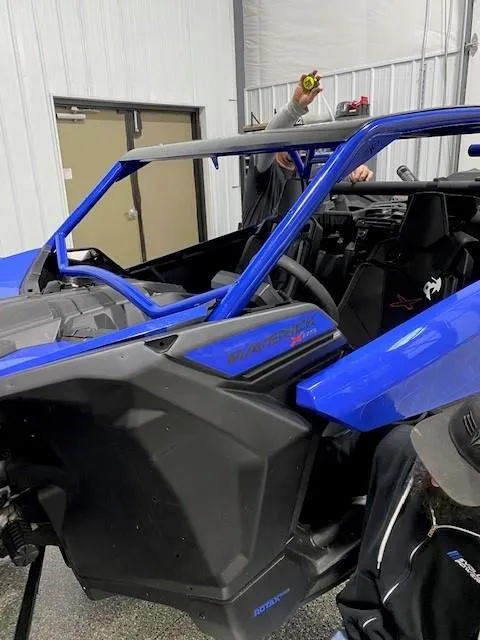
Fig. 7 - Step 14
Remove the bed and install the bed delete kit if you do not already have one.
- Step 15
If you are not doing a bed delete at this time, reassemble the rear fenders to the box using (5) T-30 Torx and (1) T-20 Torx by the taillight.
- Step 16
Reinstall the front passenger dash using (5) T-30 Torx.
- Step 17
Reinstall the shock reservoirs onto the shock reservoir tabs now located on the rear pillar of the cage. (See figure 8).
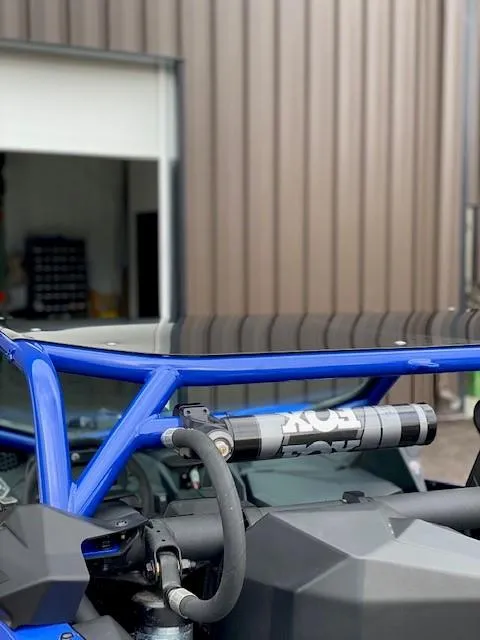
Fig. 8 - Step 18
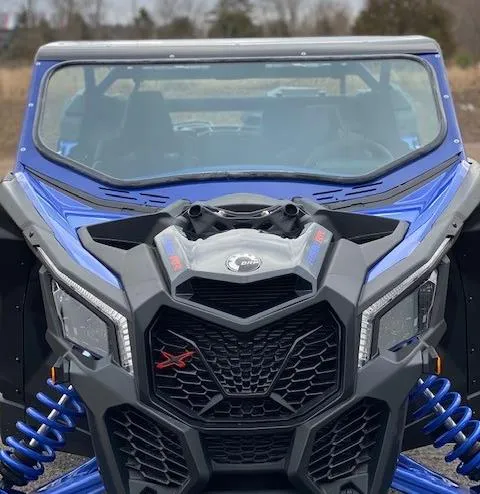
If installing a DOT windshield, make sure your entire dash is installed. You must have your windshield off to access the front dash bolts.
- Step 19
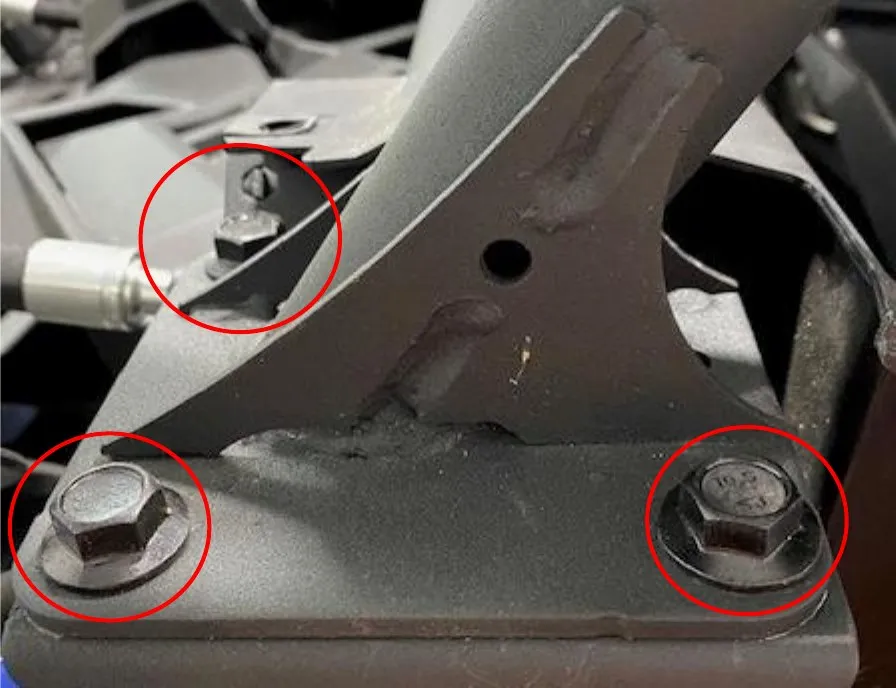
Place the windshield on the car/cage. Hand tighten (6) 4mm Allen bolts into the front pillars. (3) on each pillar.
- Step 20
Hand tighten (2) 4mm Allen bolts with washers and locknuts on the middle of the windshield mounting it to the roof of the cage.
- Step 21
Torque all (8) 4mm windshield bolts to 10 ft-lbs.

Need technical support?
Submit a ticket with your vehicle and what you're seeing, and our support team will get back to you.
