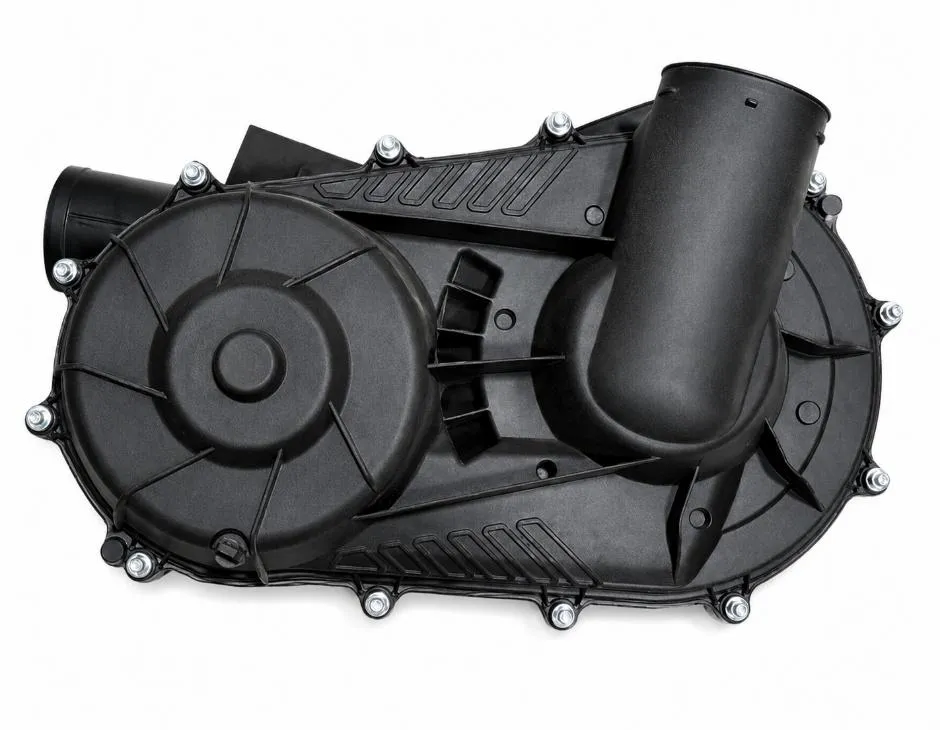
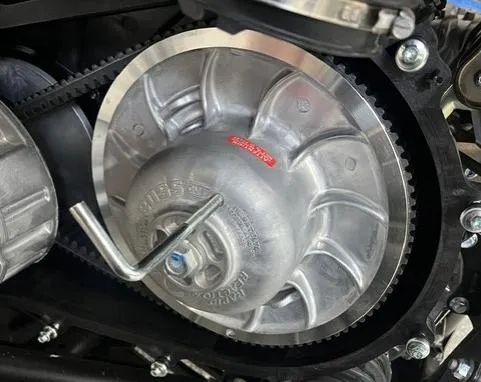
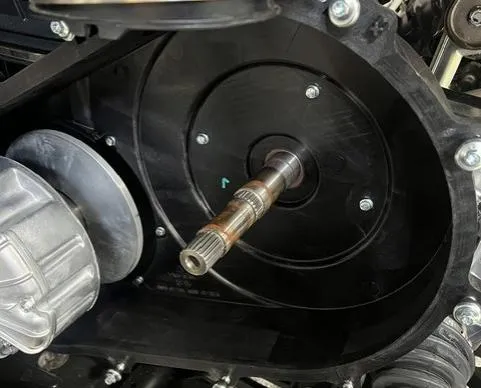
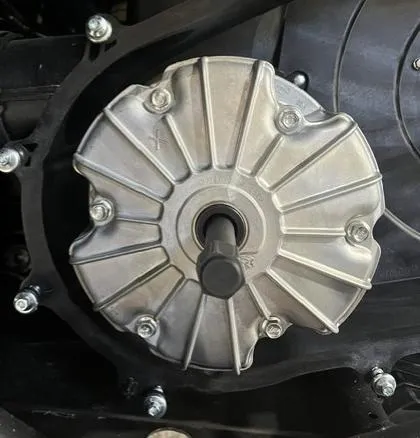
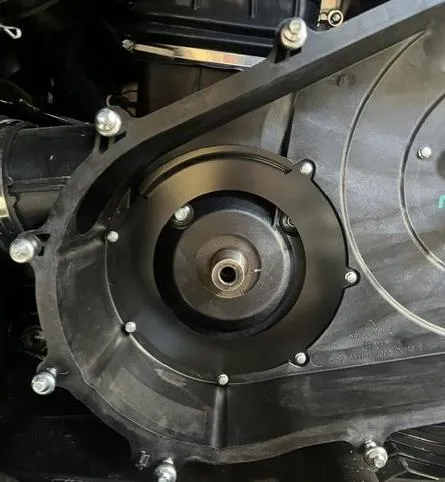
Use a 7mm socket to remove worm drive clamp from clutch duct. Use a 8mm socket to remove (12) bolts from perimeter of clutch cover and remove cover.
Step 2
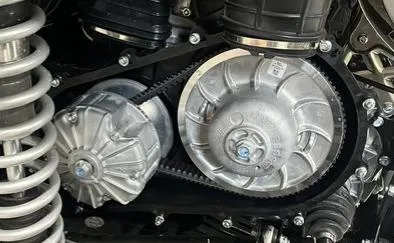
Thread belt removal tool into secondary and remove belt.
Step 3
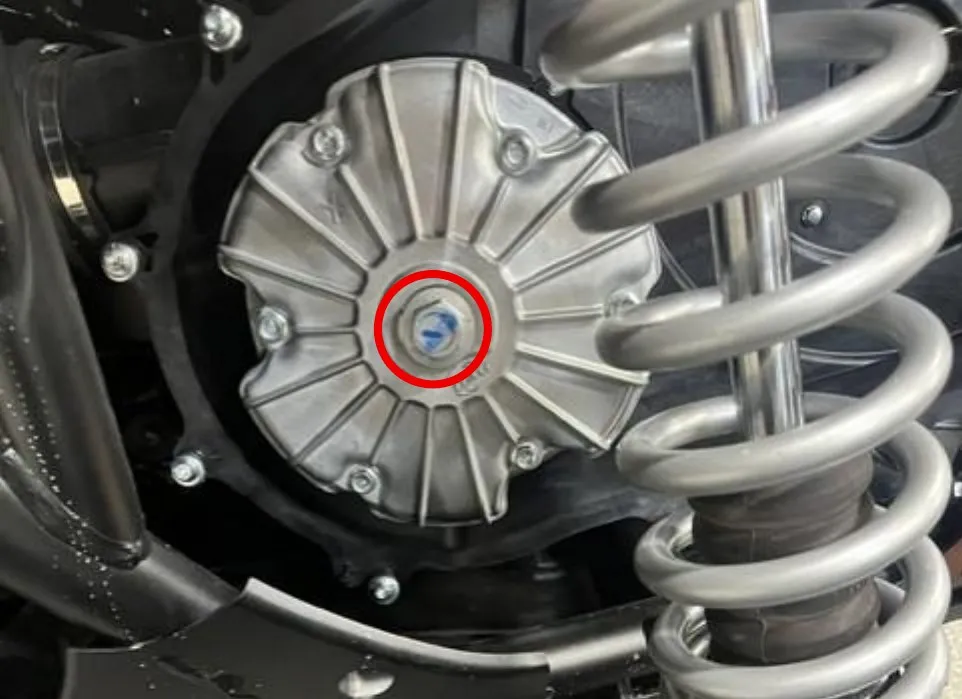
With a 21mm socket remove bolt holding secondary in place. The outer sheave will slide off, be sure to mark inner and outer sheave with marker to realign for balance. Do not lose shim that is between sheaves. It is on the shaft for belt deflection. Remove inner sheave
Step 4
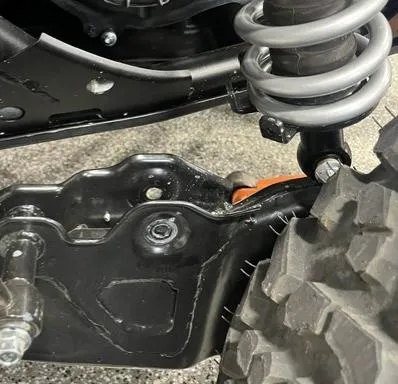
Jack the vehicle up from the rear. Using a 15mm socket and 18mm wrench remove lower shock bolt and swing shock towards the rear.
Step 5
Remove primary clutch bolt using 21mm socket.
Step 6
Install the clutch puller to remove primary clutch. Use a 19mm socket and impact.
Procedure
Secondary Clutch Disassembly
Step 1
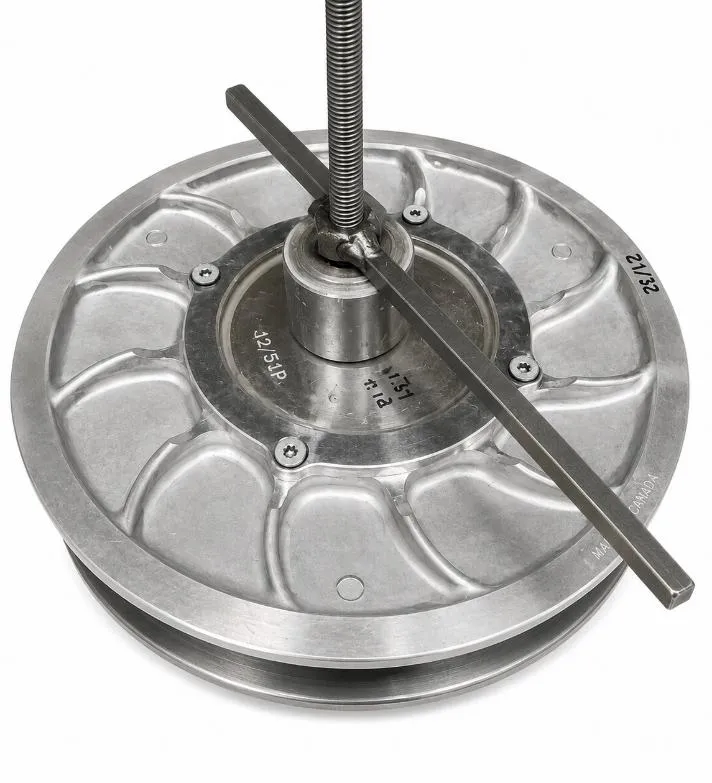
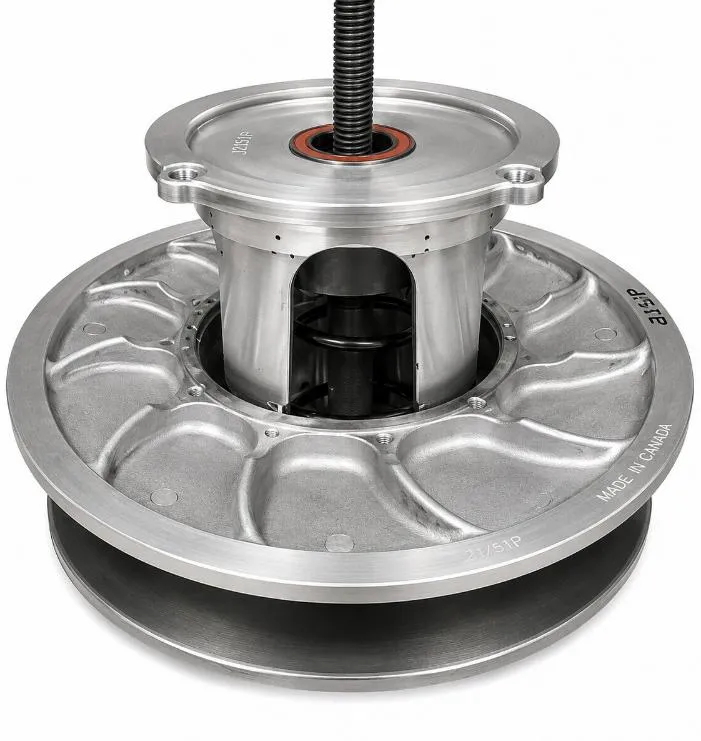
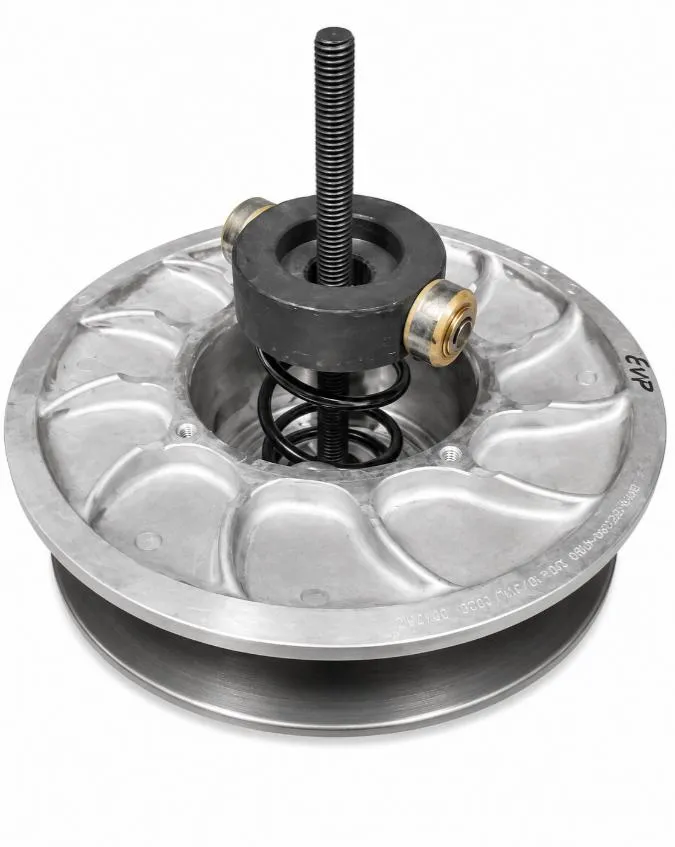
Set inner sheave into the clutch compression tool with helix facing up. Apply slight pressure to the threaded rod and spacer. With a T-27 Torx socket, remove 4 bolts. Unthread the compression tool until spring has no pressure.
Step 4
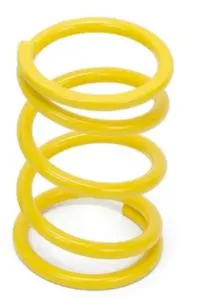
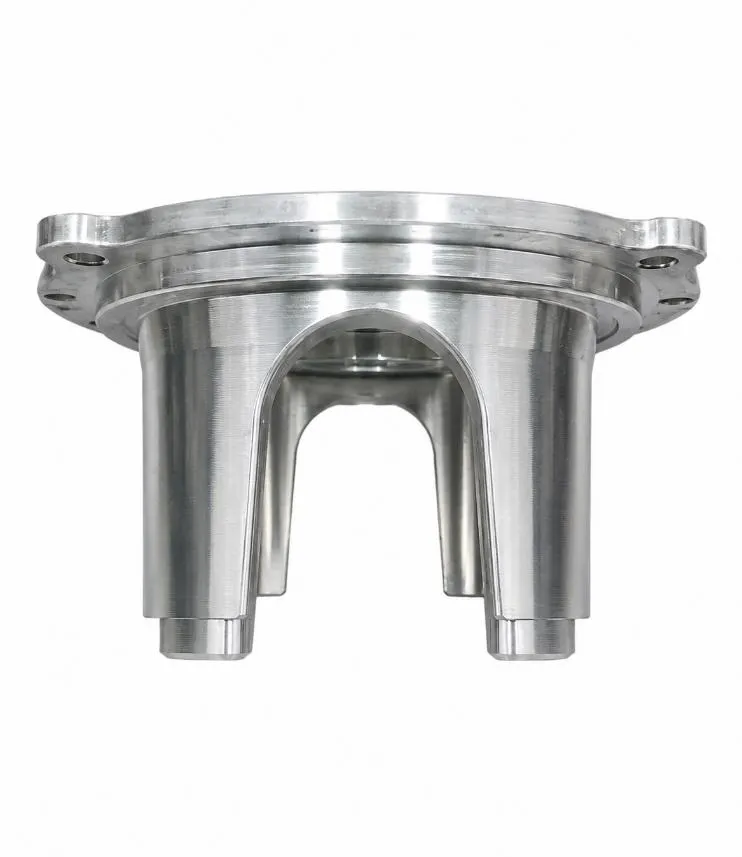
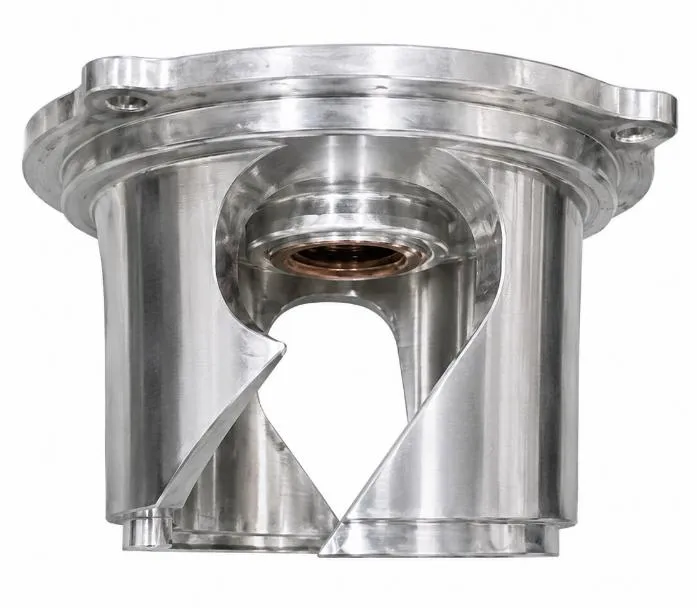
Remove helix, spring cup with rollers, and spring. If installing a new spring install now. Reinstall the spring cup with rollers and new helix. The rollers will sit in angled portion on helix, notches on helix will align with clutch. Use compression tool to seat helix on clutch and reinstall (4) Torx screws with blue Loctite. Torque to 8 ft-lb.
Step 5
Reinstall the secondary clutch onto the vehicle. Make sure the shim is reinstalled between the sheaves. Turn the outer sheave until the alignment marks align. Tighten clutch bolt to 60 ft-lbs.
Procedure
Primary Clutch Disassembly
Step 1
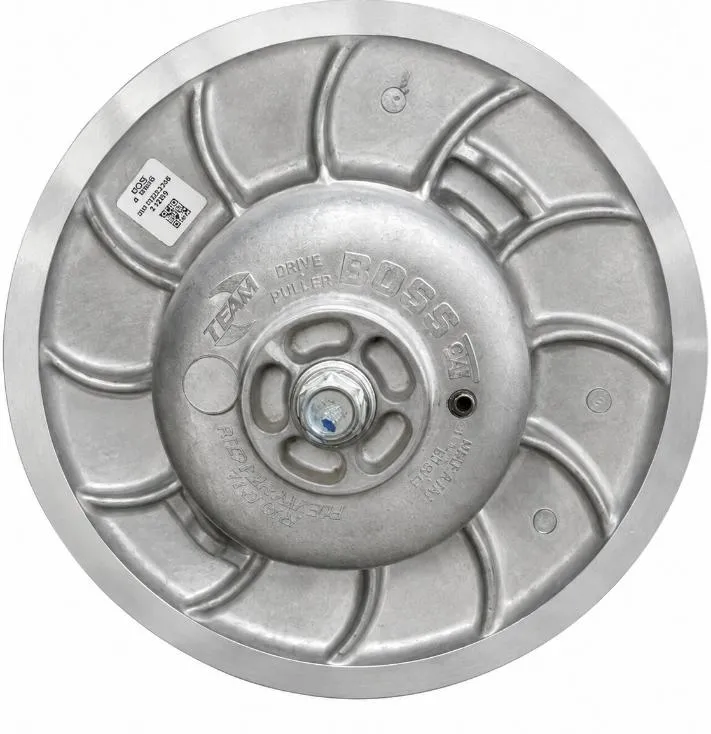
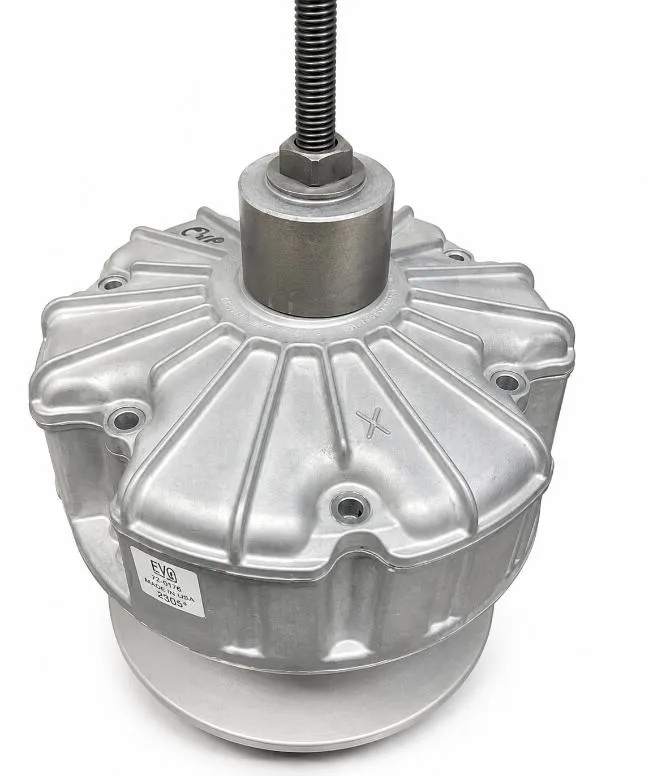
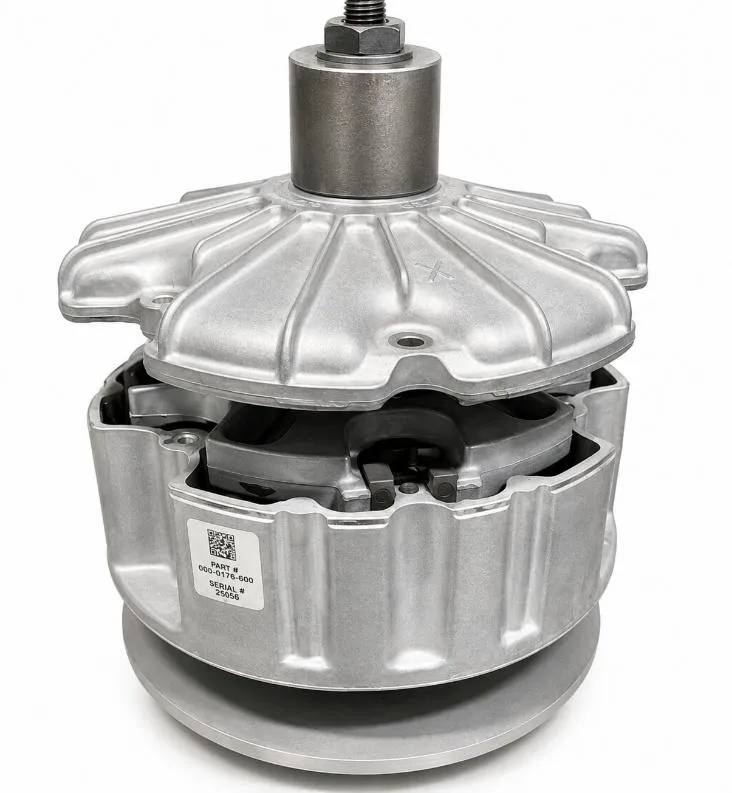
Install the entire primary clutch into a compression tool. Apply slight pressure to the cover. Remove (6) bolts with a 10mm socket. Decompress the tool.
Note
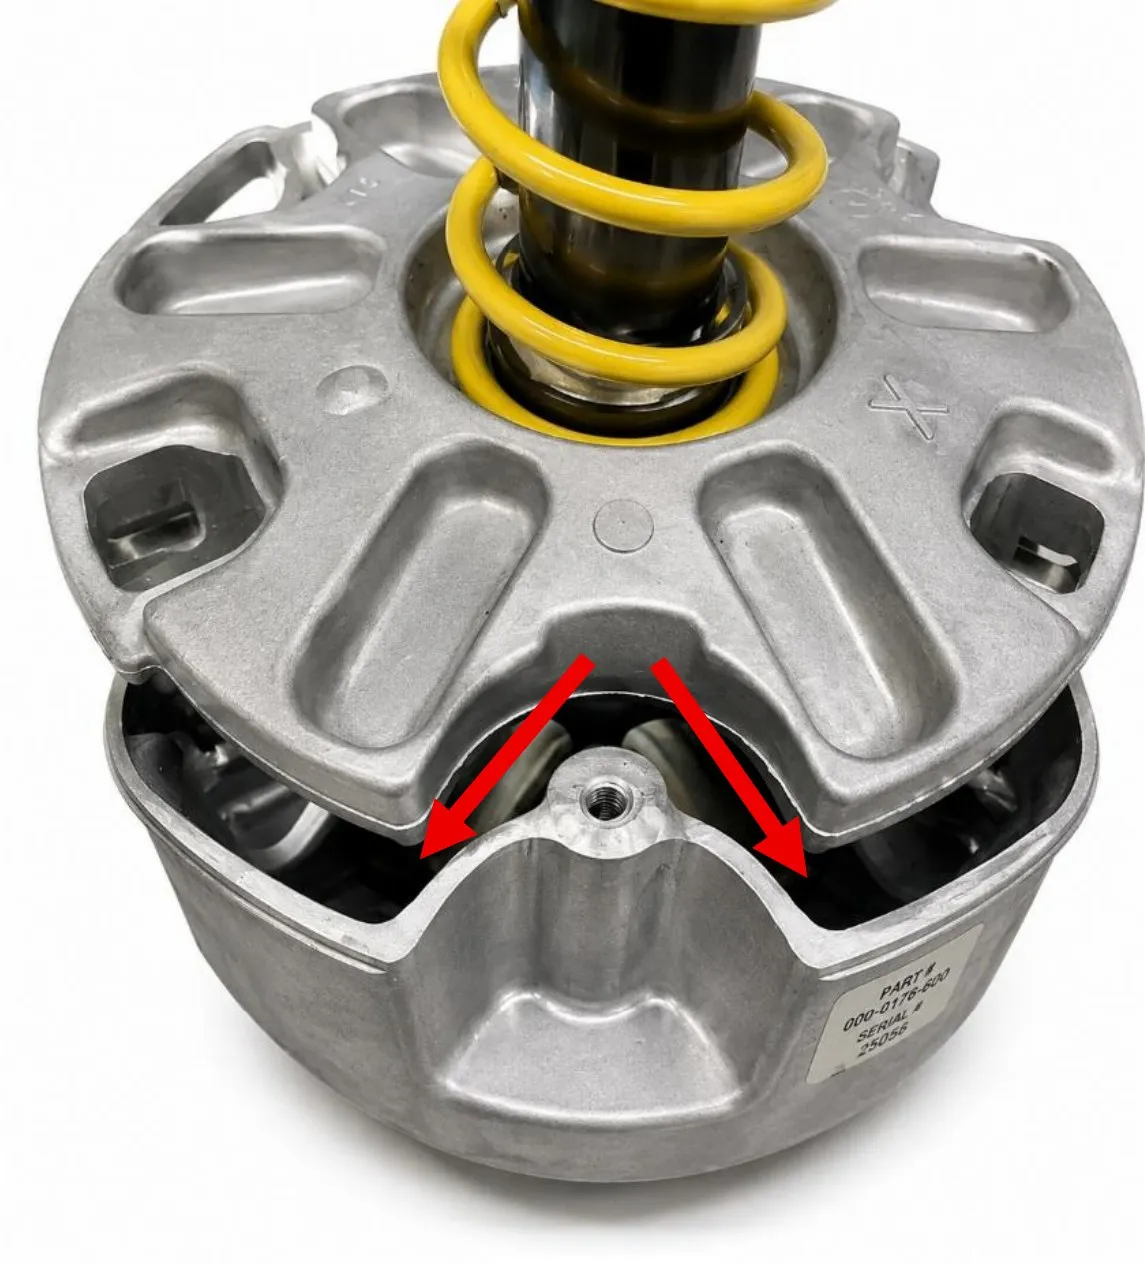
With the primary cover removed, do NOT move or turn the clutch on its side as the rollers will fall out of their position.
Step 2
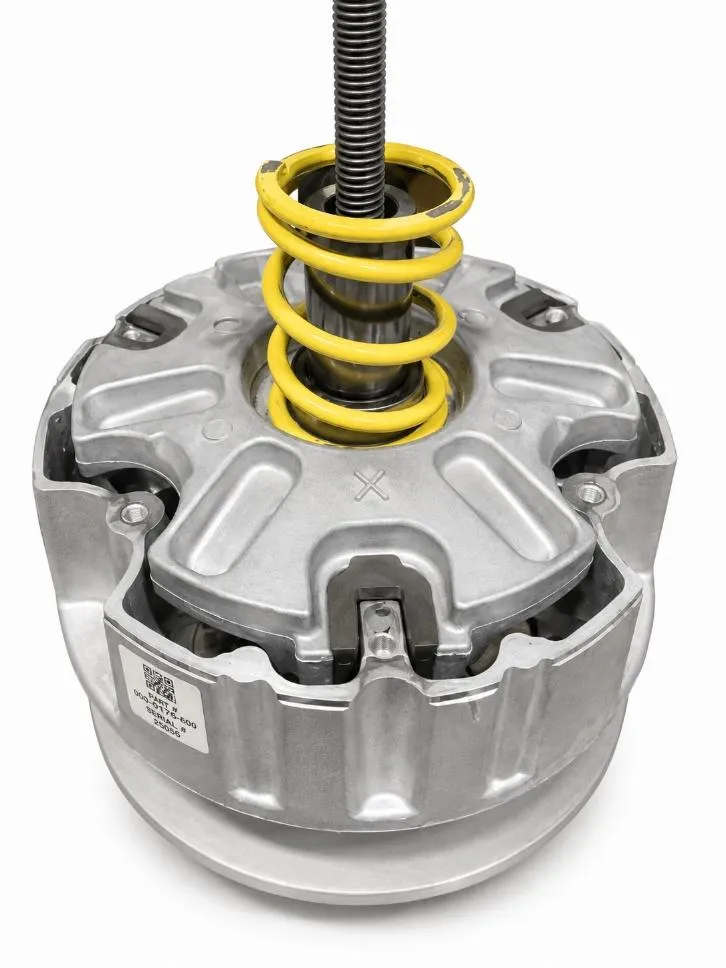
Remove the clutch cover, remove and replace the primary spring. Reinstall the cover making sure the alignment “X” on the cover and spider are aligned. Reinstall the cover with compression tool. Torque cover bolts to 14 ft-lbs.
Step 3
Clean the crankshaft and primary clutch tapers with cleaner. Reinstall primary clutch bolt. Torque to 96 ft-lb. Reinstall clutch cover bolts to 9ft-lb and shock bolt to 89 ft-lb
Emissions notice. This product is exempt from the emission standards and related requirements of 40 C.F.R. § 1051 as provided by 40 C.F.R. § 1051.620, and California law [e.g., vehicle code §§ 27156 and 38391]. This product is sold only for use in connection with EPA certified, purpose-built, nonroad vehicles used solely for closed course, nonroad competition/racing and not used for any recreational purpose or on public highways or right of ways maintained by and open to the public. This product is sold only in connection with machines that do not fall under state and/or federal noise or emission standards/regulations. Purchasers who/that purchase this product represent and warrant that the product is purchased only in connection with EPA-certified, emission-regulations-exempt and noise-regulations-exempt competition/racing vehicles as interpreted under applicable state and/or federal law.
We use cookies to improve your experience on our website. Read about how we use cookies in our Privacy Policy. By browsing this website, you agree to our use of cookies.
privacy policy
 BUY NOW, PAY LATER. Starting at 0% APR