 BUY NOW, PAY LATER. Starting at 0% APR


Polaris XP Turbo/S & Pro XP Blow-Off Valve 2.0 (BOV) Kit
XP Turbo/S & Pro XP Blow-Off Valve 2.0 (BOV) Kit
In the box
Parts and tools
Included parts
- 1EVP Blow-Off Valve
- 220-32mm Screw Clamps
- 211.3mm Pinch Clamp
- 1Pre-Assembled Hose Kit
- 1Block-off Plug (3/16”- 1/8”)
- 1Blow-Off Valve Filter
- 2Cable Ties
Required tools
- Pinch Clamp or Side Cutters
- Flat Blade Screwdriver
Procedure
Install Instructions
- Step 1
Remove the rear access panel to the top of the engine. Using a side cutter, remove OEM clamps that secure the factory diverter valve to the charge tube and recirculation hose. DO NOT damage the OEM port/hose. Discard the clamps.
- Step 2
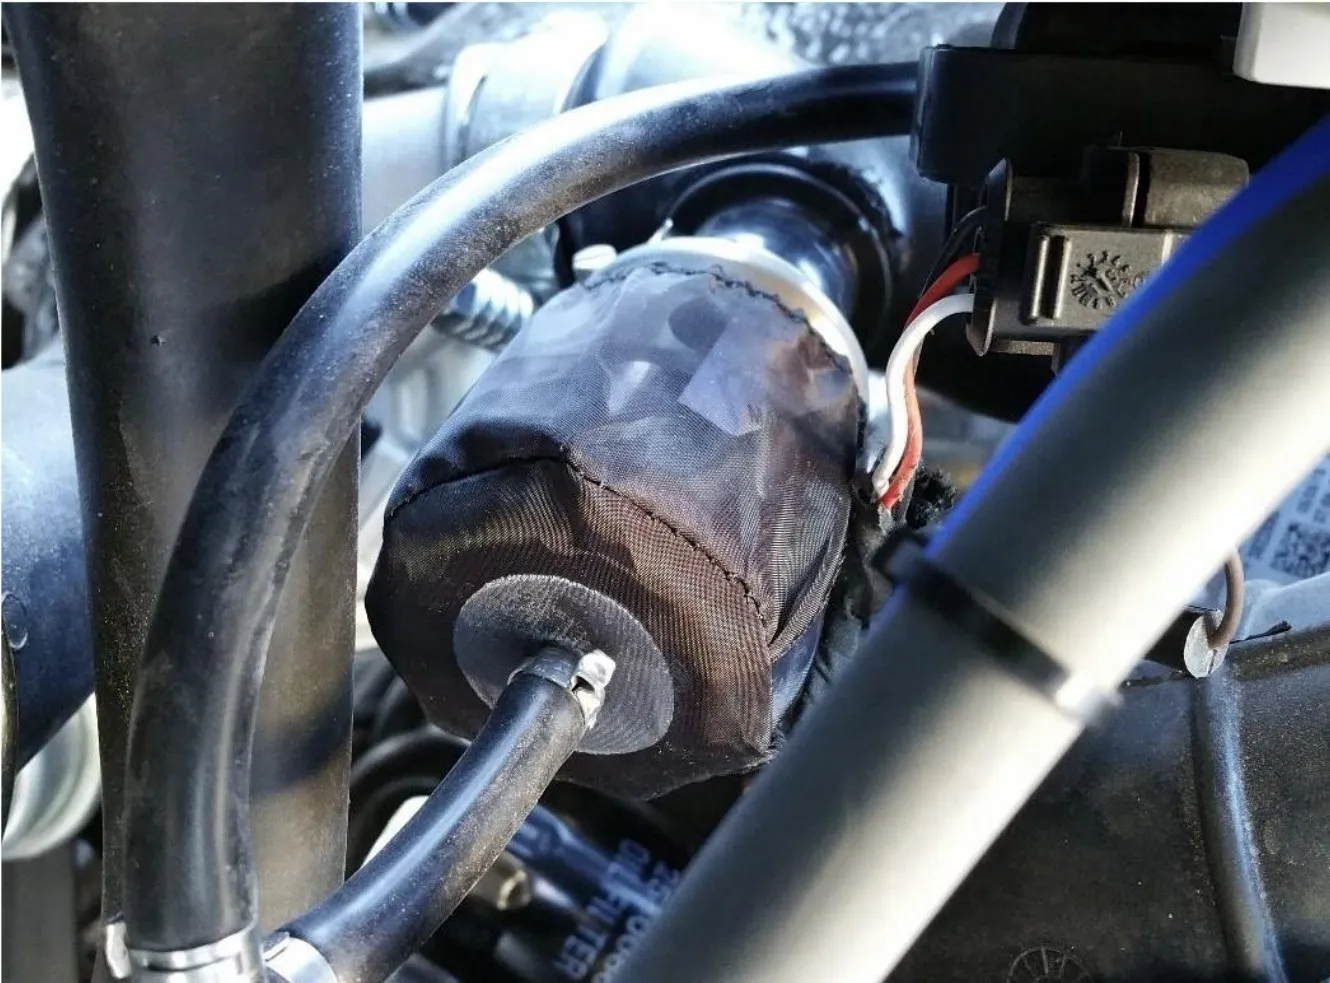
Remove OEM diverter valve from the charge tube. Using a side cutter, carefully remove the clamp on the factory diverter valve vacuum line from the OEM y-fitting that is located on top of the engine.
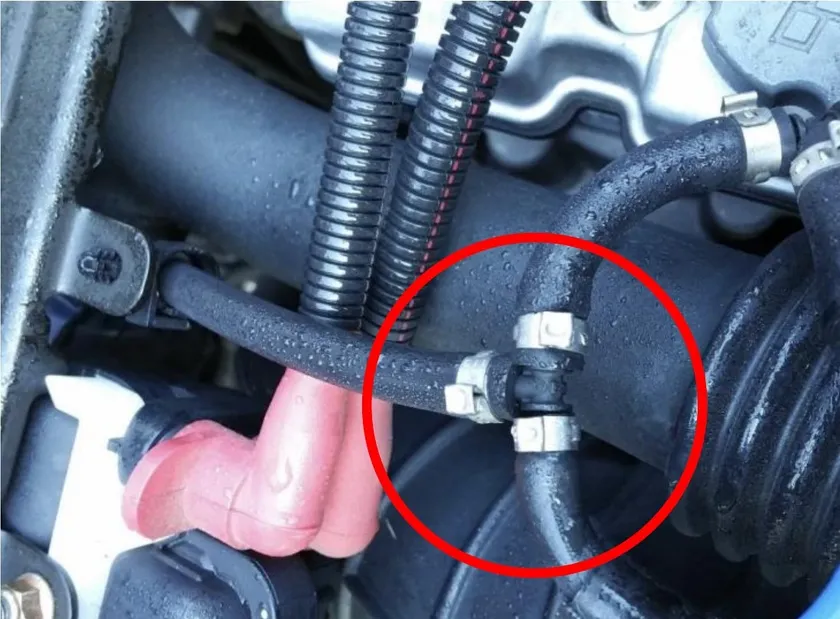
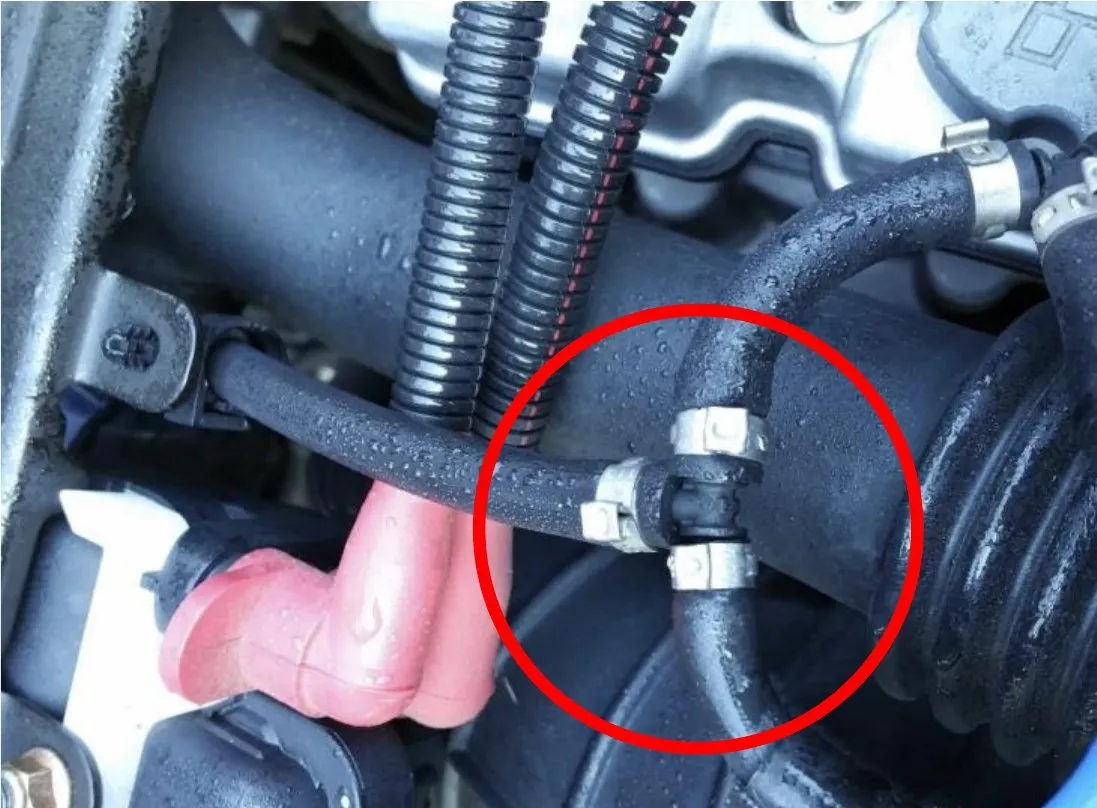
Fig. 1 Note(See Figure 1 – Our image shows a t-fitting, but the OEM part is a y-fitting)
- Step 3
Install the EVP supplied 11.3mm pinch clamp onto the long end of the supplied vacuum hose and install the hose onto the free barb of the OEM y-fitting, this is the barb where the OEM line was attached to and removed in the previous step. Using a pinch clamp tool or side cutter, pinch the 11.3mm clamp to secure the y-fitting.
- Step 4
Install the filter onto the EVP BOV and secure with the supplied cable tie. Make sure the barb on the EVP BOV cap protrudes through the filter hole.
- Step 5
Slide the remaining 11.3mm pinch clamp onto the free end (short end) of the vacuum. Install the hose onto the BOV barb that protrudes through the filter and pinch the clamp with a pinch clamp tool or side cutters to secure the line to the EVP BOV.
- Step 6
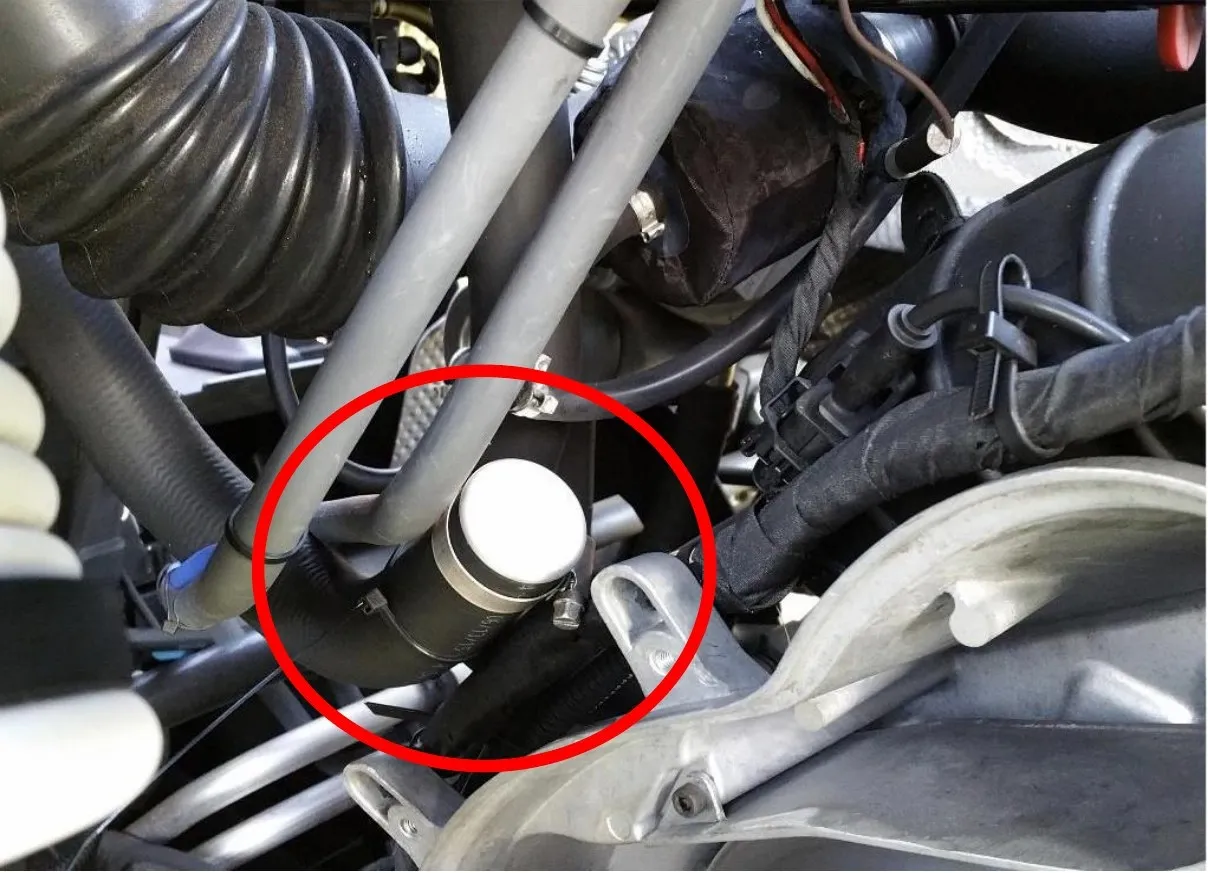
Install the EVP BOV into the charge tube port and secure with the supplied screw clamp. (See Figure 2)
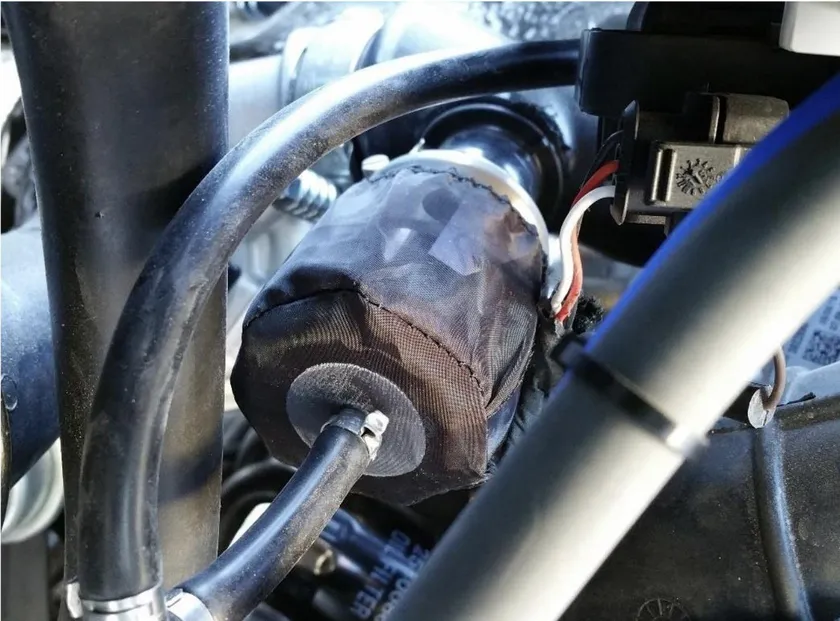
Fig. 2 - Step 7
Install the block-off plug into the OEM hose where the OEM valve was plumbed into and secure with remaining screw clamp. Secure hose with the last cable tie. If desired, this hose may be cut, and the block-off plug installed in the shortened section. In this case, it may not be necessary to zip tie the hose. (See Figure 3)
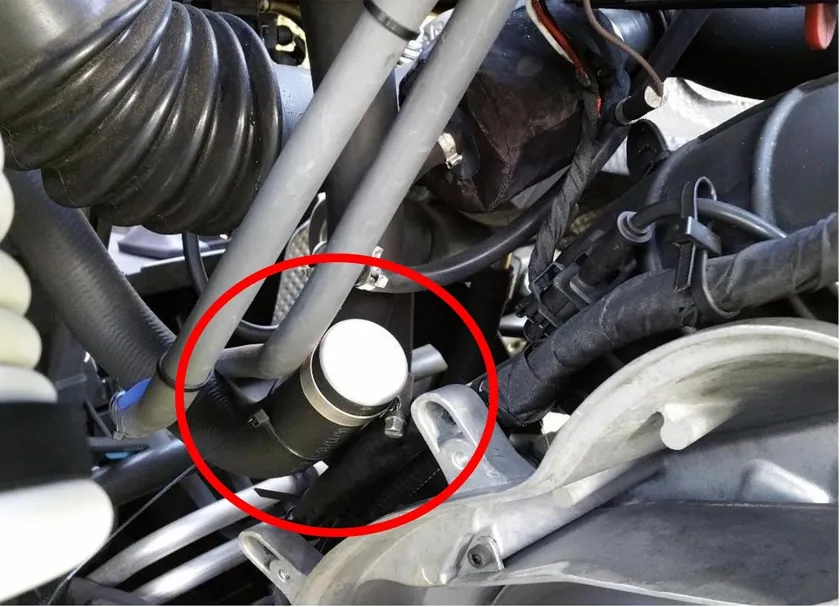
Fig. 3
Need technical support?
Submit a ticket with your vehicle and what you're seeing, and our support team will get back to you.
