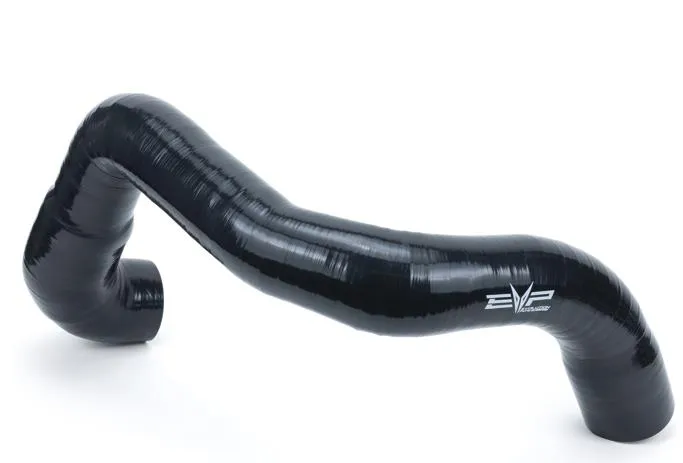
Sea Doo GTR 230-300 & RXP/RXT 325 Resonator Delete

Installation instructions for the Sea Doo GTR 230-300 & RXP/RXT 325 Resonator Delete on the Sea-Doo Sea-Doo. Parts, tools, and full procedure.

Vehicles
Sea-Doo
Revision
Rev_042524

In the box

Parts and tools

Sea Doo GTR 230-300 & RXP/RXT 325 Resonator Delete

Included parts

  • 1Resonator Delete Silicone
  • 1Plug
  • 1Pinch Clamp

Required tools

  • 6, 8mm Socket
  • Screw Driver
  • Cutting Tool

Procedure

Installation

  1. Step 1

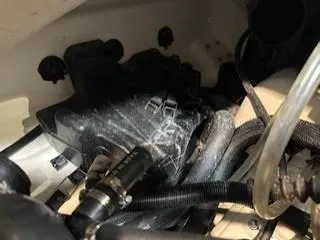
    Remove seat. Remove the central intake tube by loosening (2) 8mm hose clamps and (2) rubber straps.
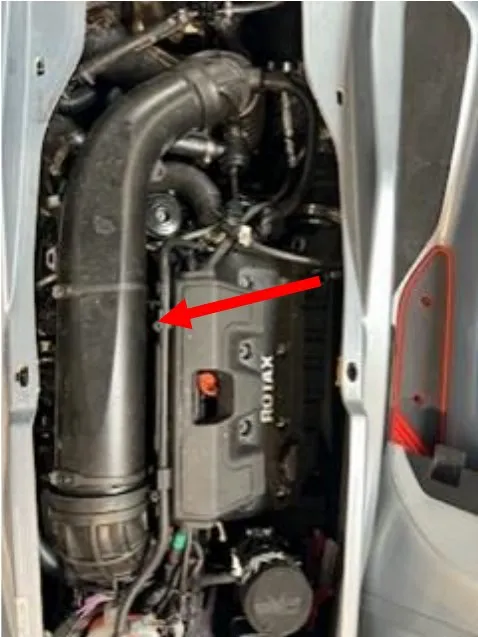
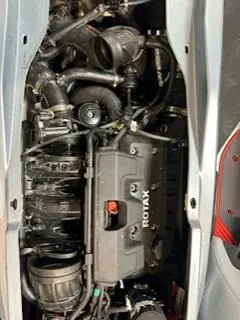
    Remove seat. Remove the central intake tube by loosening (2) 8mm hose clamps and (2) rubber straps.
    Remove seat. Remove the central intake tube by loosening (2) 8mm hose clamps and (2) rubber straps.
  2. Step 2

    Remove the hose clamp holding the diverter valve to the intake tube. Remove the valve.
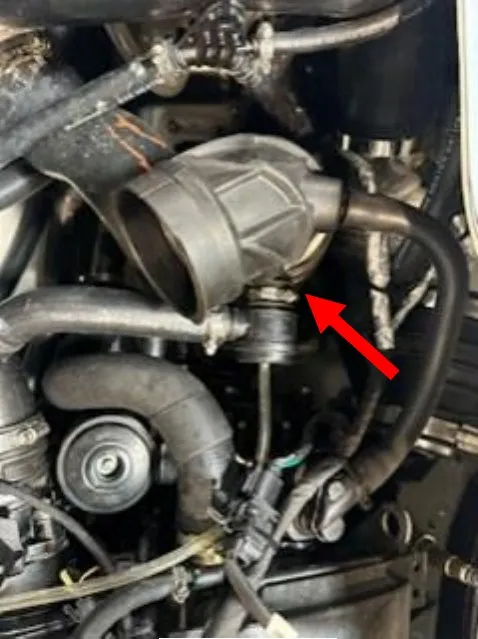
    Remove the hose clamp holding the diverter valve to the intake tube. Remove the valve.
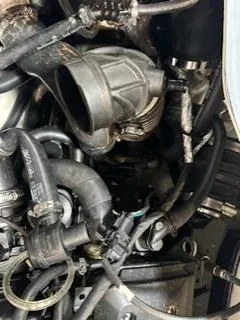
    Remove the hose clamp holding the diverter valve to the intake tube. Remove the valve.
  3. Step 3

    Loosen the clamp on the intake tube holding it onto the compressor.
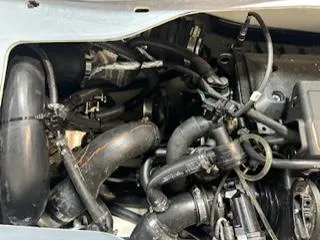
    Loosen the clamp on the intake tube holding it onto the compressor.
  4. Step 4

    Cut the zip tie holding the resonator hose and water line bracket.
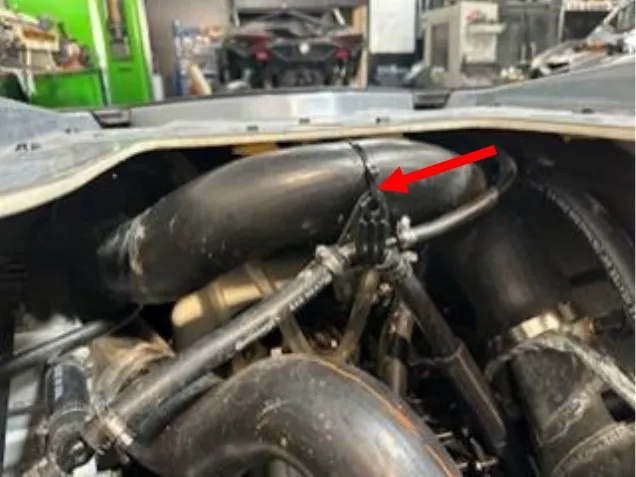
    Cut the zip tie holding the resonator hose and water line bracket.
  5. Step 5

    Remove (2) 8mm hose clamps holding the resonator hose to the water box and resonator.
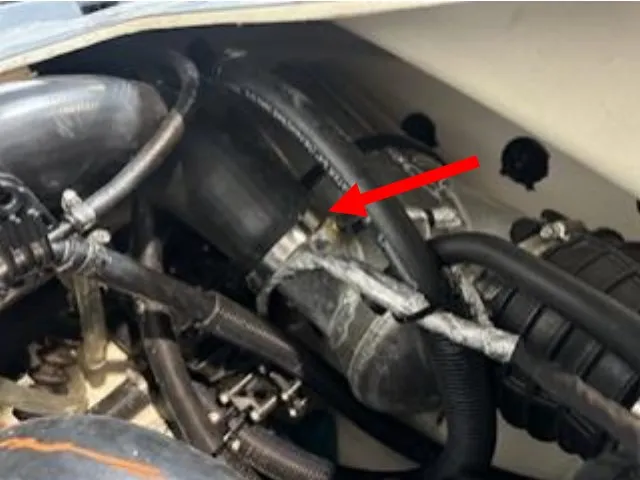
    Remove (2) 8mm hose clamps holding the resonator hose to the water box and resonator.
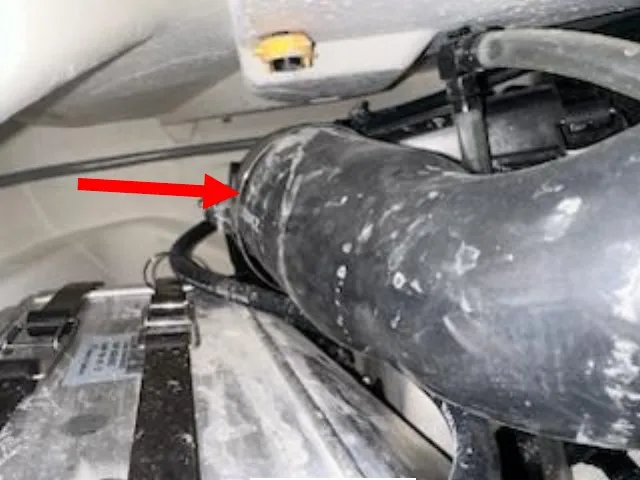
    Remove (2) 8mm hose clamps holding the resonator hose to the water box and resonator.
  6. Step 6

    Cut (4) zip ties and remove the rubber strap.
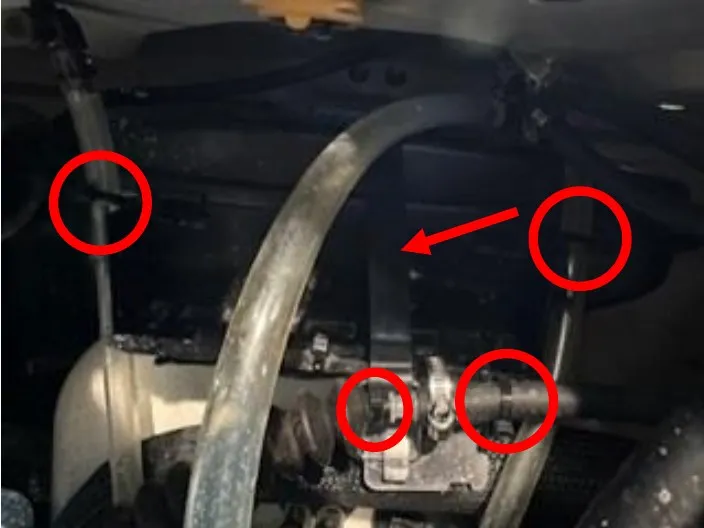
    Cut (4) zip ties and remove the rubber strap.
  7. Step 7

    Remove the (2) 8mm clamps on the 90 degree elbow, slide resonator up.
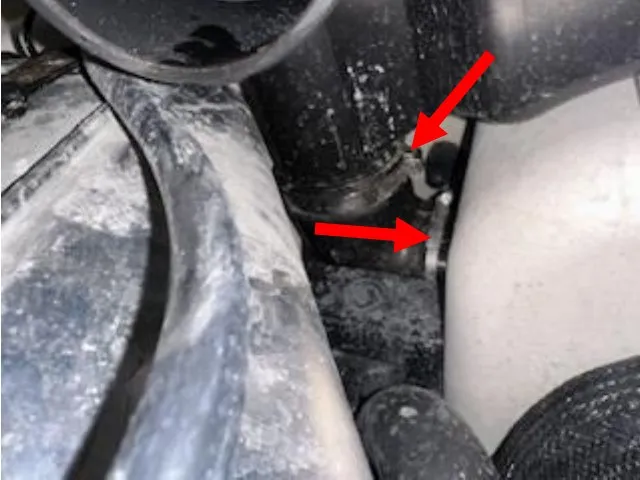
    Remove the (2) 8mm clamps on the 90 degree elbow, slide resonator up.
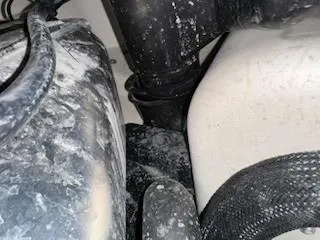
    Remove the (2) 8mm clamps on the 90 degree elbow, slide resonator up.
  8. Step 8

    Remove (3) water lines from the intercooler. Also remove both charge tubes from the intercooler.
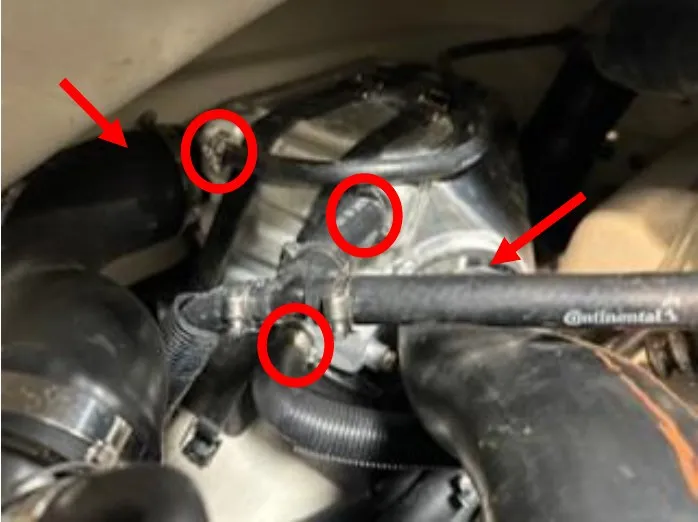
    Remove (3) water lines from the intercooler. Also remove both charge tubes from the intercooler.
  9. Step 9

    Remove (2) rubber straps holding the intercooler in place.
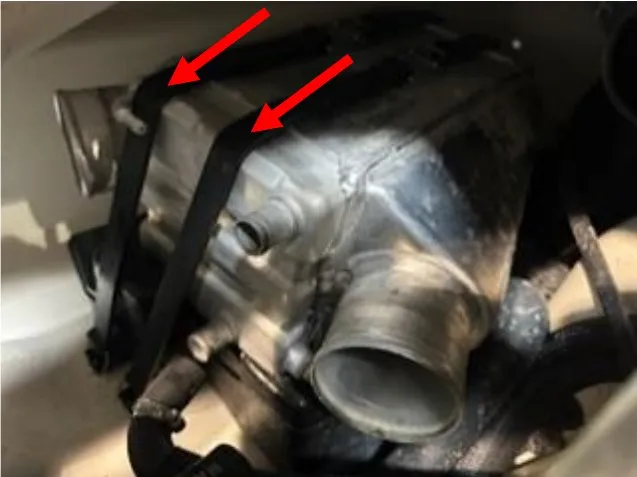
    Remove (2) rubber straps holding the intercooler in place.
  10. Step 10

    Remove the intercooler.

    Remove the intercooler.
  11. Step 11

    Remove the rubber grommet from the top of the resonator. Remove resonator.
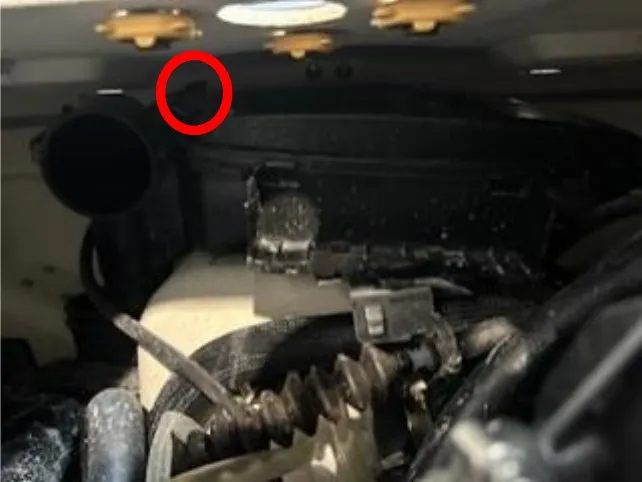
    Remove the rubber grommet from the top of the resonator. Remove resonator.
  12. Step 12

    Remove the resonator rubber mat and 90-degree elbow from the hull.
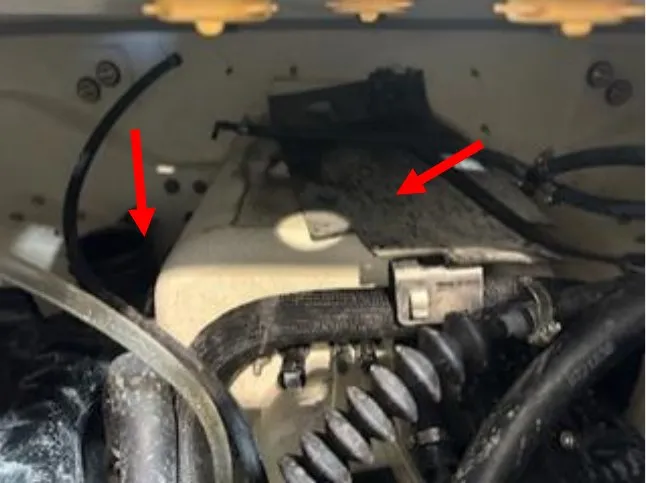
    Remove the resonator rubber mat and 90-degree elbow from the hull.
  13. Step 13

    Install the new free flowing exhaust tube from the water box to the hull exit coupler. Reuse (2) 8mm hose clamps.
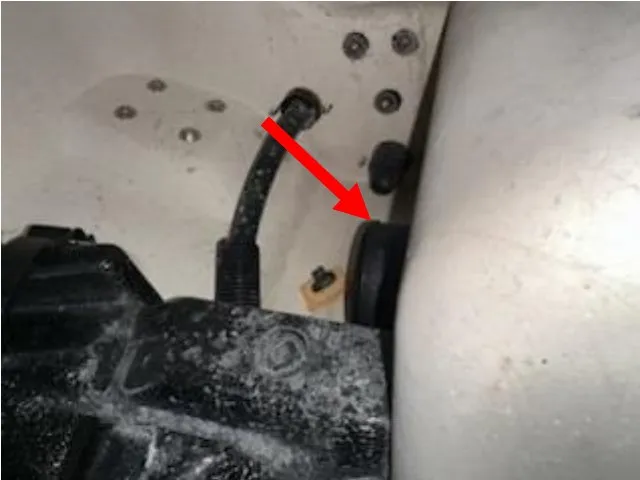
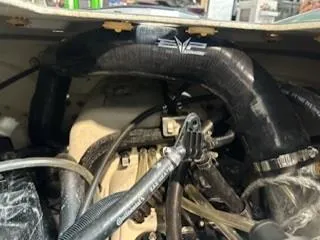
    Install the new free flowing exhaust tube from the water box to the hull exit coupler. Reuse (2) 8mm hose clamps.
    Install the new free flowing exhaust tube from the water box to the hull exit coupler. Reuse (2) 8mm hose clamps.
  14. Step 14

    Reinstall the intercooler, (2) rubber straps, (2) charge tubes, and (3) water lines.
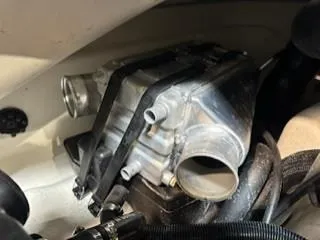
    Reinstall the intercooler, (2) rubber straps, (2) charge tubes, and (3) water lines.
  15. Step 15

    Zip tie (2) clear venturi tubes loosely to the free-flowing exhaust.
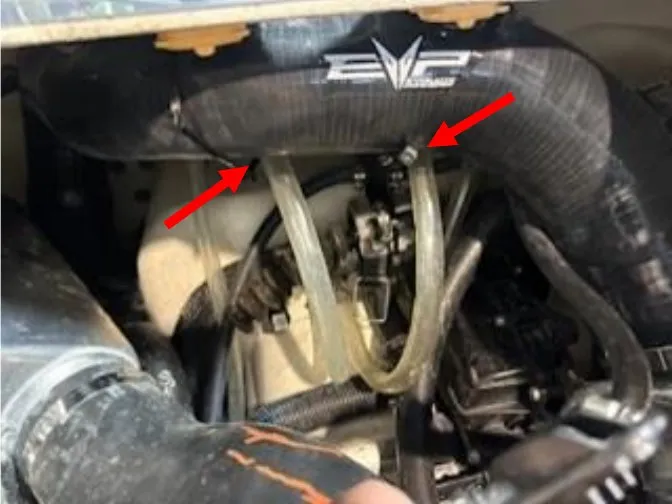
    Zip tie (2) clear venturi tubes loosely to the free-flowing exhaust.
  16. Step 16

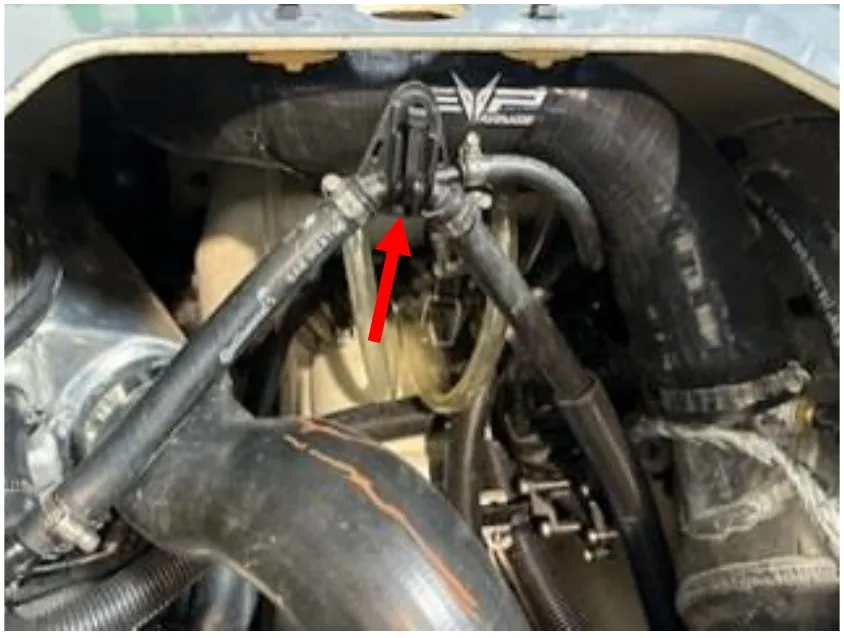
    Zip tie the hose bracket to the free-flowing exhaust.
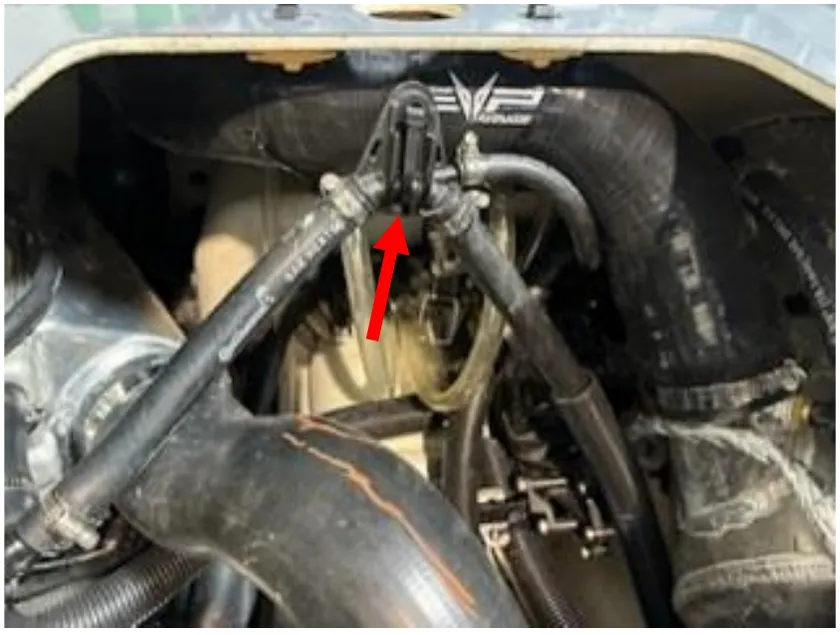
    Zip tie the hose bracket to the free-flowing exhaust.
Need technical support?

Submit a ticket with your vehicle and what you're seeing, and our support team will get back to you.

Contact Support
We use cookies to improve your experience on our website. Read about how we use cookies in our Privacy Policy. By browsing this website, you agree to our use of cookies. privacy policy
accept

Your cart

×
×