 BUY NOW, PAY LATER. Starting at 0% APR


Polaris Pro XP Venom 36-42 Helix
Installation instructions for the Pro XP Venom 36-42 Helix on the Polaris Pro XP (RZR) (SKU 404FP0020). Parts, tools, and full procedure.
In the box
Parts and tools
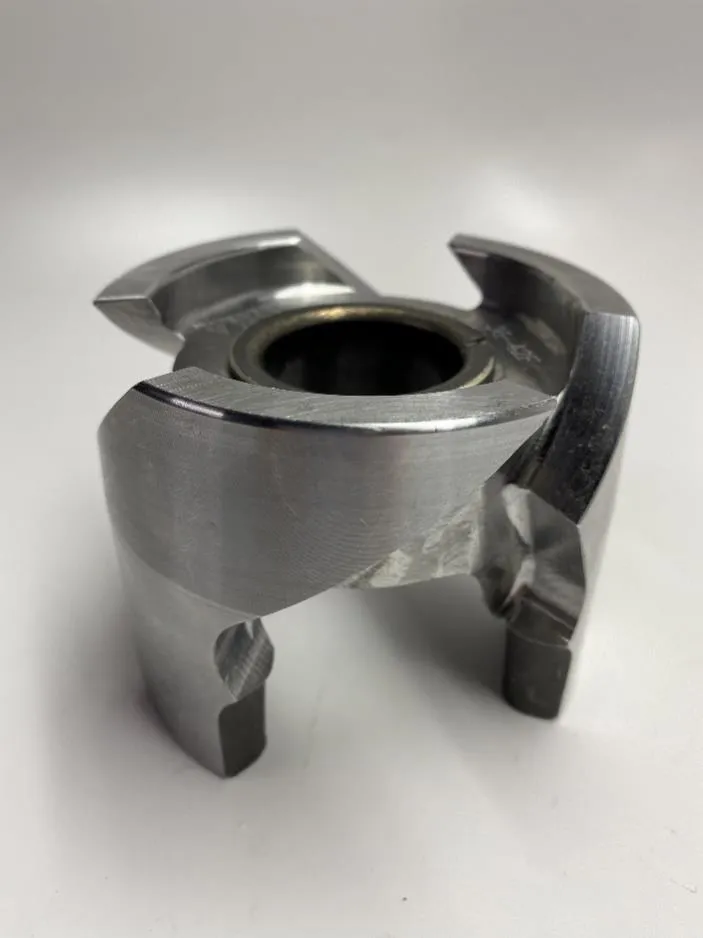
Included parts
- 1Helix
Required tools
- Torque Wrench
- Polaris Drive Belt Tool
- Impact
- 15mm Socket
- Clutch Compression Tool
- Green Scotch Brite
- Red Loctite
Procedure
Installation Steps
- Step 1
Remove belt box cover and CVT drive belt using the Polaris belt tool. Remove CVT belt tool once belt is removed.
- Step 2
Remove the secondary clutch bolt with a 15mm socket and remove the clutch.
- Step 3
With the entire secondary clutch off, remove both sheaves and blow both out with compressed air. Next grab green Scotch-Brite and clean the insides of both sheaves. This will clean and crosshatch the sheaves for better belt grip. Next grab brake cleaner and a rag and wipe down both sheaves. This cleaning process should be done routinely. (Figure 1)
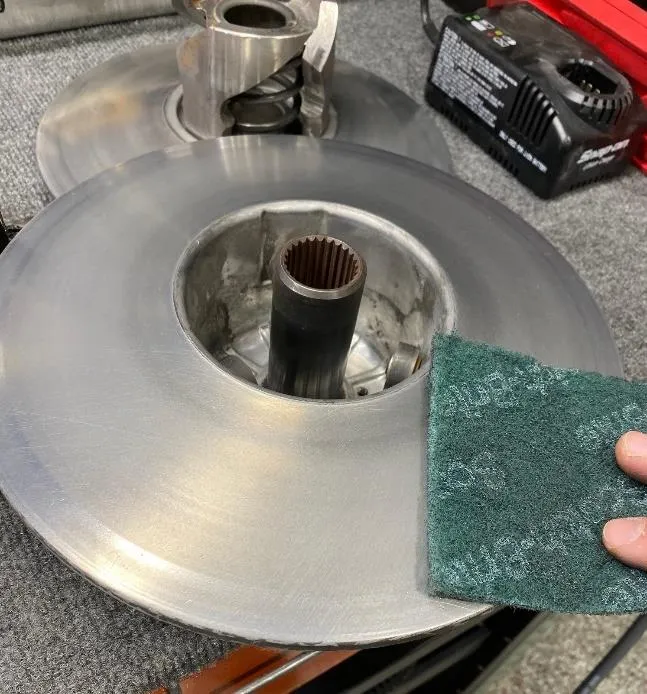
Figure 1 - Step 4
Place the sheave with the helix into the clutch compression tool. Apply pressure. Remove (3) T-50 Torx helix bolts.
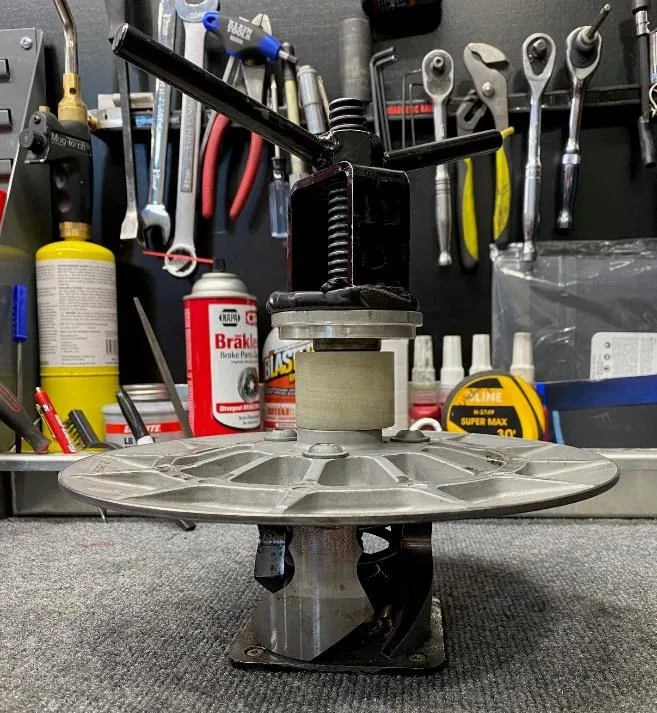
Figure 2 WarningThere is pressure behind the secondary spring, loosen clutch compression tool carefully. (Figure 2)
- Step 5
Remove the OEM helix and replace it with the new helix. (Figure 3) Next put these parts in the compression tool, in this order: helix, spring, spring support, clutch sheave.
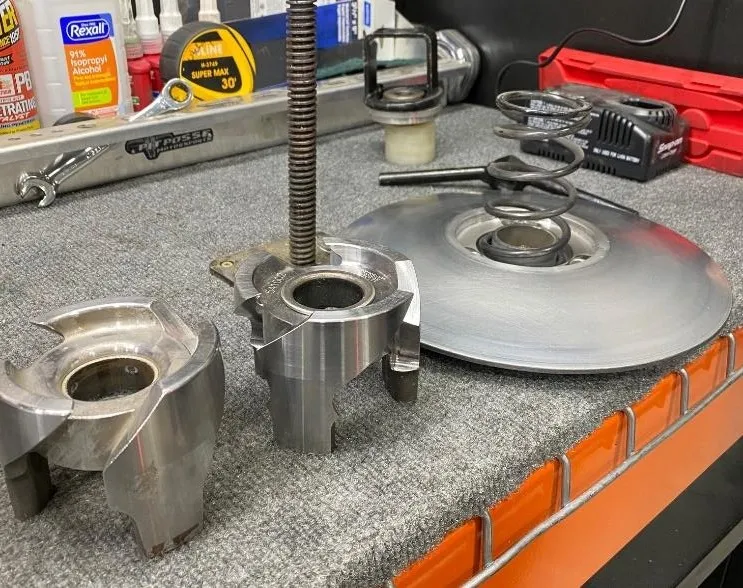
Figure 3 - Step 6
Tighten compression tool down until the helix bolts can be reinstalled. Make sure all (3) holes line up. Use RED Loctite on the threads before placing them back into the clutch. Torque to 32ft lbs. (Figure 4)
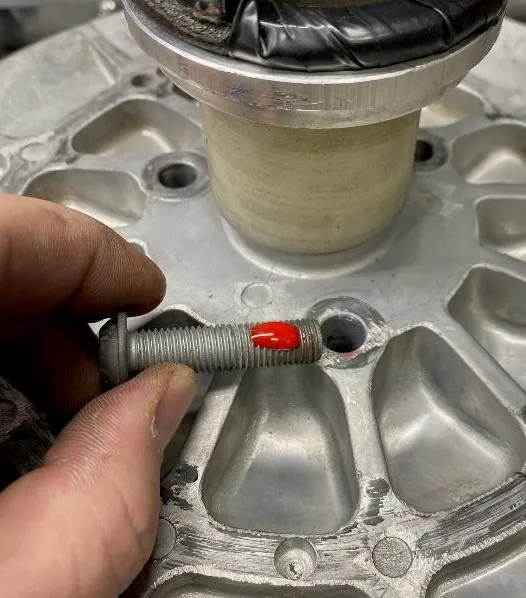
Figure 4 - Step 7
Reinstall the secondary clutch back into the vehicle. Torque the secondary bolt to 43 ft lbs with a 15mm socket.
- Step 8
Install the Polaris CVT belt tool and compress the secondary spring. Reinstall the drive belt. Remove the Polaris CVT belt tool and spin the secondary clutch until you can see the belt is seated onto the secondary clutch.
- Step 9
Reinstall the belt box cover.
Need technical support?
Submit a ticket with your vehicle and what you're seeing, and our support team will get back to you.
