 BUY NOW, PAY LATER. Starting at 0% APR


Polaris Pro R Fuel Pump and Harness Install
Installation instructions for the Polaris Pro R Fuel Pump and Harness Install on the Pro R (RZR) (Polaris) (SKU 2502020011).
Before you start
Photos are of a 4-seat vehicle, 2-seat will differ slightly but the general process is the same.
Procedure
Fuel Pump Installation
- Step 1
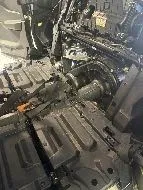
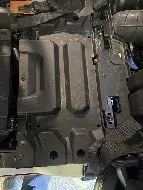
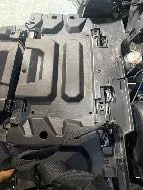
Remove all seats from vehicle.
- Step 2
4-seat: remove plastic panel under rear seats to access fuel pump. 2-seat: remove seat frame base to access fuel pump.
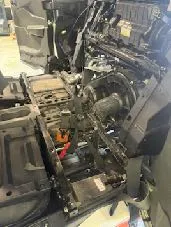
- Step 3
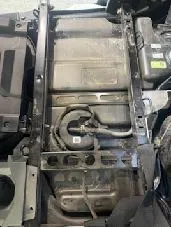
Disconnect fuel pump connector. Remove the blue secondary lock. Carefully remove fuel line - there may be pressurized fuel still in the line. Unscrew fuel pump collar (normal right-hand thread). Remove OEM fuel pump assembly.
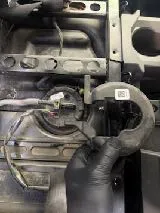
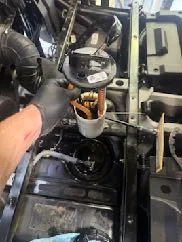
- Step 4
Transfer rubber gasket from OEM pump to EVP pump. Install new EVP fuel pump assembly. Carefully guide the siphon filter and level float in. The filter will go toward the rear go the vehicle, the float will go towards the front of the vehicle, and you should be able to read the logo and level/pump from the passenger side of the vehicle. Install the fuel pump collar and tighten.
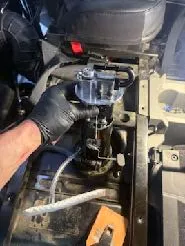
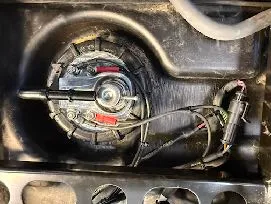
Procedure
Wiring Harness Installation
- Step 1
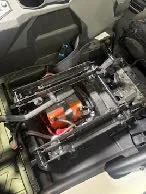
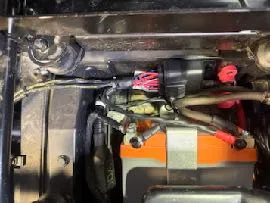
Starting at the battery, secure the fuse/relay box near the outside (driver’s side) inside the battery compartment. Many vehicles have added accessories so this relay/fuse box can be bolted to the wall as photo’d or simply zip tied if there is not any extra room. Do not install the battery connections yet.
- Step 2
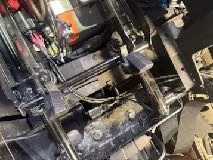
4-seat models: route the harness towards the rear of the battery box, UNDERNEATH the seat slider, making sure the slider will not contact the harness, then towards the center of the vehicle, underneath the center console plastic, to the clutch duct. Then rearwards to the fuel pump assembly. 2-seat models: route the harness towards the rear of the battery box, UNDERNEATH the seat slider, making sure the slider will not contact the harness, then towards the center of the vehicle, up and over the clutch duct, out to the fuel pump. There are reliefs in the OEM center console panels the harness can pass through.
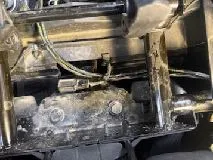

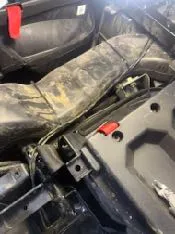
- Step 3
Plug the OEM fuel pump connector into the new harness.
- Step 4
There are two sets of wires with eyelets. One set is small gauge wire and noticeably thinner, these are for the level side, red heat shrink will go to the + terminal. The larger gauge, thicker wires are for the pump side, red heat shrink will go to the + terminal. Do not over tighten the nuts on the studs, it will cause the nut to spin and damage the wire in the fuel pump assembly, 4ft lbs max. Install the rubber nut protectors once all nuts are tight.
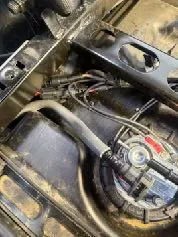
- Step 5
Install OEM fuel line onto fitting. Install blue secondary lock.
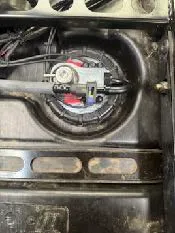
- Step 6
For ALL EVP P54 turbo kits - leave the fuel pressure regulator fitting open. ONLY INSTALL THE RISING RATE KIT if directed to do so by your tuner.
- Step 7
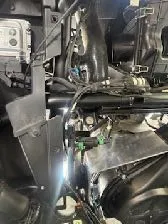
Install the intercooler fan connector. The extension provided is for 4-seat models, or if a 2-seat requires the harness to be routed around accessories.
- Step 8
Install the battery terminals, red goes to positive, black to negative.
- Step 9
Key on to check operation. The fuel pump should cycle, along with the intercooler fans. It might take two key cycles to build full pressure. Check for leaks and address as needed.
Need technical support?
Submit a ticket with your vehicle and what you're seeing, and our support team will get back to you.
