 BUY NOW, PAY LATER. Starting at 0% APR


Kawasaki H2 Catch Can
Kawasaki H2 Catch Can
In the box
Parts and tools
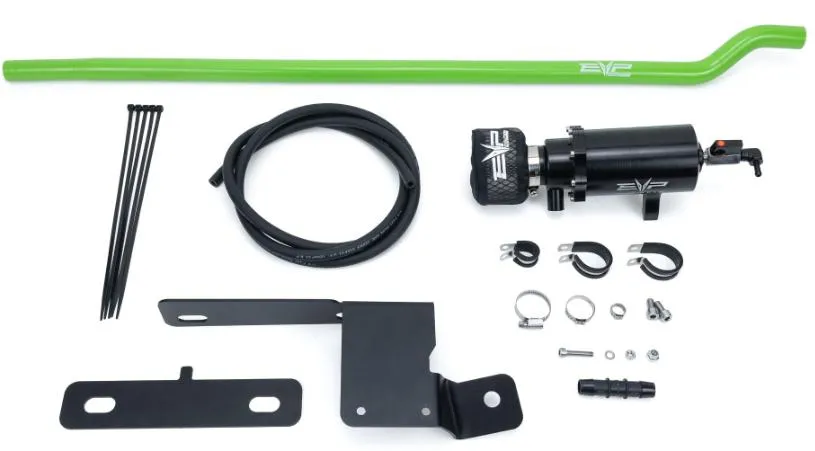
Included parts
- 1Hardware Kit/Brackets
- 1Catch Can Assembly
- 1Silicone Hose Assembly
Required tools
- Screwdriver(s)
- Pinch Clamp Tool
- Allen wrenches
- Pliers
Procedure
Installation
- Step 1
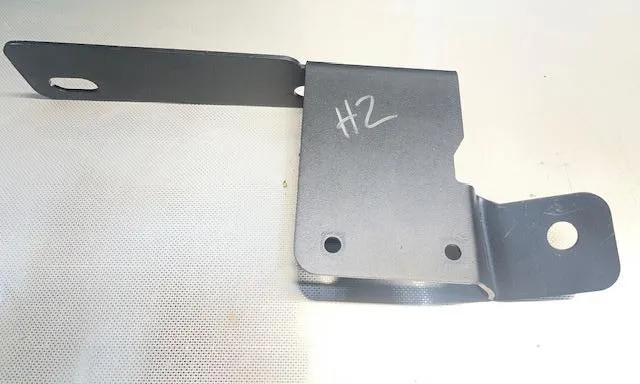
Locate catch can mounting bracket.
- Step 2
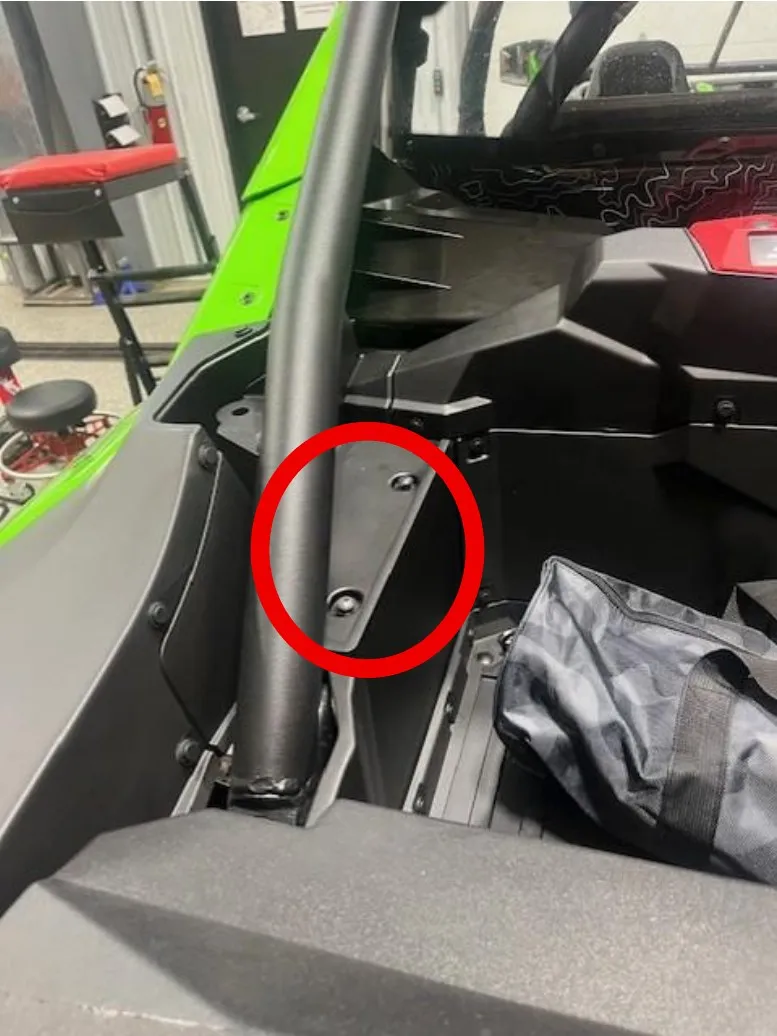
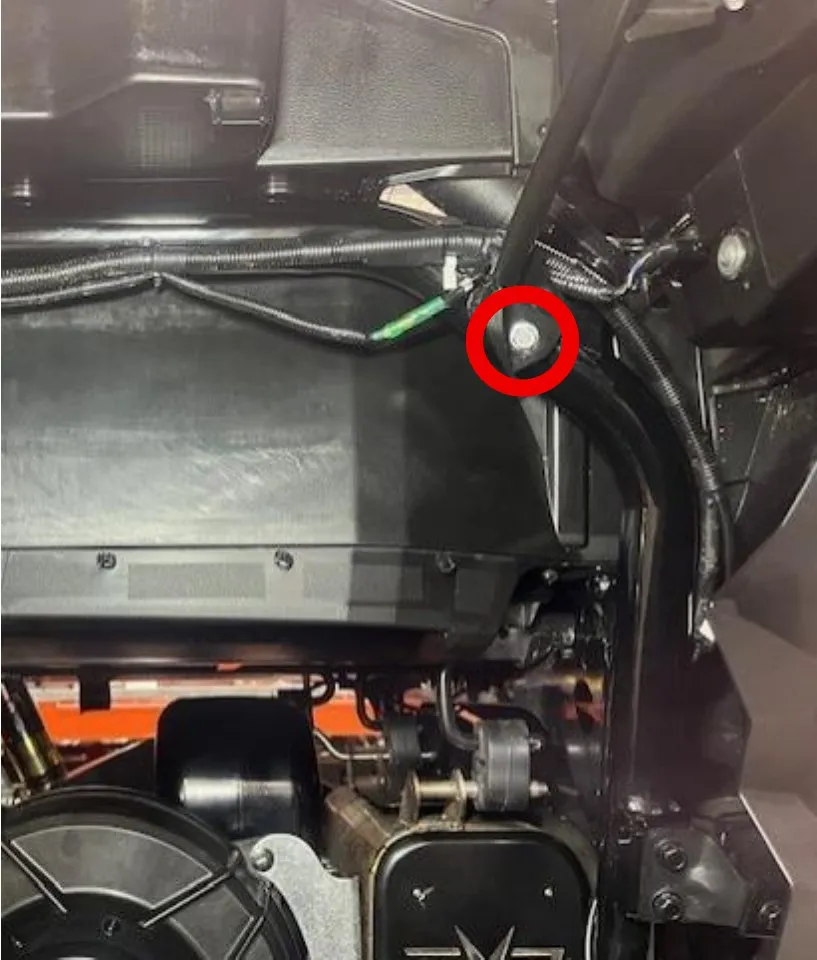
Remove (2) Phillips screws on top left of box and (1) bolt from bed support bracket. You can reuse the Phillips screws or install (2) supplied M6x20 black flanged button heads later.
- Step 3
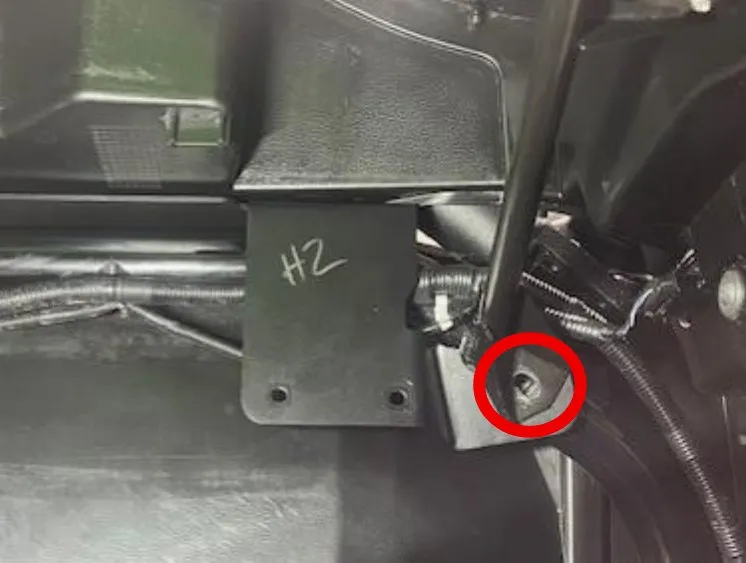
Slide bracket behind support and between bed and frame. Reinstall OEM bolt for support bracket.
- Step 4
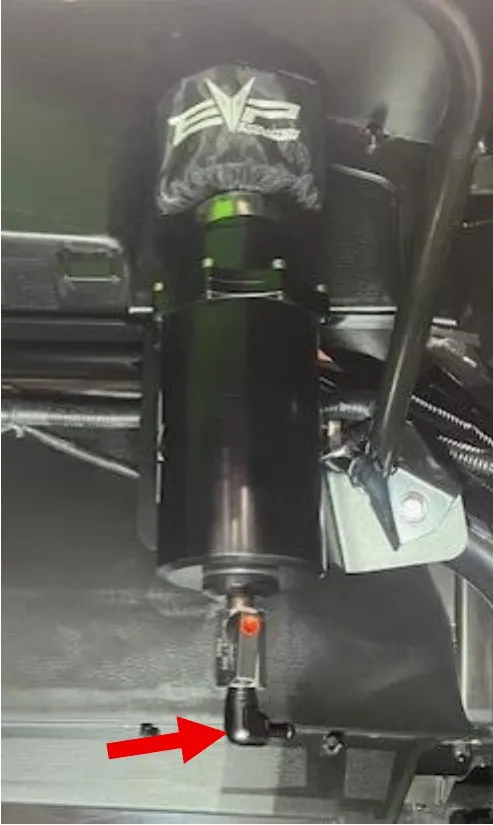
Mount can catch with supplied M8x16 socket cap screws. Make sure drain is clocked towards back of vehicle.
- Step 5
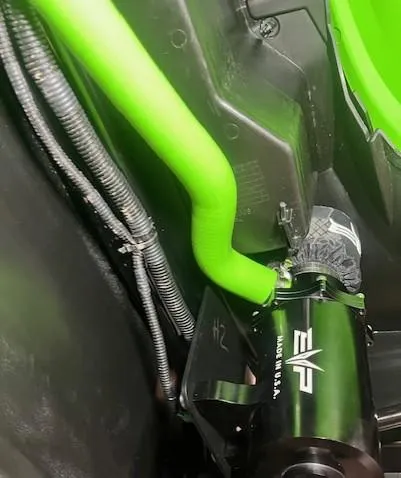
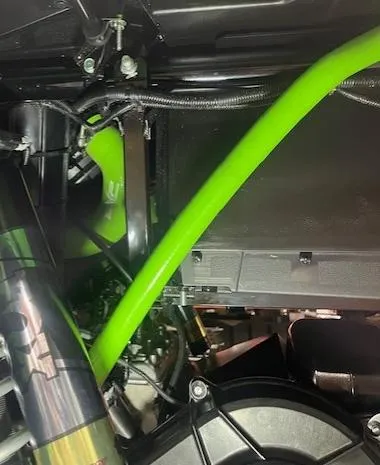
Install silicone hose onto the catch can, fasten down with supplied 25-40 worm drive. Route hose along bed and on the inside of shock.
- Step 6
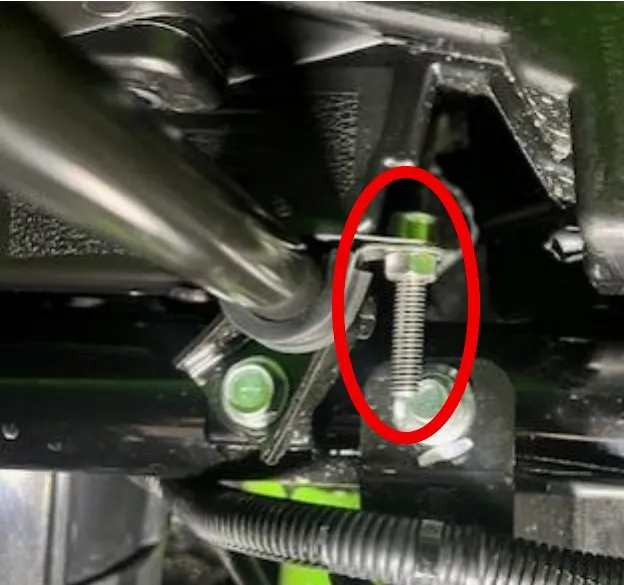
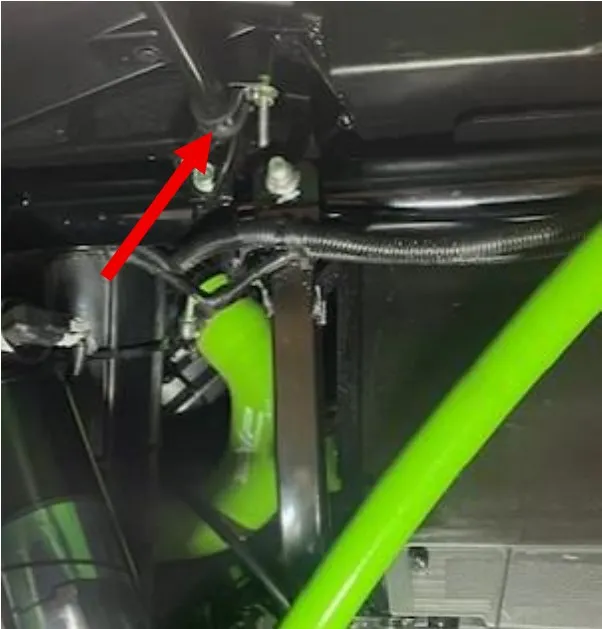
Mount the 5/8 Adelle clamp to front bar on box using supplied M6x30 socket head with nut.
- Step 7
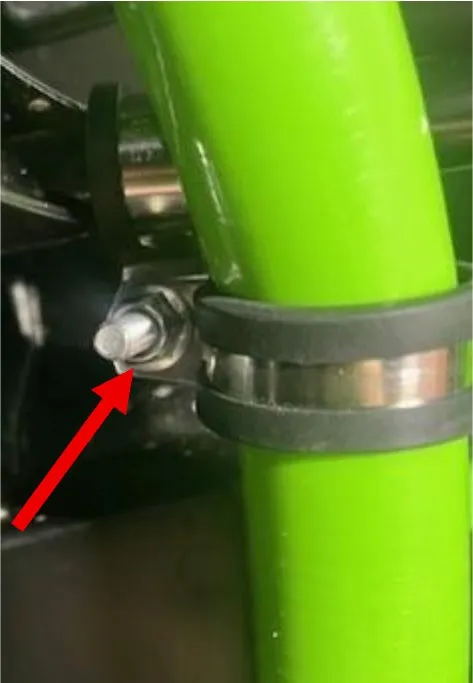
Install (1) 1-3/16 Adelle clamp to the 5/8 Adelle clamp at 90 degrees. Use M6 locknut to fasten down.

- Step 8
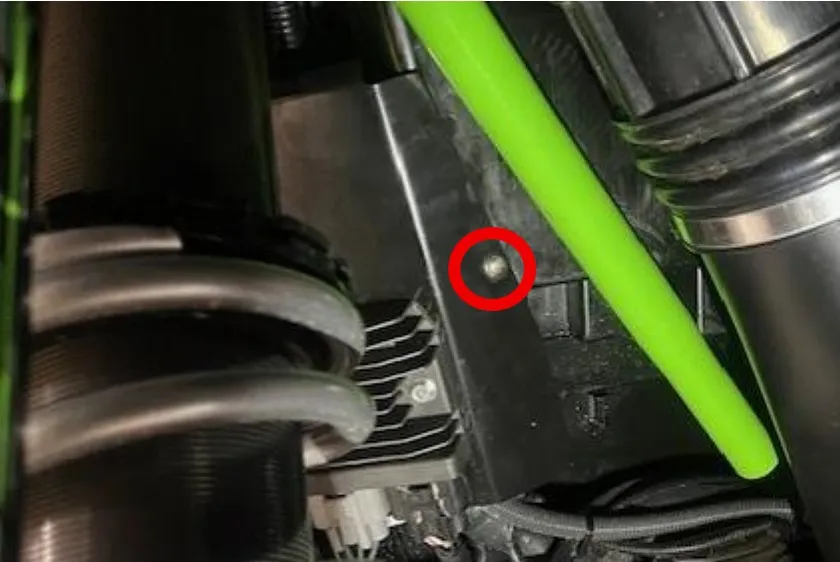
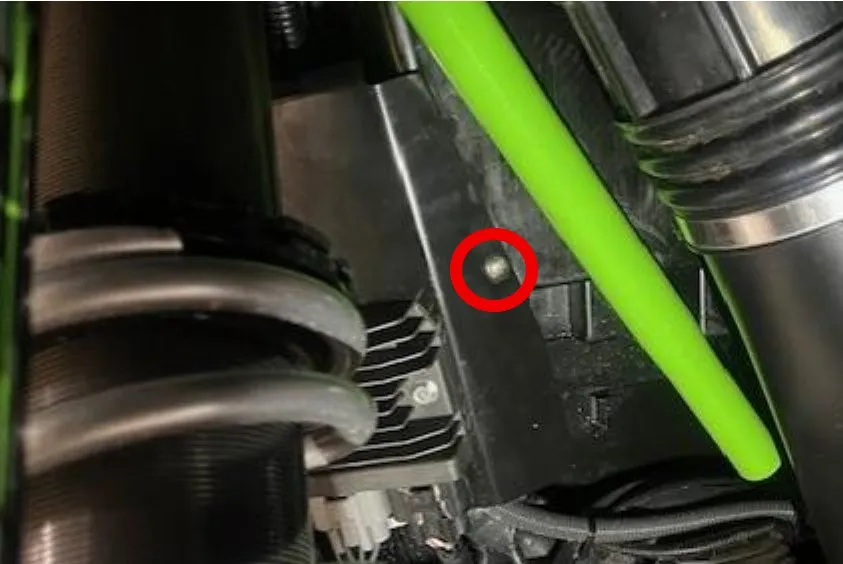
Remove (1) Phillips screw by voltage regulator and install 1-3/16 Adelle clamp. Reuse OEM hardware.
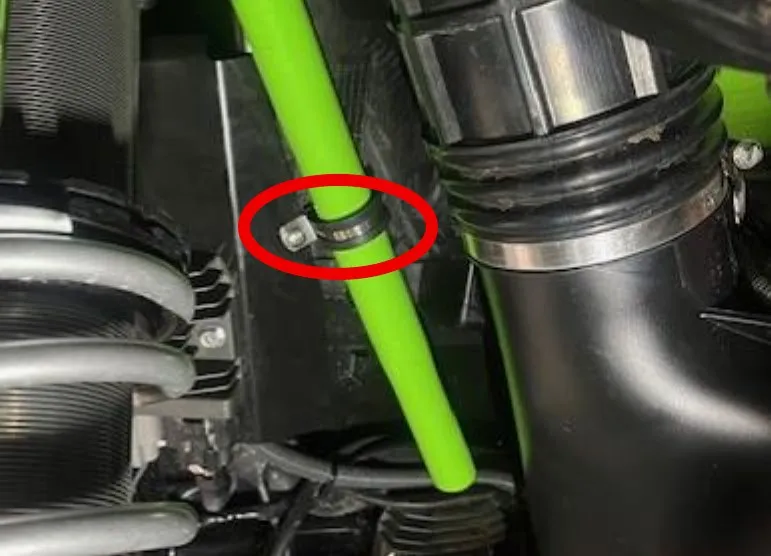
- Step 9
Remove crankcase vent hose from backside of supercharger duct. It is fastened with a spring clamp.
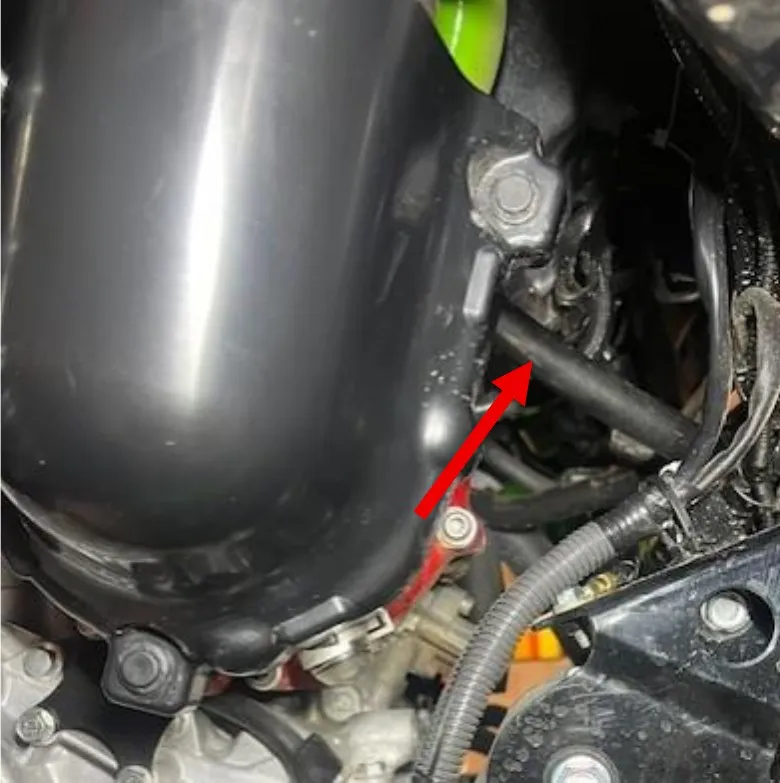
- Step 10
Route crankcase hose over to driver side of vehicle.
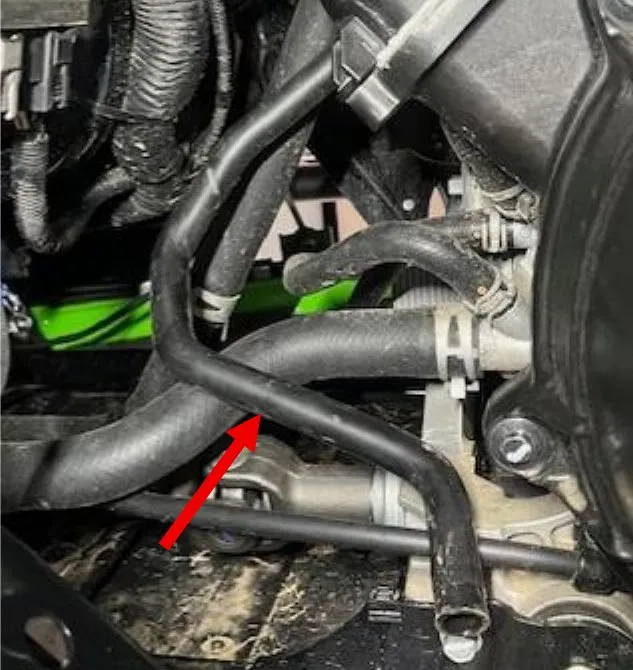
- Step 11
Mark hose at second bend and cut flush. Install supplied 5/8 coupler between the silicone hose from catch can and OEM crankcase hose. Use the OEM spring clamp on the factory hose (incase you need to remove it later), use a 28.6mm pinch clamp on the silicone hose.
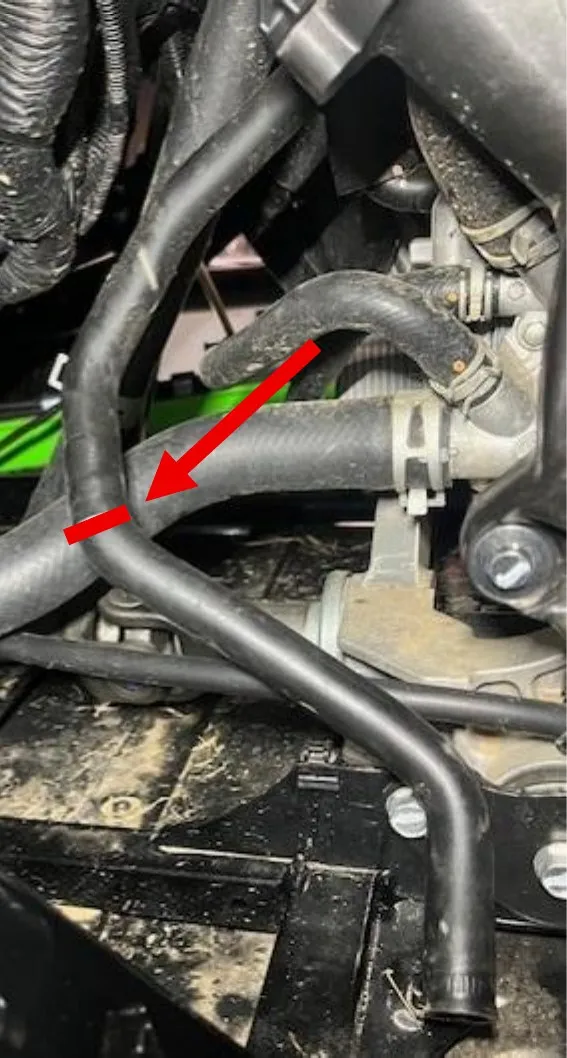

- Step 12
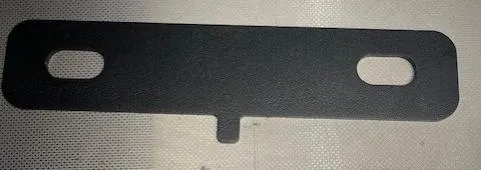
Mount the other flat plate on the opposite side of the box, same location as the catch can bracket. Mount with the tab facing outwards. This will level the bed out. You can reuse the OEM Phillips screws or supplied M6 black flange screws.
- Step 13
Route the 1/4 drain hose down the rear frame, securing the hose with zip ties. Use a 13.3mm pinch clamp to fasten the hose to the barb fitting on the catch can.

- Step 14
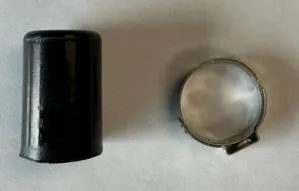
Cap the hole on back of supercharger duct with supplied cap and pinch clamp.
- Step 15
Check all clamps are tight and adjust as necessary so hoses are not rubbing on anything.
Need technical support?
Submit a ticket with your vehicle and what you're seeing, and our support team will get back to you.
