 BUY NOW, PAY LATER. Starting at 0% APR


Can-Am X3 Large Fuel Tank
X3 Large Fuel Tank
In the box
Parts and tools

Included parts
- 114.3USG Fuel Tank
- 1OEM Fuel Pump Seal
Required tools
- T-30 Socket and Rachet
- 13mm Socket and Open-End Wrench
- Push Dart Removal Tool
Procedure
Installation
- Step 1
Siphon all fuel out of the OEM tank, into a clean and safe container.
- Step 2
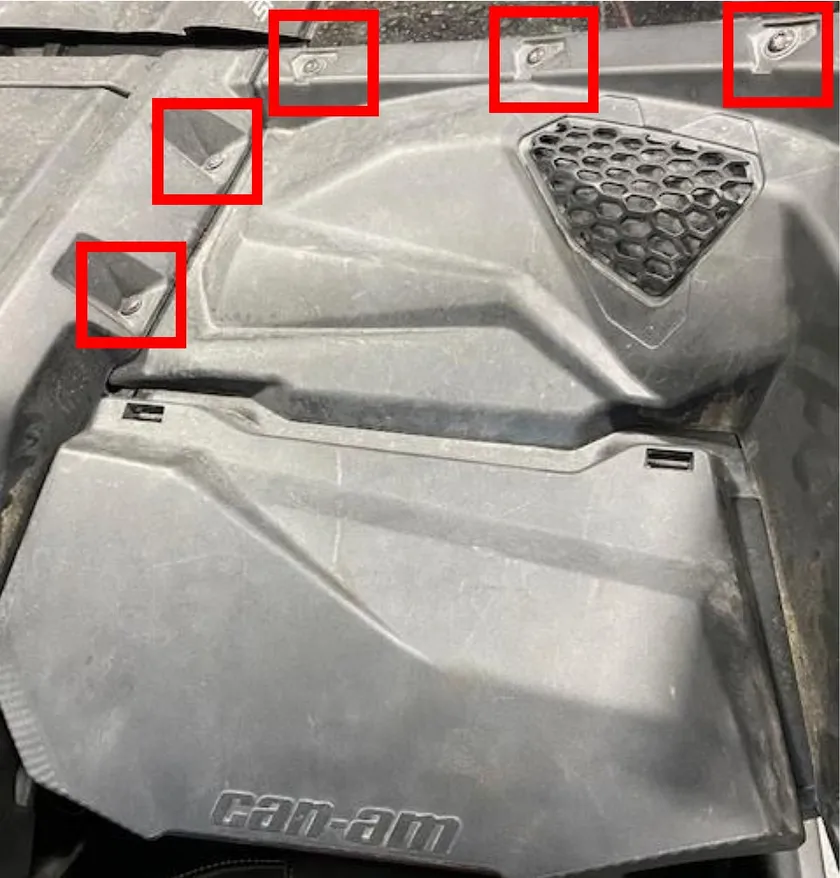
Remove passenger side upper dash by removing (5) T-30 screws and (2) push darts.
- Step 3
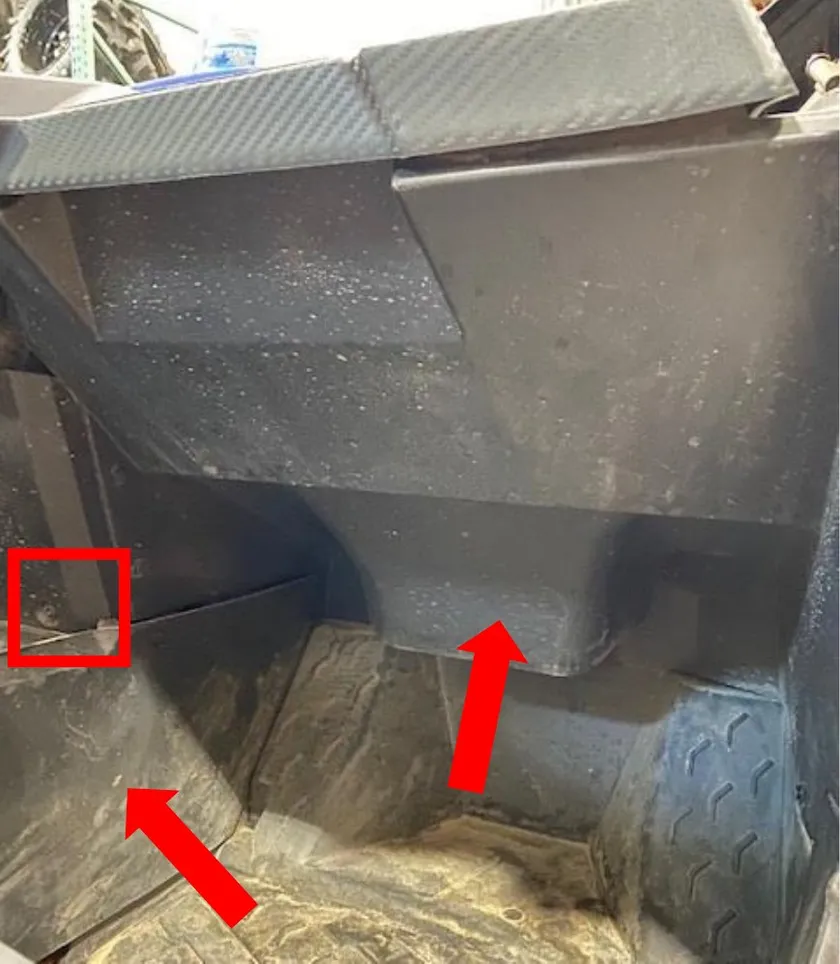
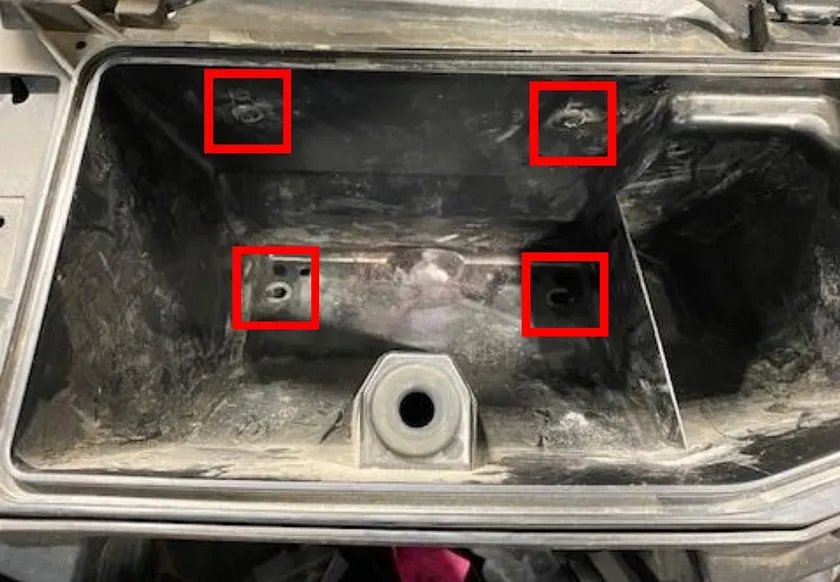
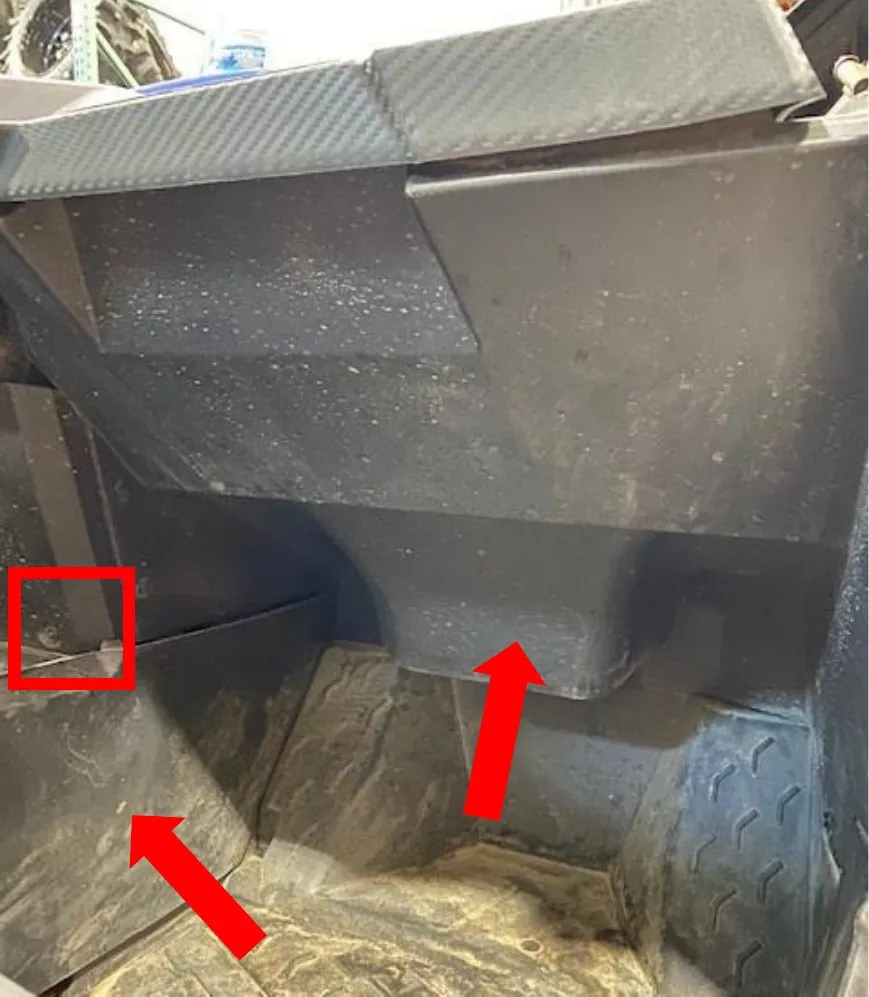
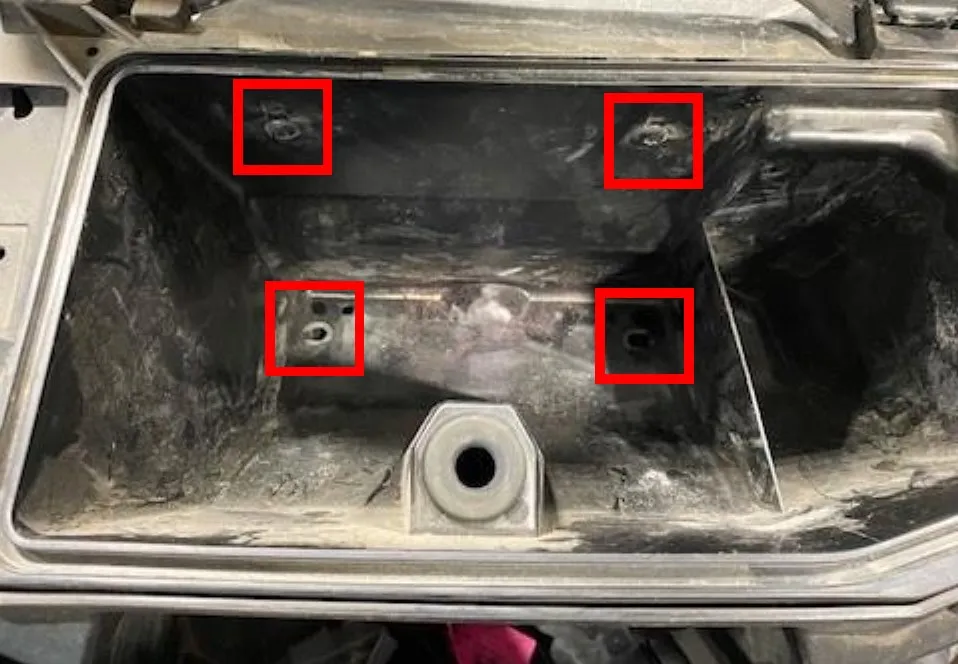
Remove passenger side of center council, underneath the glove box and glove box. Total of (8) push darts (two in the bottom of the glove box) and (6) T-30 screws.
- Step 4
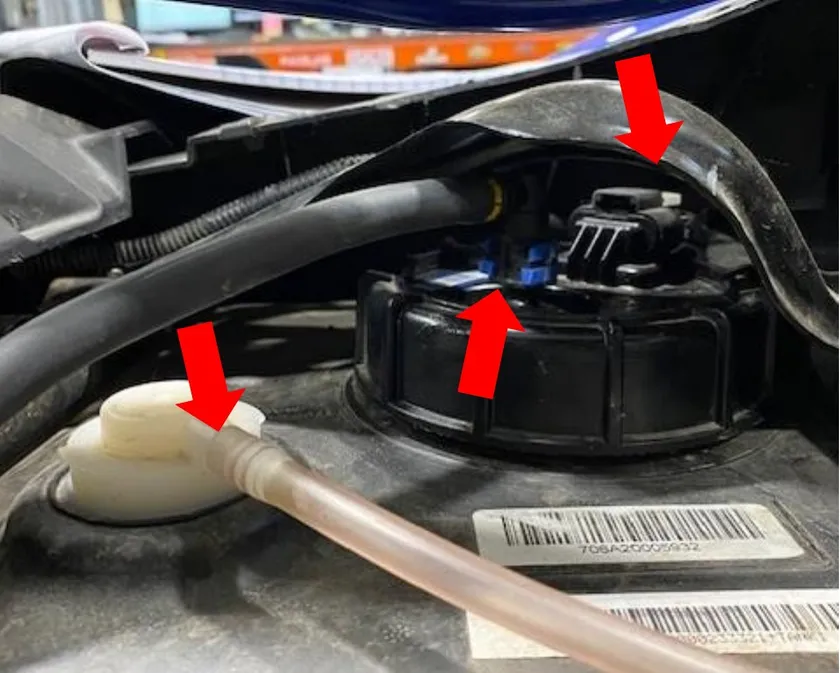
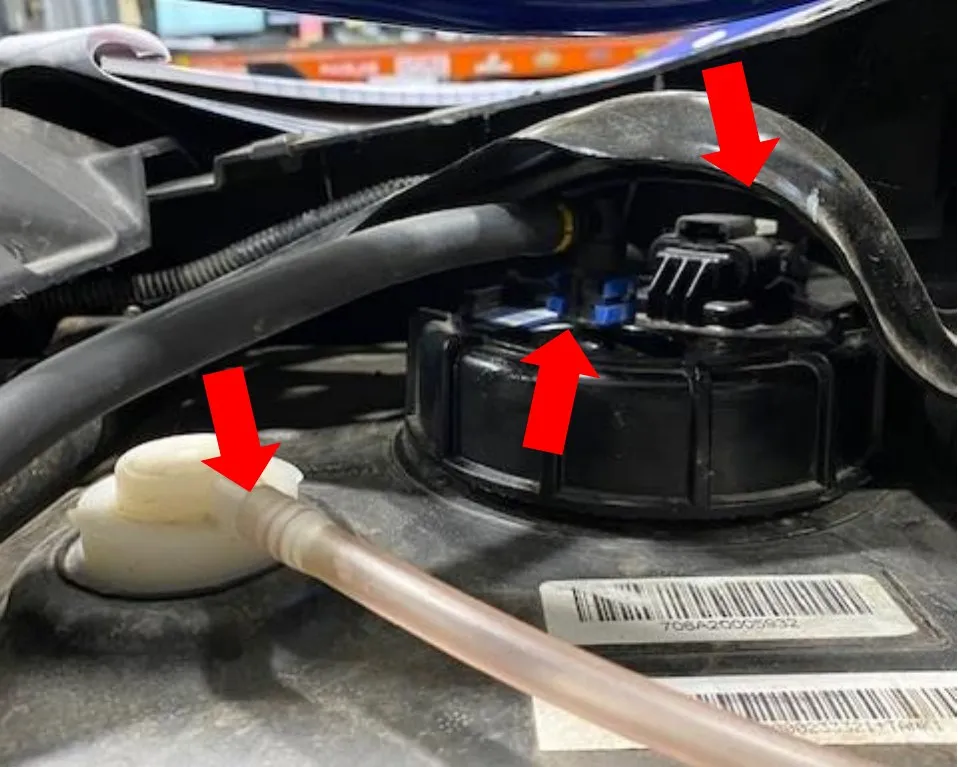
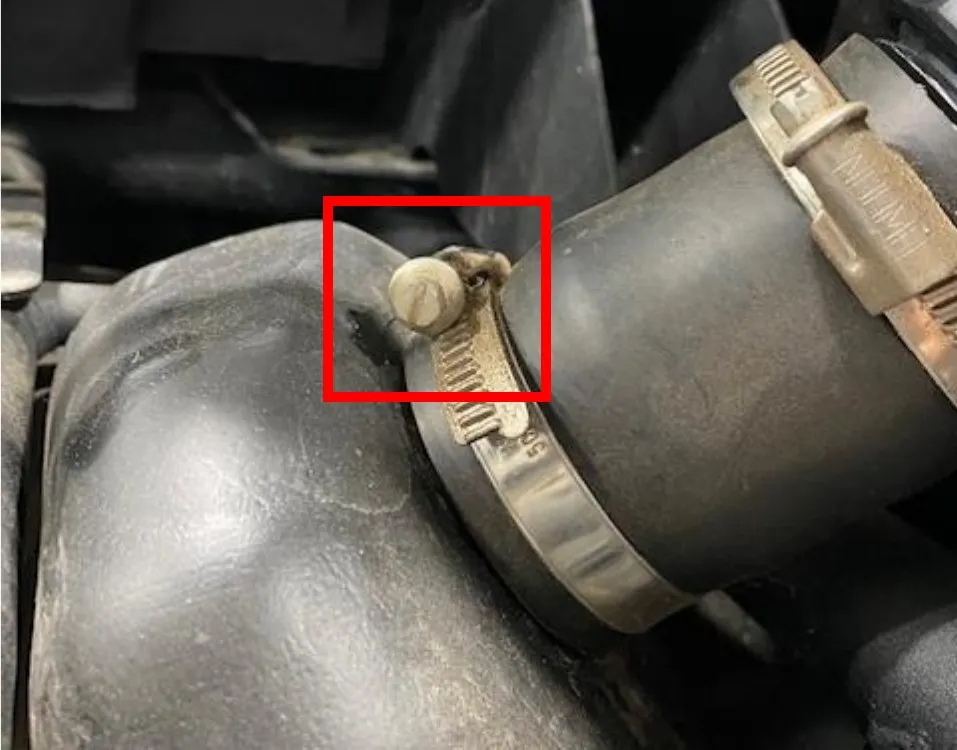
Now the fuel tank is visible, remove the breather vent hose (some have pinch clamps on them) disconnect fuel line and power plug to the fuel pump assembly. Also loosen the hose clamp on the bottom of the filler neck. No need to loosen the top.
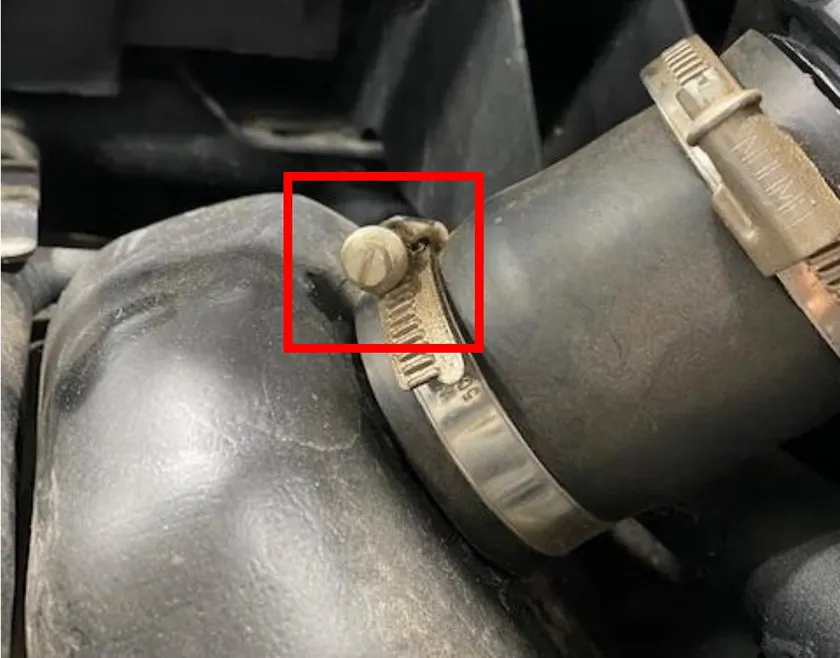
- Step 5
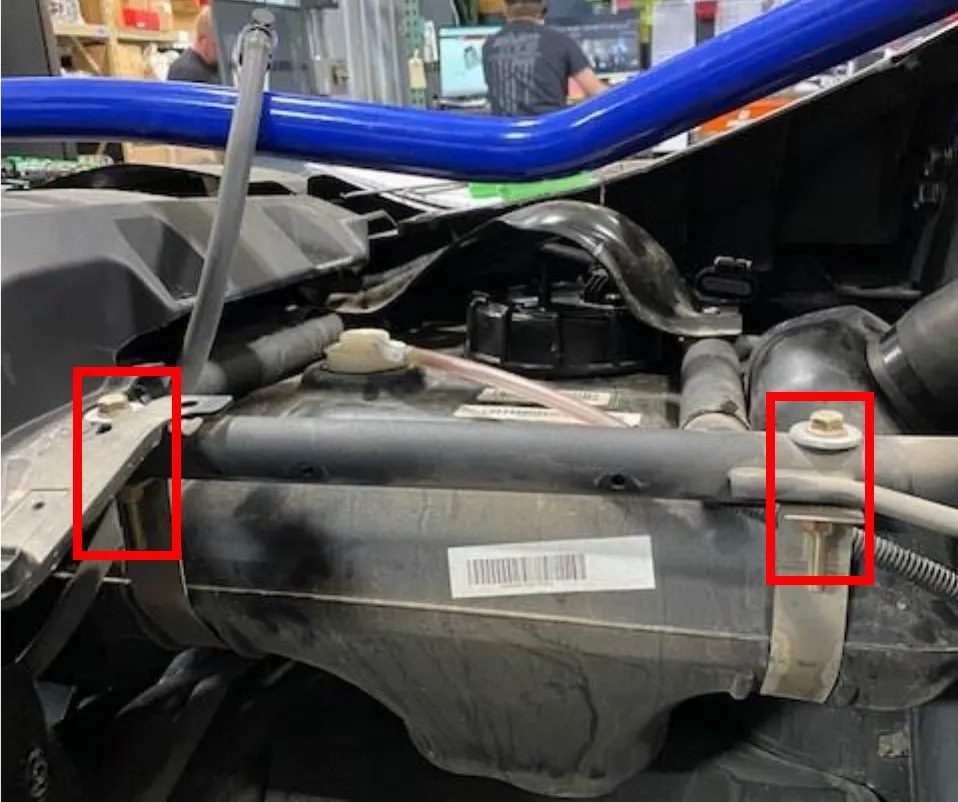
Loosen the (2) tanks straps with a 13mm socket and open-end wrench. No need to remove the straps from the firewall located in the front.
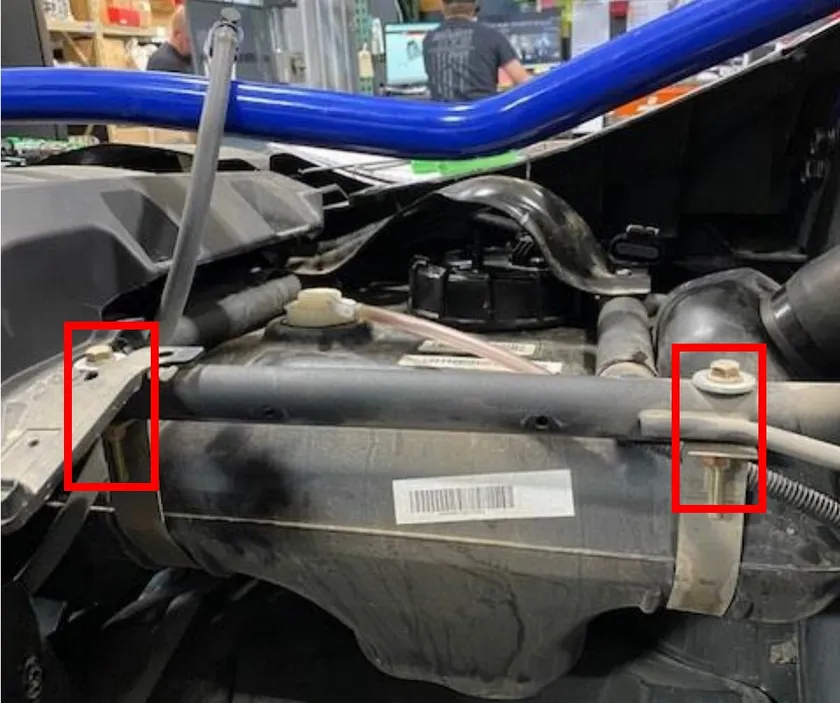
- Step 6
Now the tank is ready to be removed, slip the filler neck hose off the tank and drop the tank out of the dash. Once removed, blow the old tank off with compressed air.
- Step 7
Blow the inside of the new tank out, making sure all debris is removed.
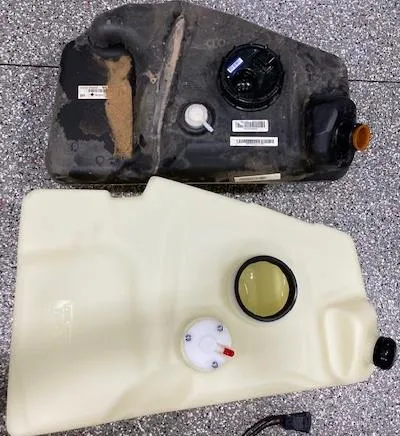
- Step 8
Install the new fuel pump assembly gasket into the new tank. It is easier to apply a light amount of grease on the inside of the gasket. Remove the oil cap and fuel pump assembly out of the old tank, and place into the new tank. Check your filter sock to see if it needs replacing.
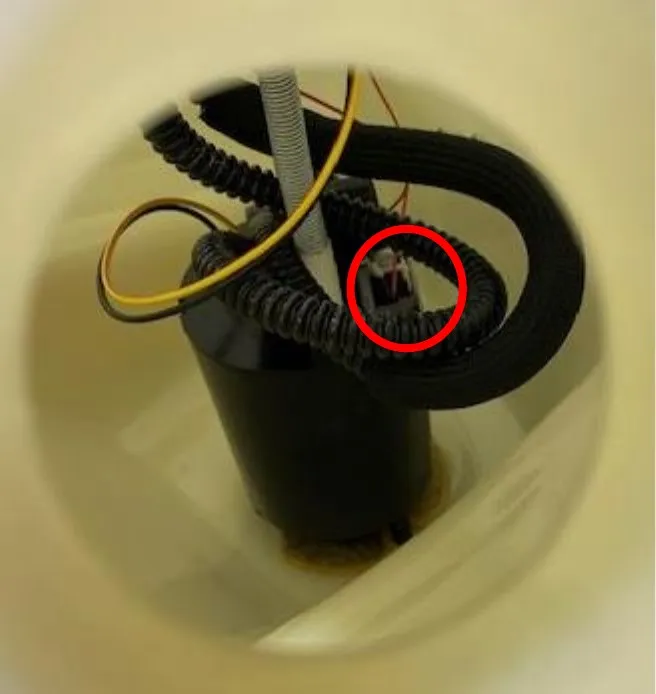 Note
Make sure the float is clocked correctly and not on the side of the tank.
- Step 9
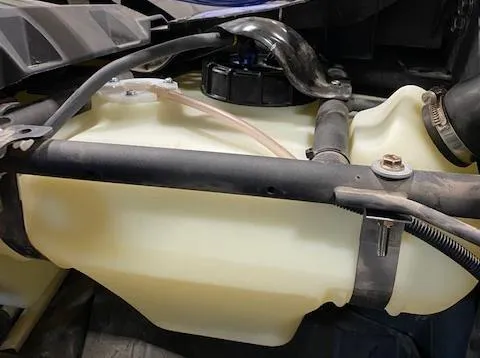
Install the new tank into the car, make sure all hoses can move freely. Install the filler neck back onto the tank, this will help hold the tank into place while fastening the straps. Fasten the tank straps until the straps touch the support bar. Reconnect the fuel line, power supply and breather vent. Install the supplied hose clamp onto the breather vent if loose.
- Step 10
Reinstall the glove box and dash in the same order it was taken out.
- Step 11
Remove the fuel cap and pour the fuel back into the tank that was siphoned out.

Need technical support?
Submit a ticket with your vehicle and what you're seeing, and our support team will get back to you.
