 BUY NOW, PAY LATER. Starting at 0% APR


Can-Am X3 Captains Choice Pressure Actuated
X3 Captains Choice Pressure Actuated
Before you start
The bed of the vehicle has been removed in these pictures to better show the install. The charge tube can be installed with the bed on, but it is best to loosen the back to provide more clearance.
In the box
Parts and tools
Included parts
- 1Silicone Vacuum Line Kit
- 1Manifold Port Adaptor (Aluminum or Plastic)
- 114.5mm Clamp
- 13/16” T Fitting
Silicone Vacuum Line Kit
- 2” 6mm Hose
- 24” 3mm Hose
- 313.3mm Pinch Clamps
- 11/4"-3/16” Adaptor
- 211.3mm Pinch Clamp
Required tools
- Torx Set
- Allen Set
- Socket Set
- Drill/Drill Bits
- Side Cutters
- Spring Puller
Procedure
Installation Steps
- Step 1
Remove rear valence, then remove the OEM muffler springs using a spring tool. Then remove the nuts and bolts securing the muffle to the frame. These bolts will be reused.
Noteit may be easier to unhook the springs if the OEM heat shield is removed
- Step 2
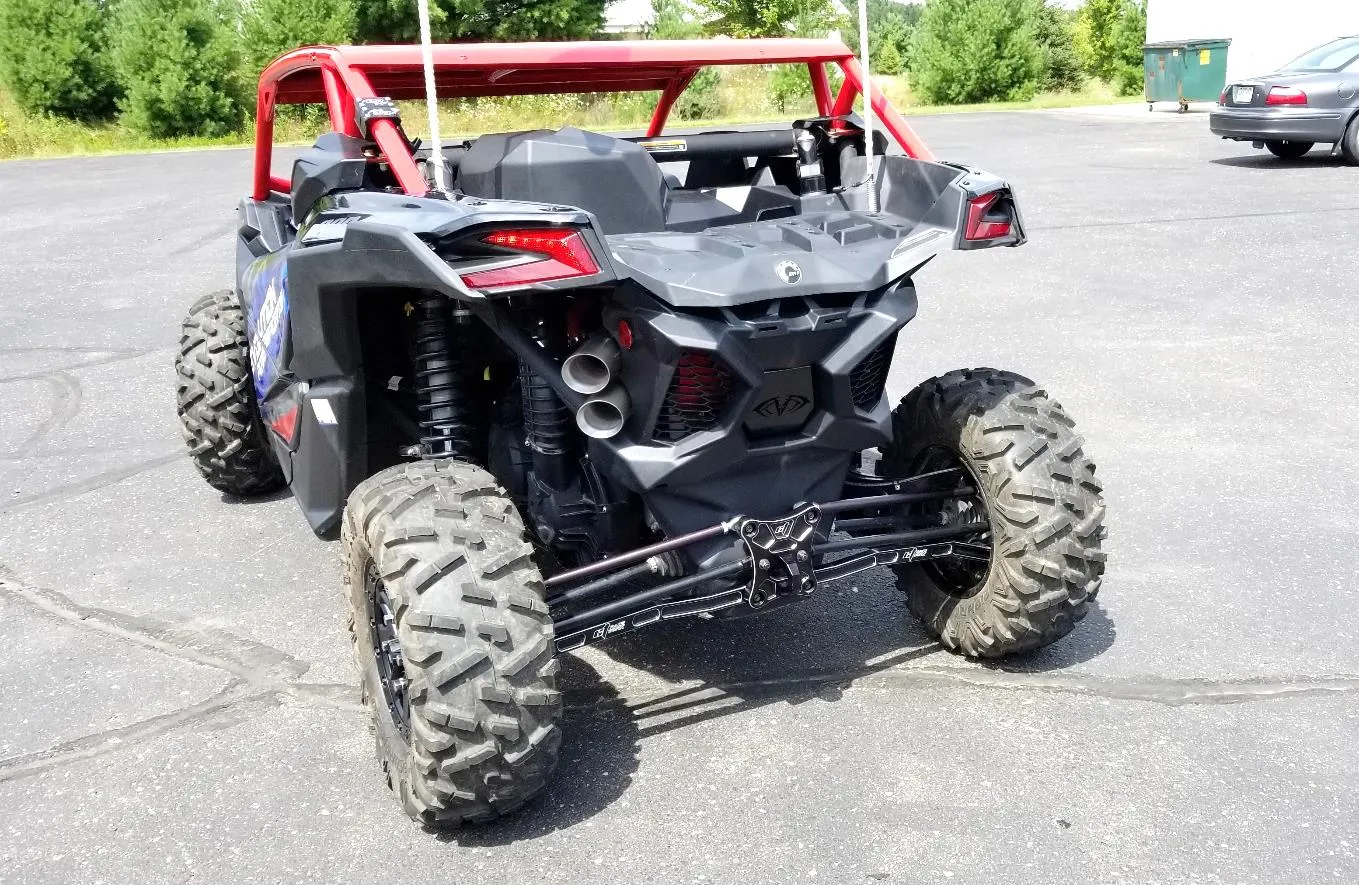
Install EVP Captains Choice exhaust.
- Step 3
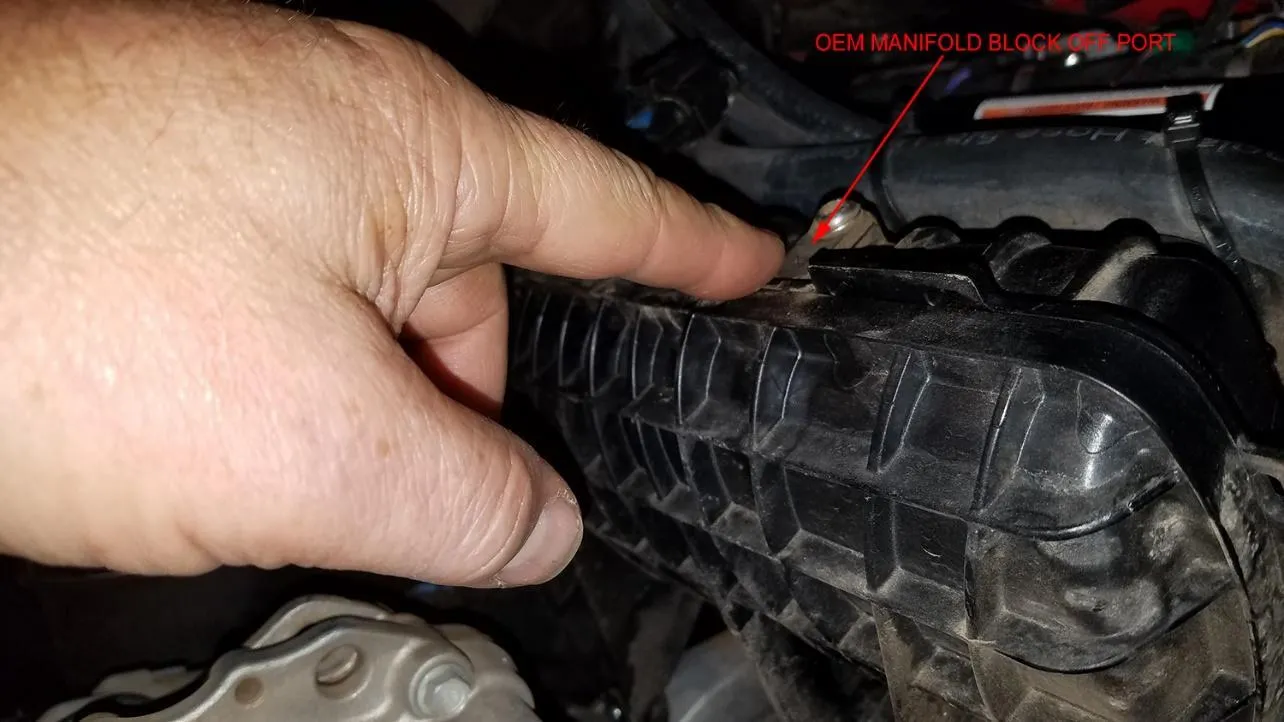
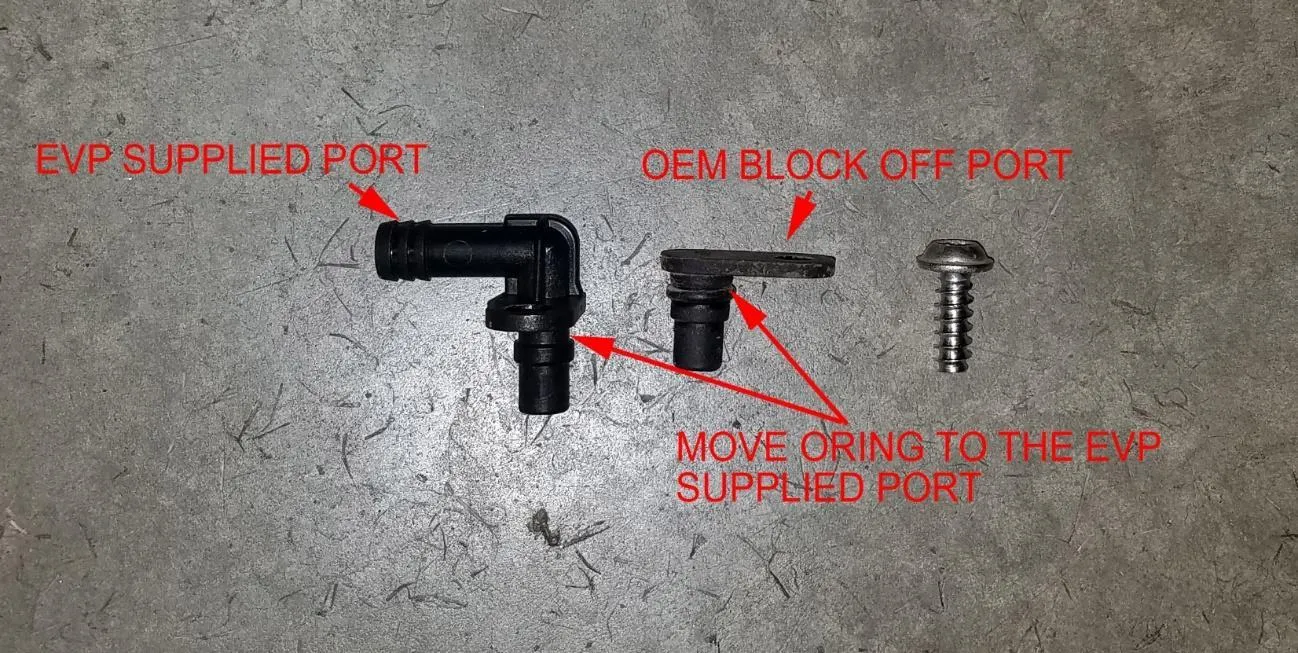
Remove the OEM manifold port block off using a T-30 Torx. Pry up with screwdriver to remove (the O-ring is holding it in place.)
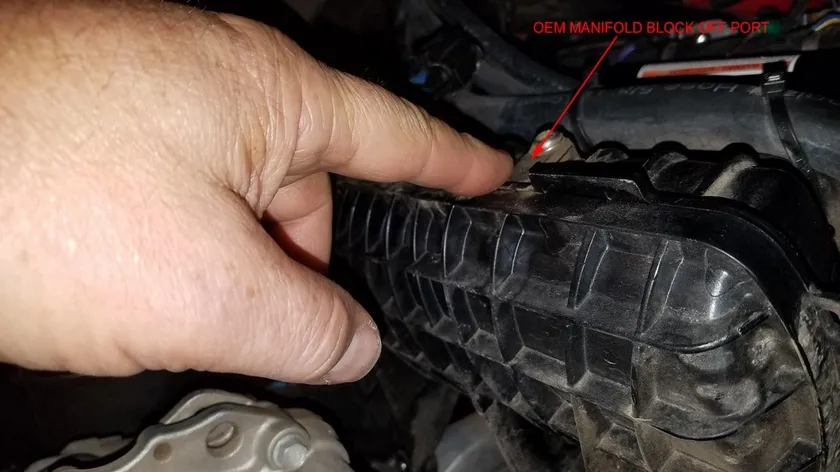
- Step 4
Move the O-ring from the OEM block off port to the EVP supplied port and install into manifold in place of the block off.
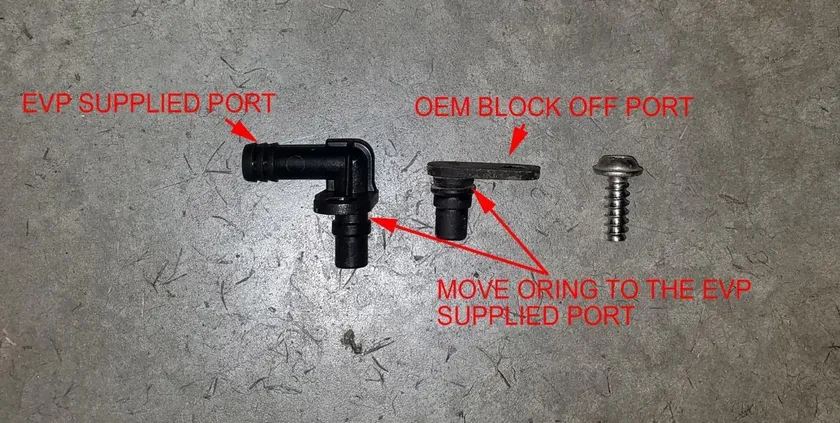
MOVE ORING TO THE EVP SUPPLIED PORT - Step 5
Connect EVP supplied hose to the port which was installed in the previous step.
- Step 6
Install the other end of the silicone hose onto the valve on the Captains Choice and secure with supplied 14.5 clamp. The cutout valve will open at approximately 5 psi boost.
- Step 7
If you are using the manifold port, T into the line and use supplied T fitting to run the line to the wastegate on the exhaust.
- Step 8
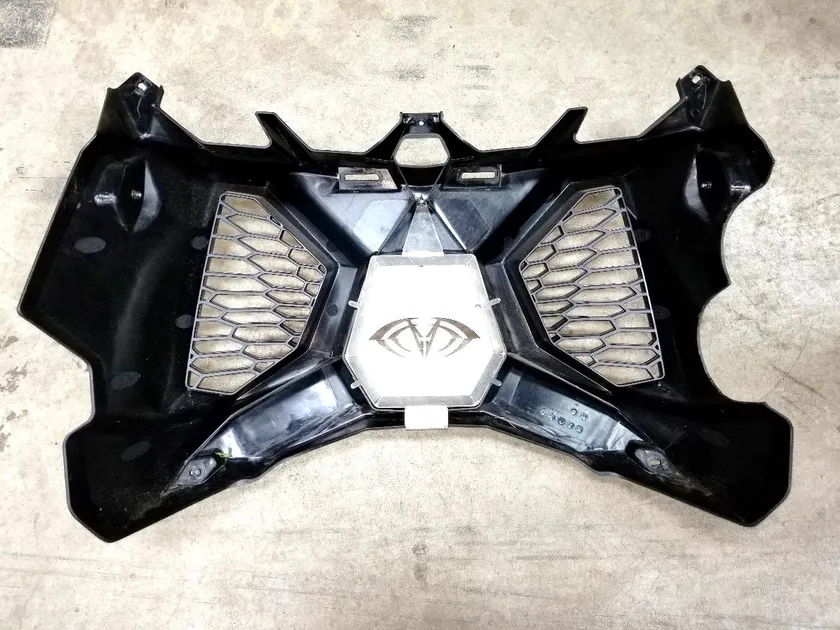
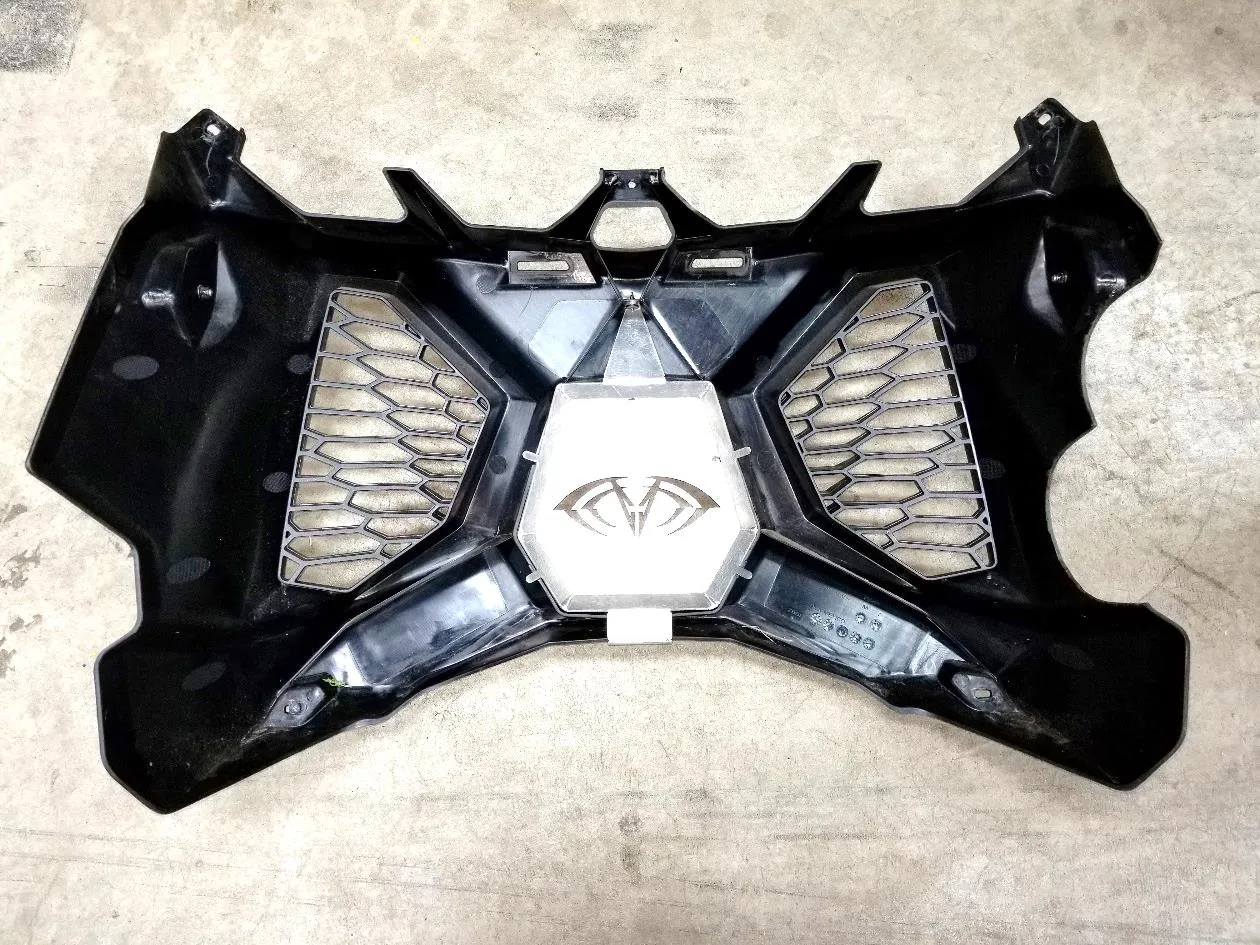
Follow supplied template for cutting rear valance.
When you’re done
After installation
If running in very sandy or dusty conditions, the actuator linkage may require cleaning with compressed air or WD-40 lubrication.
Need technical support?
Submit a ticket with your vehicle and what you're seeing, and our support team will get back to you.
