Can-Am X3 Billet Fuel Rail

X3 Billet Fuel Rail

SKU
2532010007 (OEM Fitting), 2532010008 (-6AN Fitting)
Legacy SKU
500FC0088, 500FC0090
Revision
REV_050625

In the box

Parts and tools

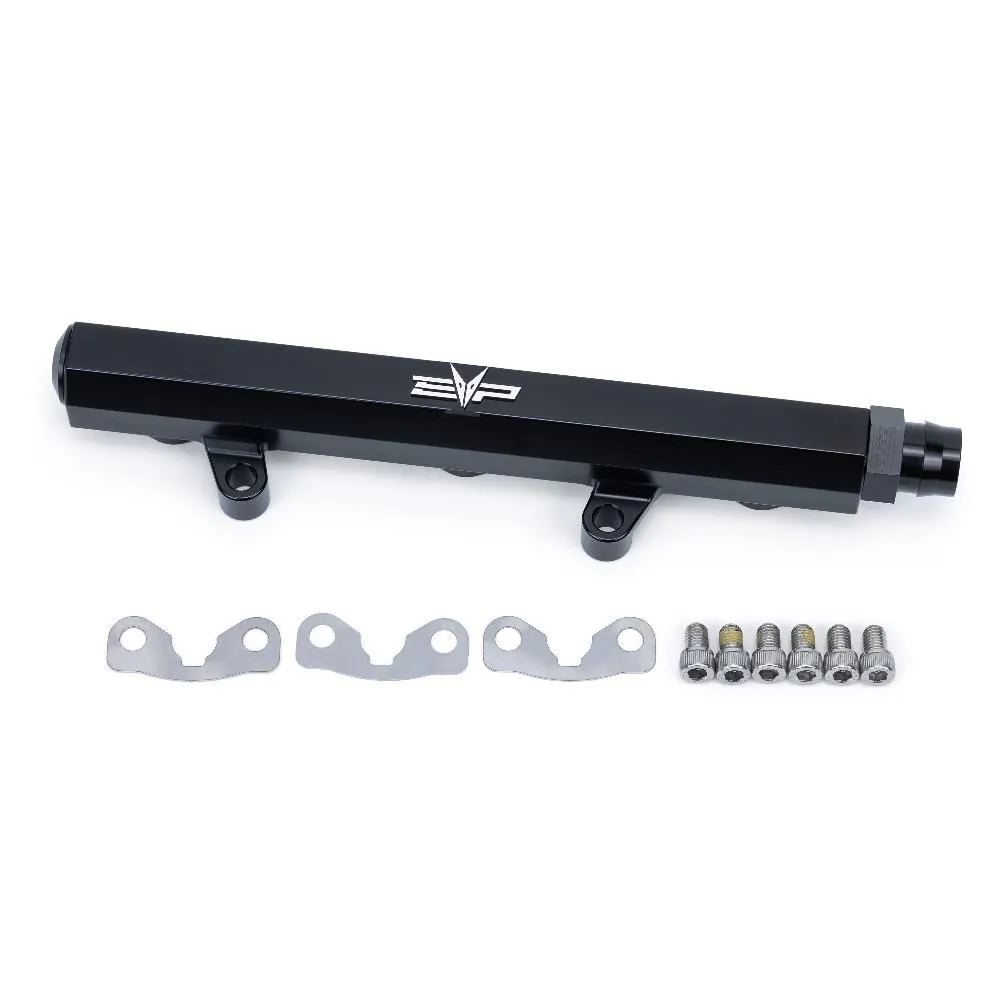
X3 Billet Fuel Rail

Included parts

  • 1X3 Fuel Rail
  • 3Injector Clip
  • 6Socket Cap Screws
  • 18AN ORB Plug
  • 4Zip Tie
  • Optional: 8AN ORB to 8AN Fitting
  • Optional: BRP OEM Quick Fitting

Required tools

  • Torx Sockets
  • Metric Wrench
  • Fuel Rail Tool (953RU0662)

Procedure

Installation

  1. Step 1

    With brake cleaner, spray around all (3) injector ports and fuel rail. Wipe debris away with a rag. Use the EVP or BRP fuel rail tool to properly remove the fuel line from the rail. Insert the tool between the fuel line and fuel rail. DO NOT USE A SCREWDRIVER.
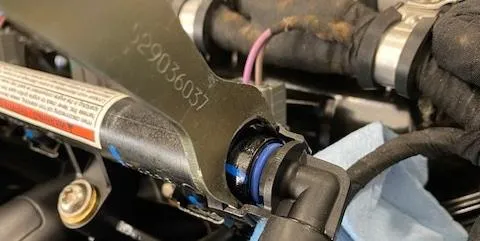
    Insert the tool between the fuel line and fuel rail.
  2. Step 2

    Unplug each injector clip. With a T30 remove the fuel rail screws.
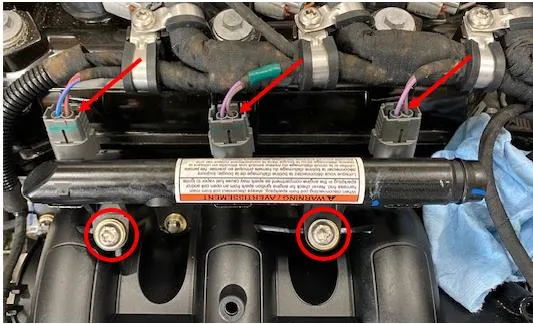
    Unplug each injector clip. With a T30 remove the fuel rail screws.
  3. Step 3

    Remove the injector clips, remove the injectors. Blow out the fuel rail with all injectors removed.
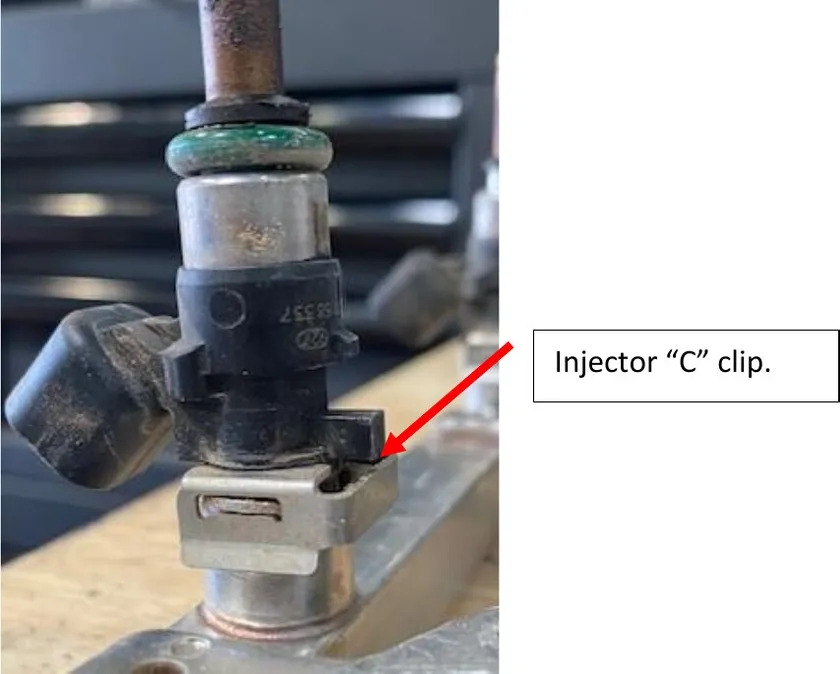
    Remove the injector clips, remove the injectors.
  4. Step 4

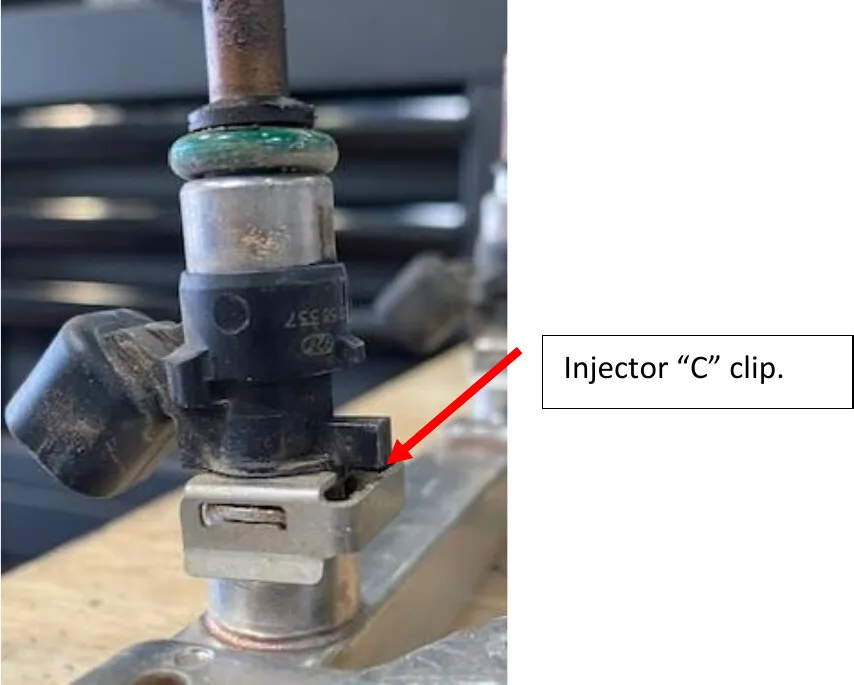
    Install the (3) injectors. Apply dielectric grease to the O-ring on the injector. Install the new injector clip around the injector, use supplied hardware with BLUE Loctite. Make sure the injector is properly seated.
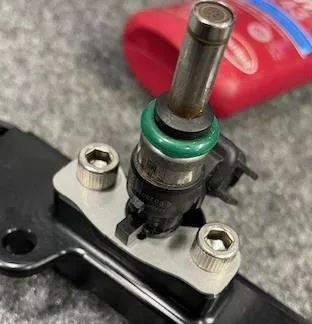
    Install the new injector clip around the injector, use supplied hardware with BLUE Loctite.
  5. Step 5

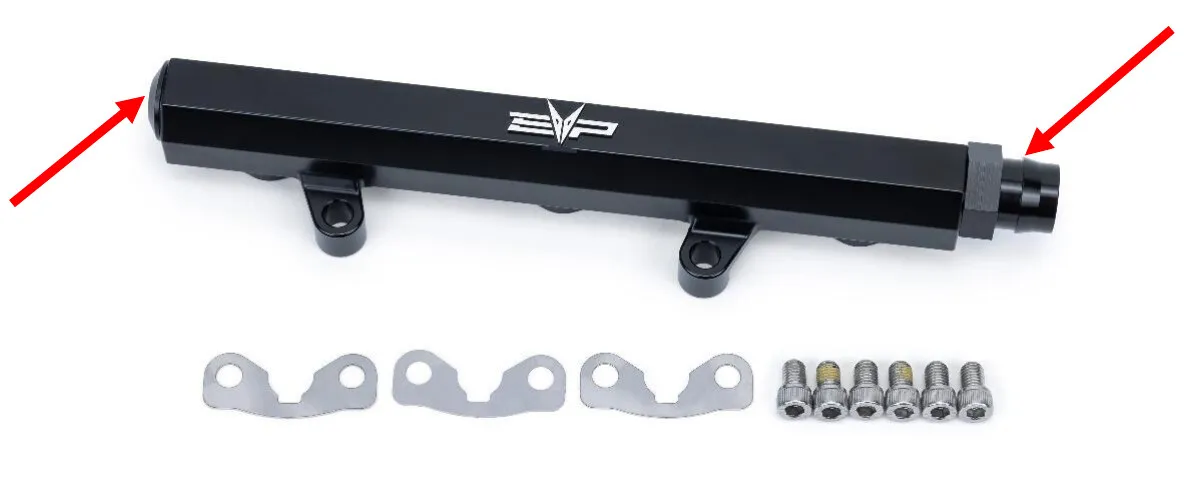
    Install the plug (if you are NOT running a return style fuel system) apply dielectric on the O-ring. Install the correct fuel line connector either OEM or -6an.
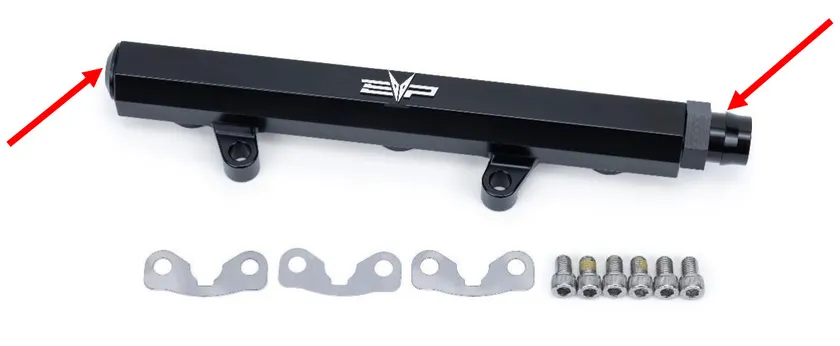
    Install the plug (if you are NOT running a return style fuel system) apply dielectric on the O-ring. Install the correct fuel line connector either OEM or -6an.
  6. Step 6

    Install the fuel rail and injectors into the intake. Torque screws to 80 in-lbs. Reinstall the fuel line. You will hear it snap into place. Make sure it is seated properly.
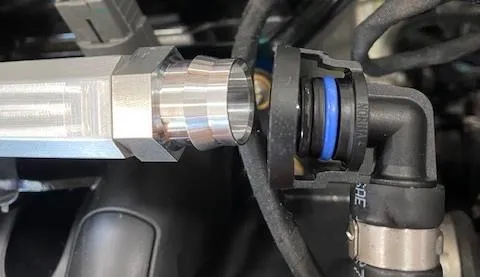
    Reinstall the fuel line.
  7. Step 7

    Reinstall the injector connectors.
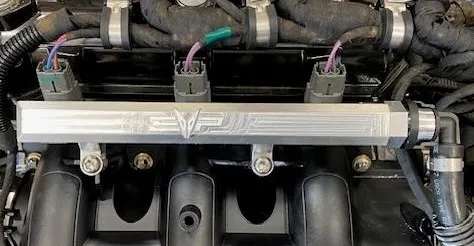
    Reinstall the injector connectors.
Emissions notice. This product is exempt from the emission standards and related requirements of 40 C.F.R. § 1051 as provided by 40 C.F.R. § 1051.620, and California law [e.g., vehicle code §§ 27156 and 38391]. This product is sold only for use in connection with EPA certified, purpose-built, nonroad vehicles used solely for closed course, nonroad competition/racing and not used for any recreational purpose or on public highways or right of ways maintained by and open to the public. This product is sold only in connection with machines that do not fall under state and/or federal noise or emission standards/regulations. Purchasers who/that purchase this product represent and warrant that the product is purchased only in connection with EPA-certified, emission-regulations-exempt and noise-regulations-exempt competition/racing vehicles as interpreted under applicable state and/or federal law.

Need technical support?

Submit a ticket with your vehicle and what you're seeing, and our support team will get back to you.

Contact Support
We use cookies to improve your experience on our website. Read about how we use cookies in our Privacy Policy. By browsing this website, you agree to our use of cookies. privacy policy
accept

Your cart

×
×