 BUY NOW, PAY LATER. Starting at 0% APR


Sea-Doo 230-325 Impeller & Wear Ring Removal
Installation instructions for the Sea-Doo 230-325 Impeller & Wear Ring Removal on the Sea-Doo Sea-Doo (SKU 903FS0046). Parts, tools, and full procedure.
In the box
Parts and tools
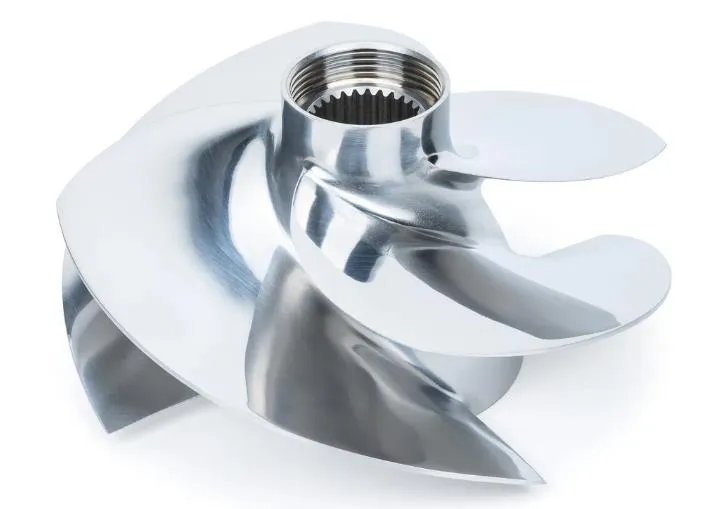
Included parts
- 1PWC Stainless Impeller
- 1Impeller Spline Tool
Required tools
- 10, 13, 36mm socket
- Screwdriver
- Vice and Grease
- 5mm Socket
- Rachet and Breaker Bar
Procedure
Installation
- Step 1
Put the vehicle’s IBR system into “Service Mode”.
- Key the vehicle on.
- Hold the IBR lever into the handle bar.
- Press the “Mode” button.
- Press the “VTS UP” until the bucket is all the way up.
- Release the IBR lever.
- Key the vehicle off.
- Step 2
Remove the steering cable from the nozzle, use a 10mm socket.
- Step 3
Remove (1) 13mm bolt from the bucket.
- Step 4
Remove (2) 13mm bolts from left/right side of the trim/steering nozzle.
- Step 5
Remove the steering nozzle assembly out of the bucket, it helps to turn it 90 degrees.
- Step 6
Remove (2) 13mm screws from the bucket.
- Step 7
Remove (4) 13mm screws holding the nozzle onto the jet pump, remove the nozzle.
- Step 8
Remove (4) 13mm nuts and washers holding the pump to the hull. When removing the pump, make sure the big O-ring (water pick up) and (2) small O-rings (water bail outs) stay in the hull. If they fall out during removal, push back into the hull.
- Step 9
With the jet pump on the workbench, remove (3) 5mm Allen screws holding the pump cone. Set cone to the side.
- Step 10
Place pump shaft flats into a vice and tighten down.
- Step 11
Remove the rubber guard to access the splines. This rubber guard has reverse threads (right rotation).
- Step 12
Install the spline tool into the impeller and use a 36mm socket with a breaker bar. This is regular rotation (left)
- Step 13
Remove the impeller and inspect the wear ring for damage.
- Step 14
Grease pump shaft, threads, O-ring on the new impeller.
- Step 15
It may help to spray the wear ring with lube before installing the new impeller.
- Step 16
Install the new impeller and spin tight, install spline tool and torque to 92 ft-lb.
- Step 17
Install the rubber guard, apply grease to it. This is reverse thread.
- Step 18
Put grease in the nozzle and torque all (3) Allen screws to 10 ft-lb.
- Step 19
Grease up the drive shaft splines, grease up the pump seal.
- Step 20
When reinstalling the pump into vehicle, you may need to spin the impeller with a long flat head screwdriver to get the splines to line up.
- Step 21
Reinstall (4) nylock nuts and washers and torque to 18 ft-lb.
- Step 22
Reinstall the pump nozzle and torque (4) screws to 18 ft-lb.
- Step 23
Reinstall the IBR bucket and reconnect the steering cable to the nozzle.
Need technical support?
Submit a ticket with your vehicle and what you're seeing, and our support team will get back to you.
