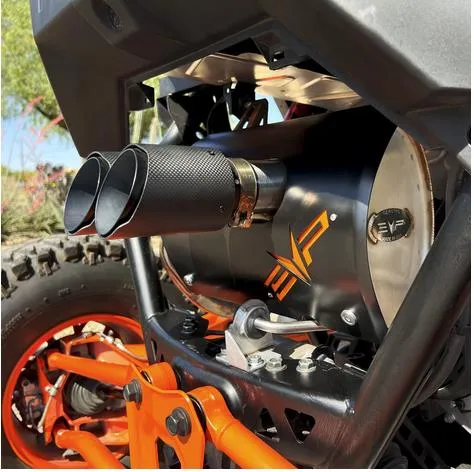
Polaris Pro R Magnum Twin Exit Slip-On Exhaust

Installation instructions for the Polaris Pro R Magnum Twin Exit Slip-On Exhaust on the Polaris Pro R (RZR). Parts, tools, and full procedure.

Category
Exhaust
Vehicles
Polaris RZR
Revision
Rev_071122

In the box

Parts and tools

Polaris Pro R Magnum Twin Exit Slip-On Exhaust

Included parts

  • 1EVP Muffler
  • 1Dual Tips
  • 1Muffler Donut Gasket

Required tools

  • 10, 13, 14, 15mm Socket
  • T-40, T-50 Socket
  • Torque Wrench
  • Sharpie

Procedure

Installation

  1. Step 1

    Remove the (4) T-45 screws holding the bed in, remove the bed.

  2. Step 2

    Underneath the bed will be (4) T-40 screws, remove them.

  3. Step 3

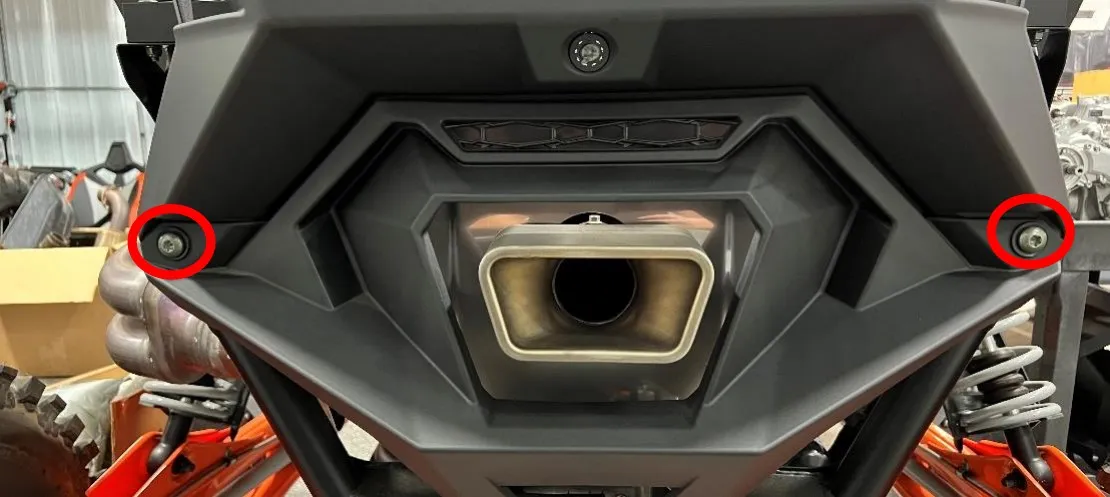
    Remove (2) T40 screws on the outside of the car, holding the rear plastics on.

    Remove (2) T40 screws on the outside of the car, holding the rear plastics on.
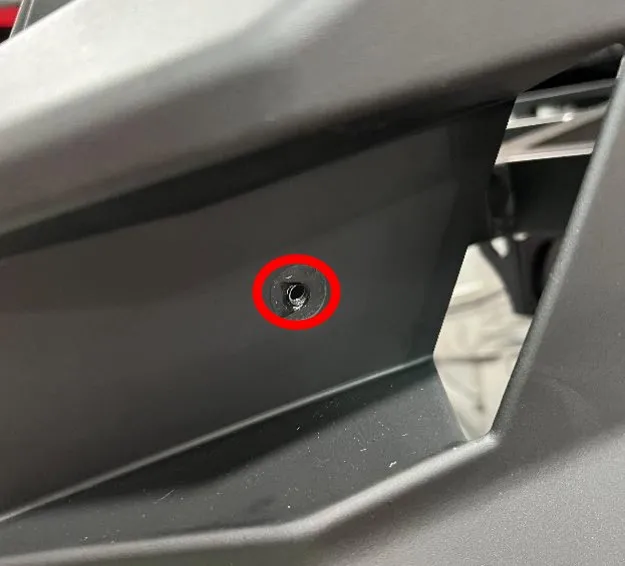
    Remove (2) T40 screws on the outside of the car, holding the rear plastics on.
  4. Step 4

    Remove (2) T-50 bolts holding the rear valence on. (There are 2 metal clips above plastic)
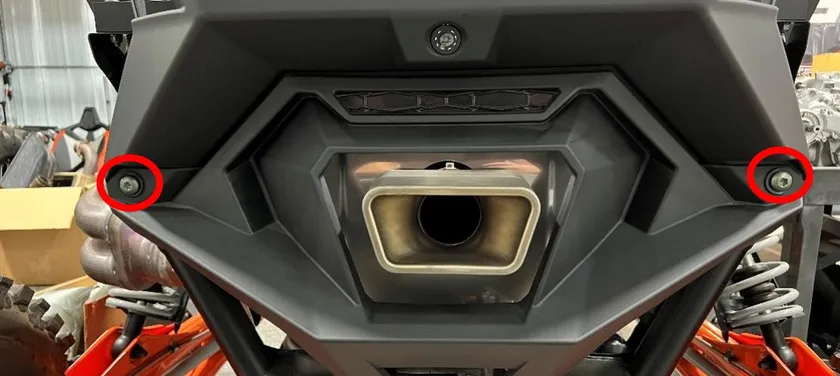
    Remove (2) T-50 bolts holding the rear valence on.
  5. Step 5

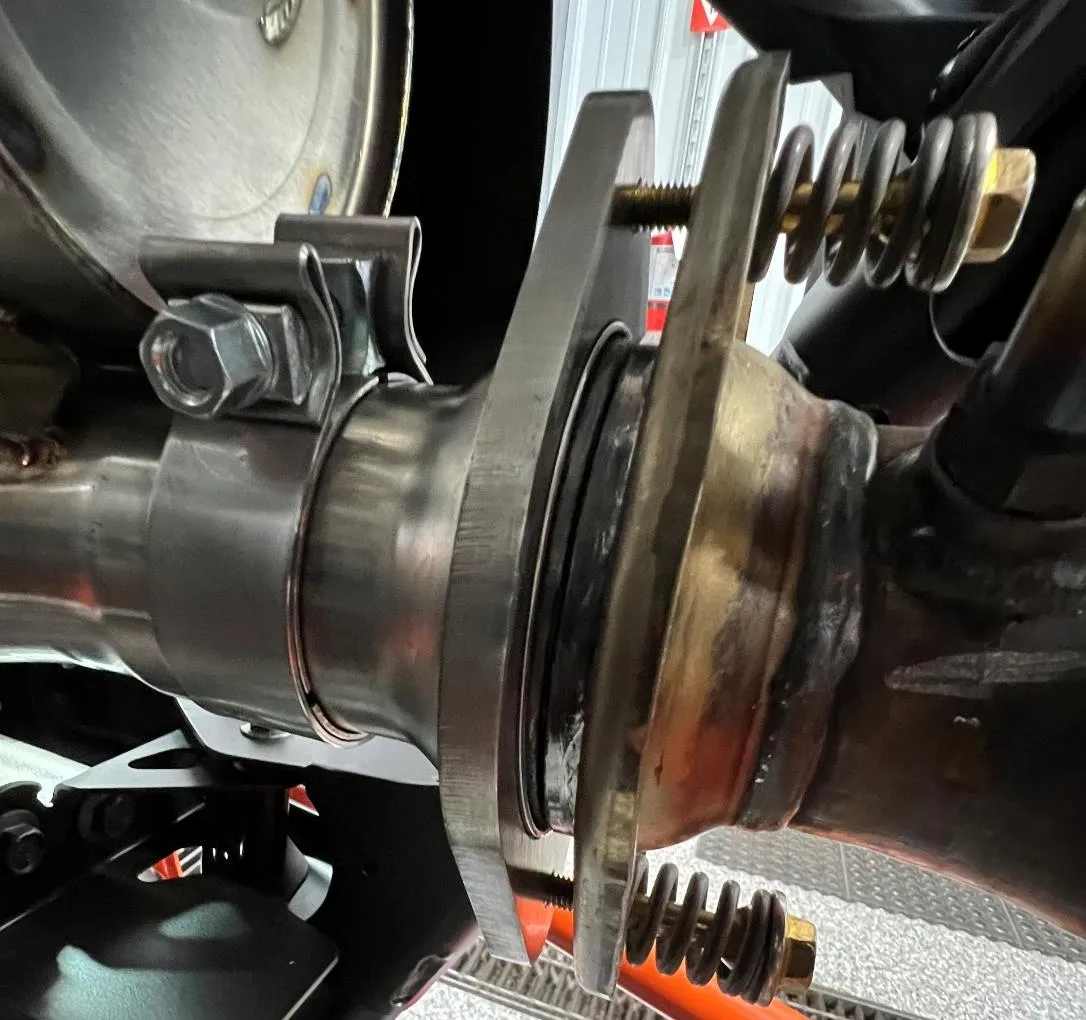
    Remove the (2) 14mm flange bolts with springs, sealing the muffler.
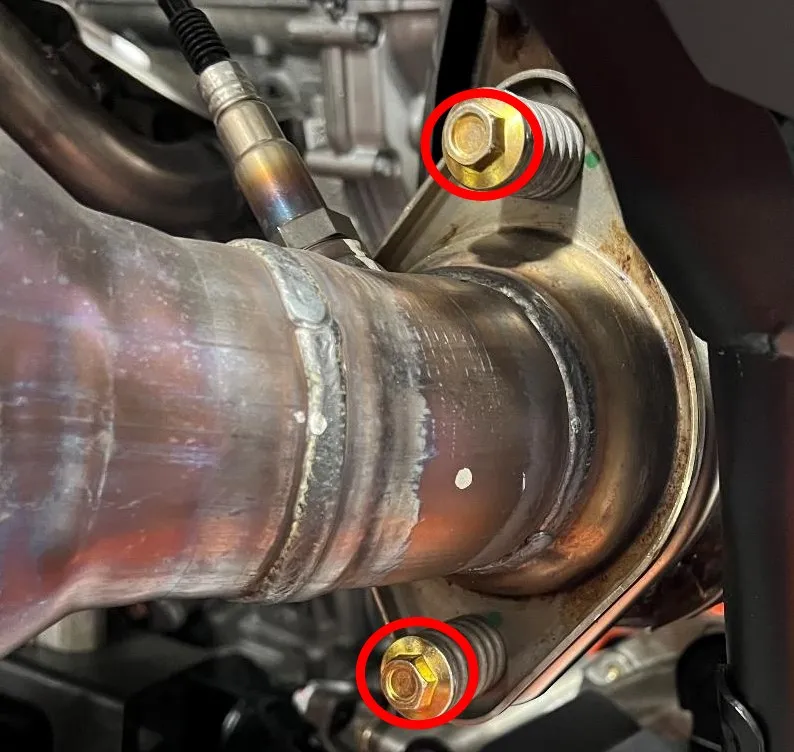
    Remove the (2) 14mm flange bolts with springs, sealing the muffler.
  6. Step 6

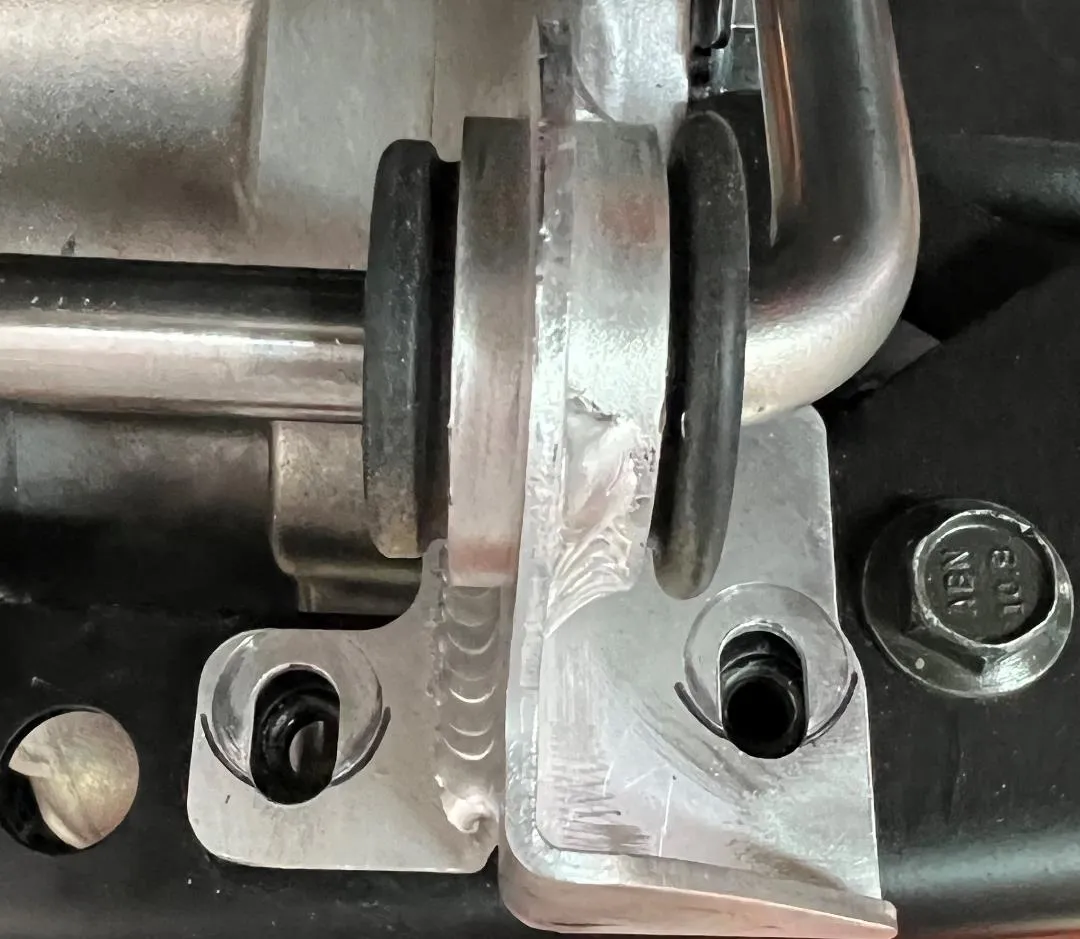
    Mark the lower exhaust mounting bolts for correct alignment when installing the new muffler. Remove (2) 13mm bolts once done.
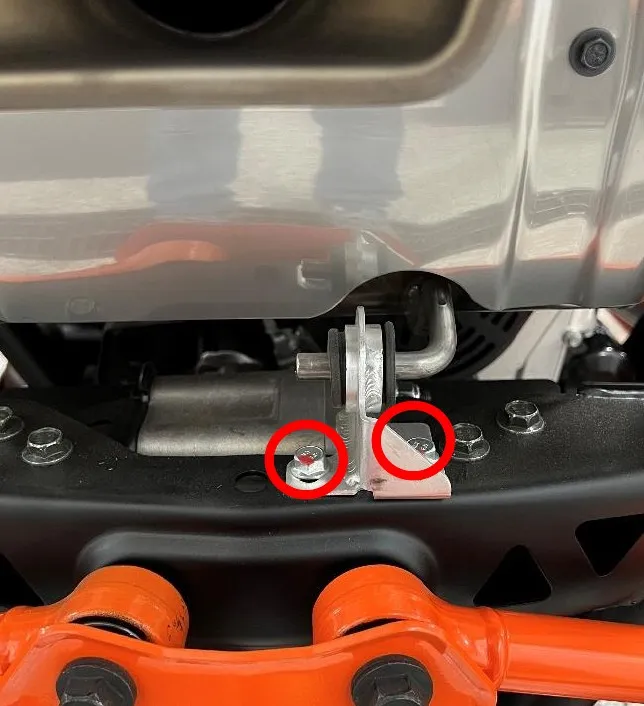
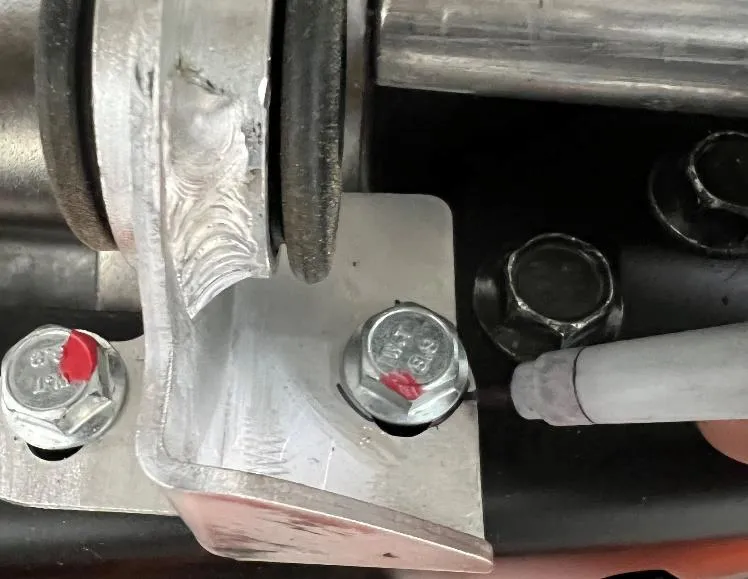
    Mark the lower exhaust mounting bolts for correct alignment when installing the new muffler.
    Mark the lower exhaust mounting bolts for correct alignment when installing the new muffler.
  7. Step 7

    Slide the muffler towards the passenger side, out of the exhaust hangers. Pushing the left side of the muffler towards the engine, spin the muffler clockwise and pull the muffler out of the rear.

  8. Step 8

    Swing the new muffler into the rear opening. Slide the muffler into the exhaust hangers, leaving the lower one loose.

  9. Step 9

    Install the donut exhaust gasket into the muffler, tighten the (2) 13mm bolts with springs down.
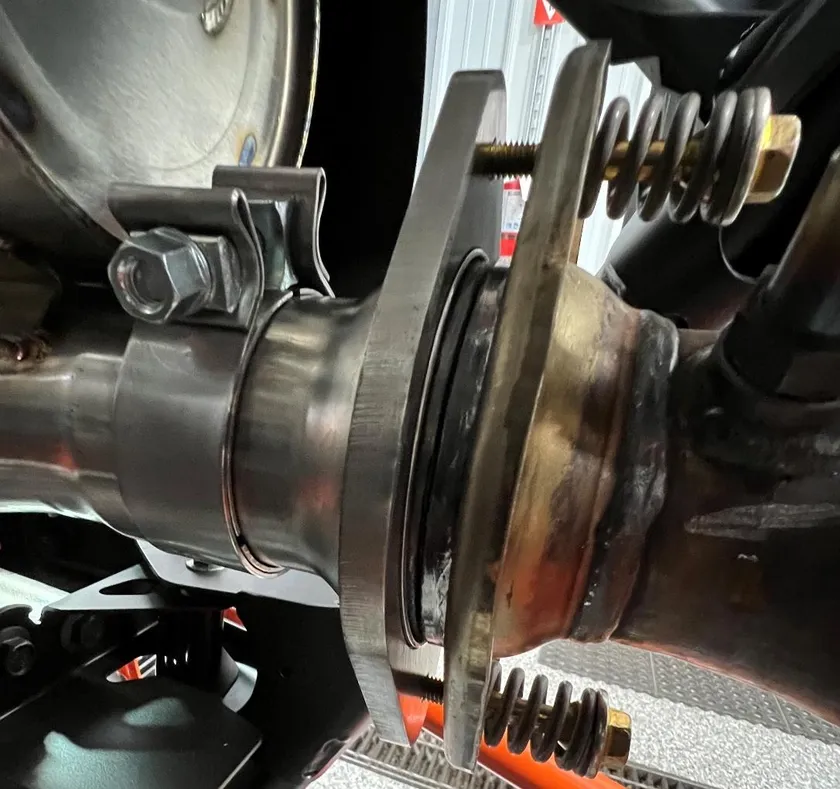
    Install the donut exhaust gasket into the muffler, tighten the (2) 13mm bolts with springs down.
  10. Step 10

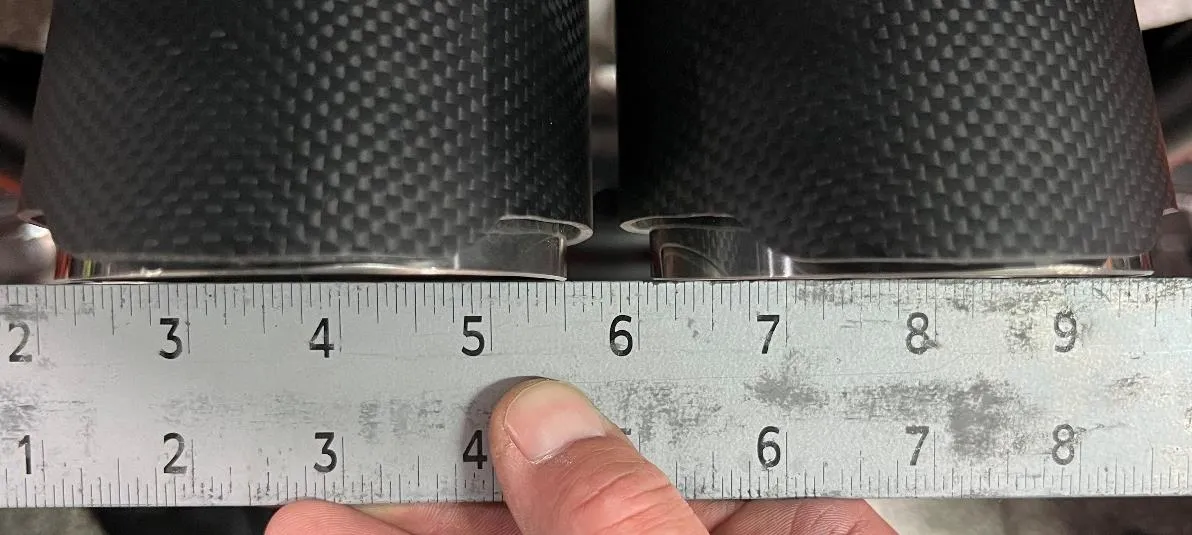
    Install the tips, leave them loose so you can move them around. Once lined up, tighten down.
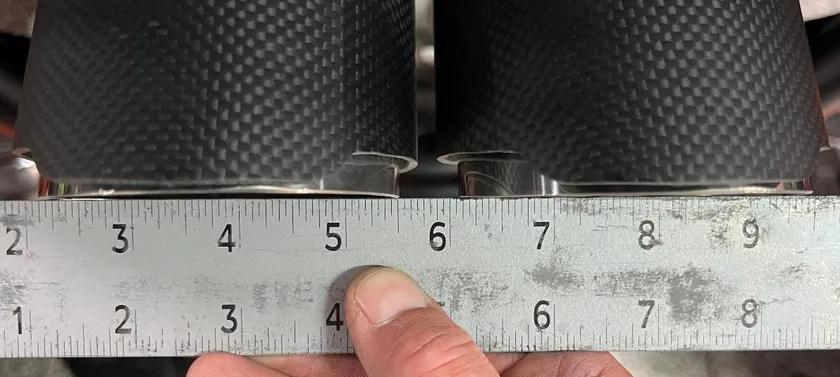
    Install the tips, leave them loose so you can move them around.
  11. Step 11

    Align the (2) 14mm lower hanger flange bolts. Tighten down.
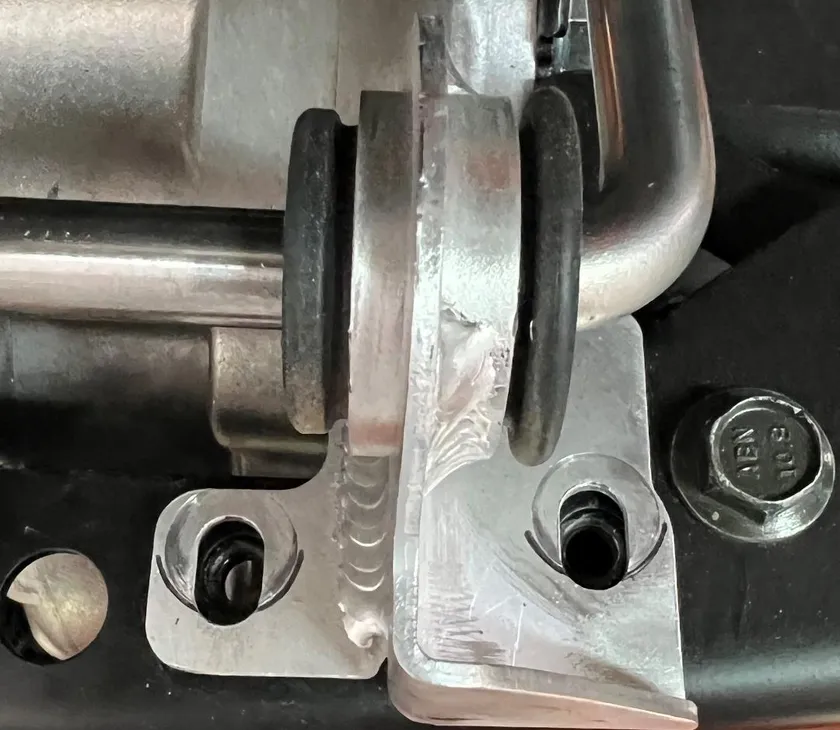
    Align the (2) 14mm lower hanger flange bolts.
  12. Step 12

    Reinstall the rear plastic (temporarily) to align the muffler and tips.

  13. Step 13

    Using a 10mm socket, torque the tips to 95 in/lbs

  14. Step 14

    Using a 15mm socket, torque the muffler clamp to 18 ft/lbs

  15. Step 15

    Reinstall all rear plastics and box.
Emissions notice. This product is exempt from the emission standards and related requirements of 40 C.F.R. § 1051 as provided by 40 C.F.R. § 1051.620, and California law [e.g., vehicle code §§ 27156 and 38391]. This product is sold only for use in connection with EPA certified, purpose-built, nonroad vehicles used solely for closed course, nonroad competition/racing and not used for any recreational purpose or on public highways or right of ways maintained by and open to the public. This product is sold only in connection with machines that do not fall under state and/or federal noise or emission standards/regulations. Purchasers who/that purchase this product represent and warrant that the product is purchased only in connection with EPA-certified, emission-regulations-exempt and noise-regulations-exempt competition/racing vehicles as interpreted under applicable state and/or federal law.

Need technical support?

Submit a ticket with your vehicle and what you're seeing, and our support team will get back to you.

Contact Support
We use cookies to improve your experience on our website. Read about how we use cookies in our Privacy Policy. By browsing this website, you agree to our use of cookies. privacy policy
accept

Your cart

×
×