 BUY NOW, PAY LATER. Starting at 0% APR


Kawasaki H2 Head Stud Assembly
Kawasaki H2 Head Stud Assembly
In the box
Parts and tools
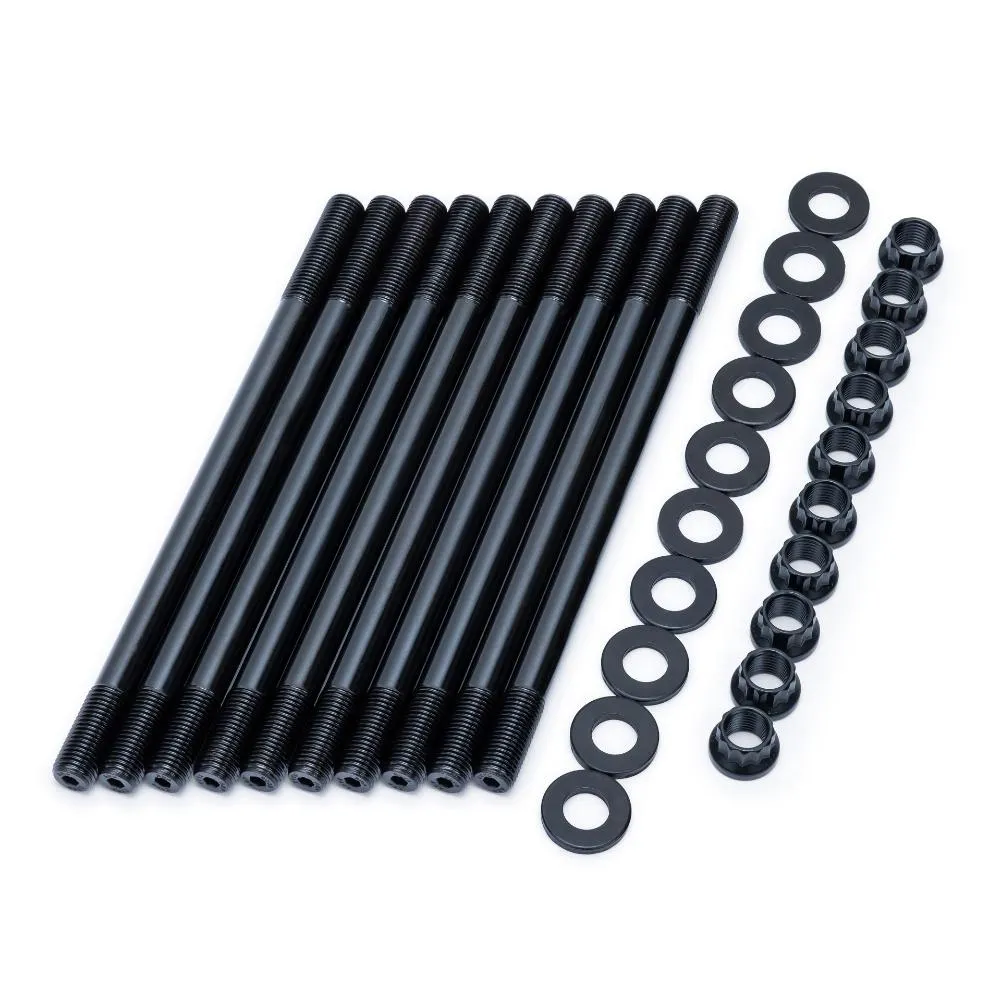
Included parts
- 1Head Stud Assembly
Required tools
- Torque Wrench
- Service Manual
Procedure
Installation
- Step 1
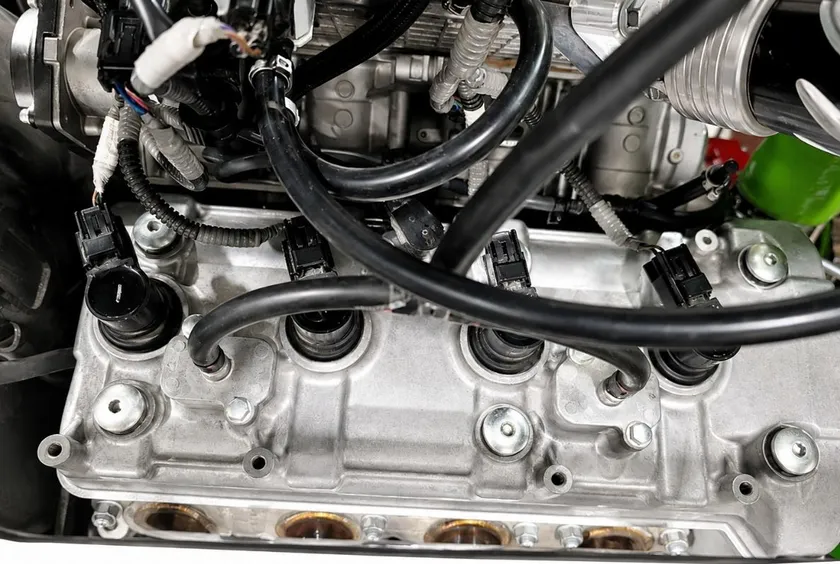
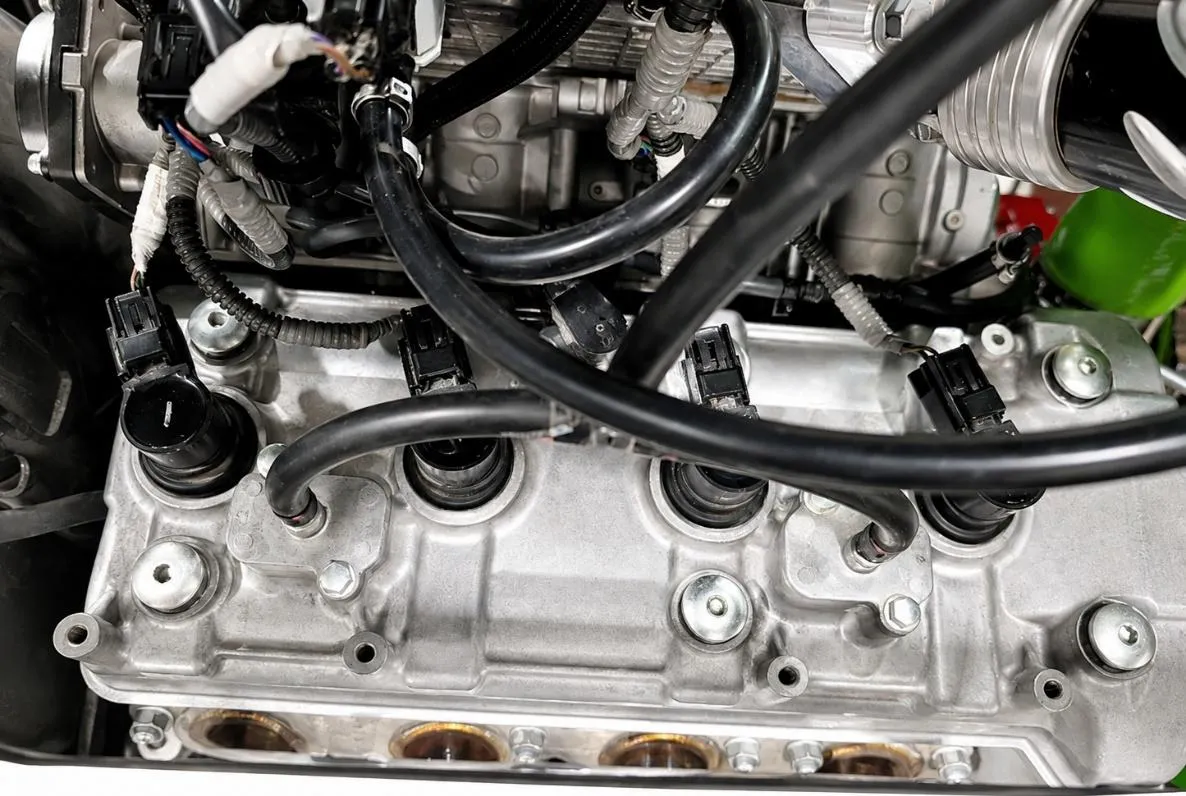
Remove coils, vacuum lines and (6) M5 Allen bolts holding valve cover on.
- Step 2
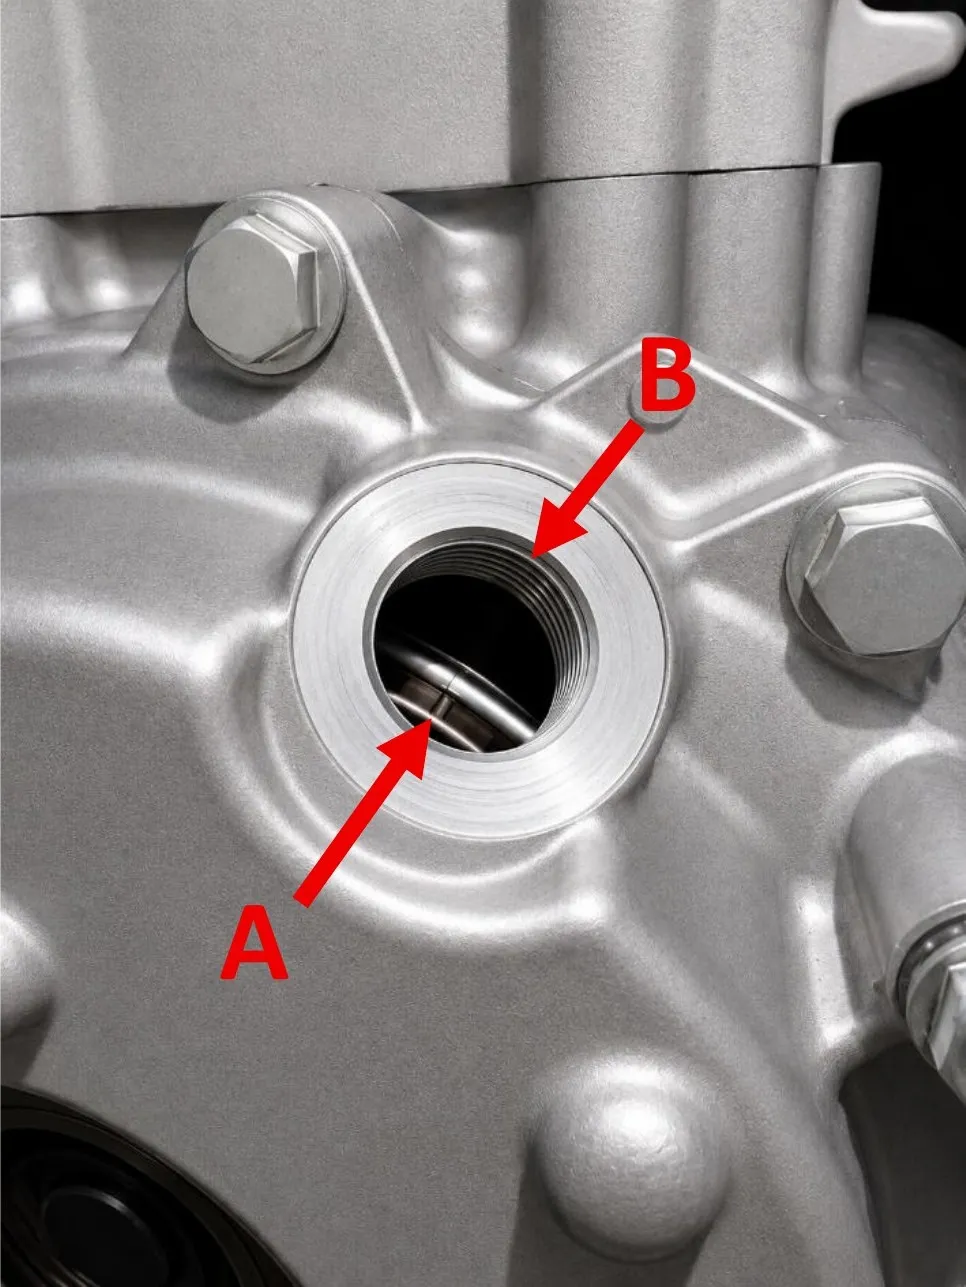
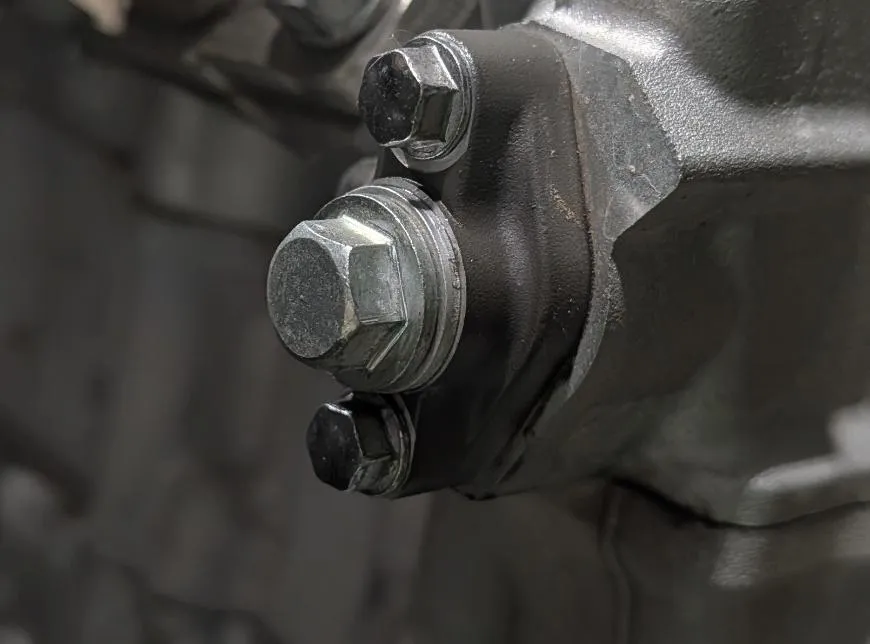
Remove the upper sight plug and alternator bolt plug on mag cover. Turn the crankshaft and align the #1,4 (on flywheel), TDC mark (A) with the timing mark (B).
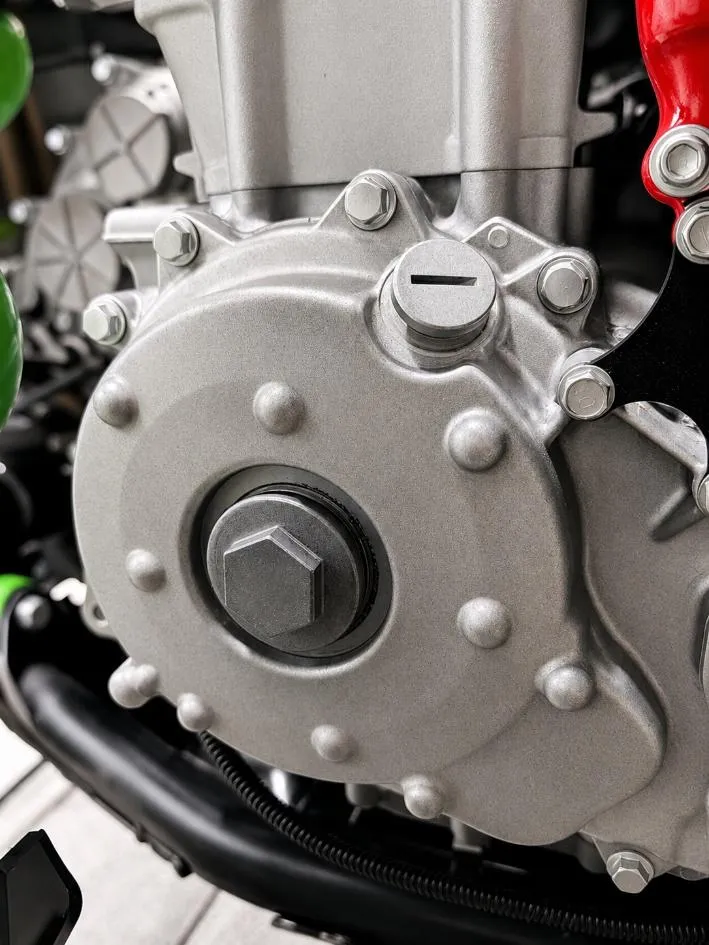
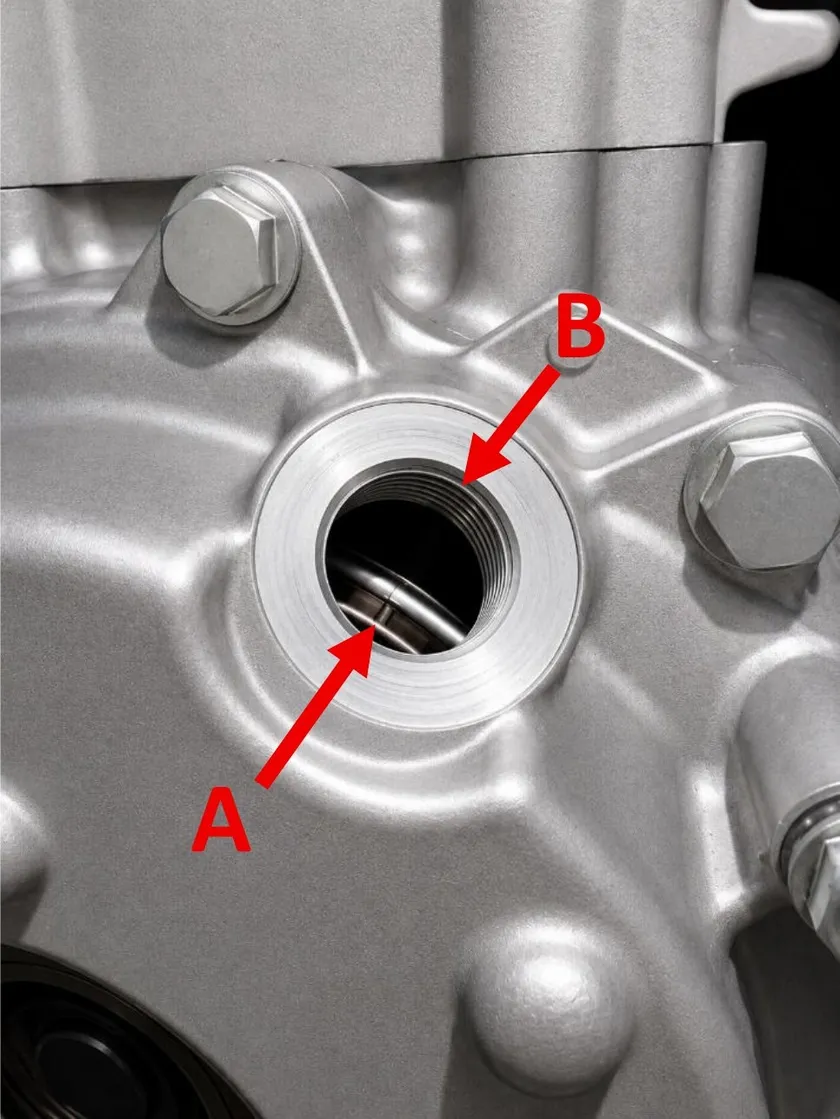
Fig. 4 - Step 3
Remove tensioner cap, washer, spring, remove (2) 8mm bolts and tensioner body.
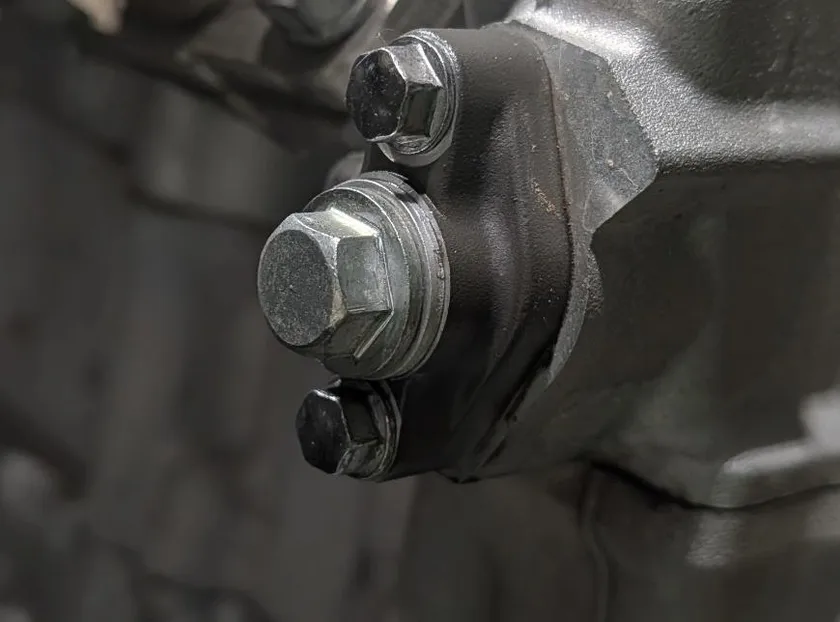
- Step 4
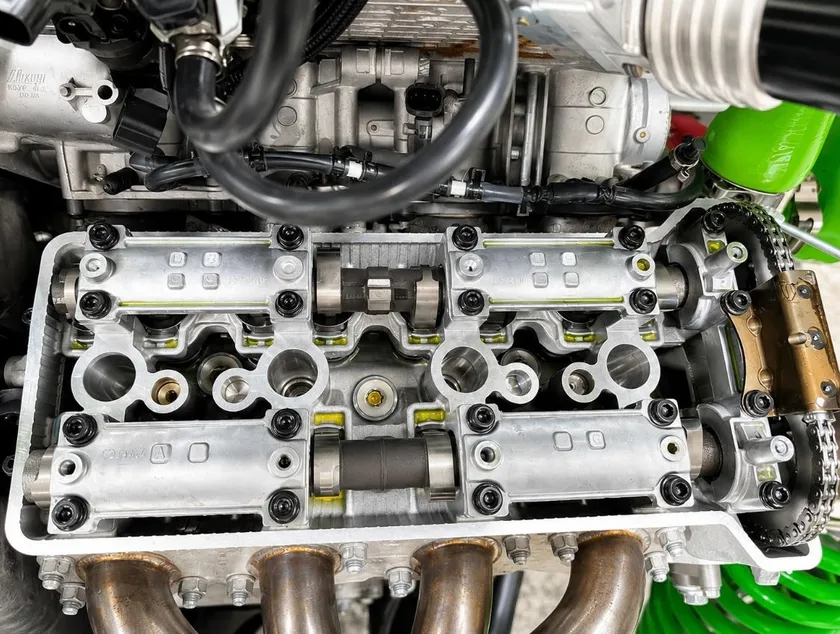
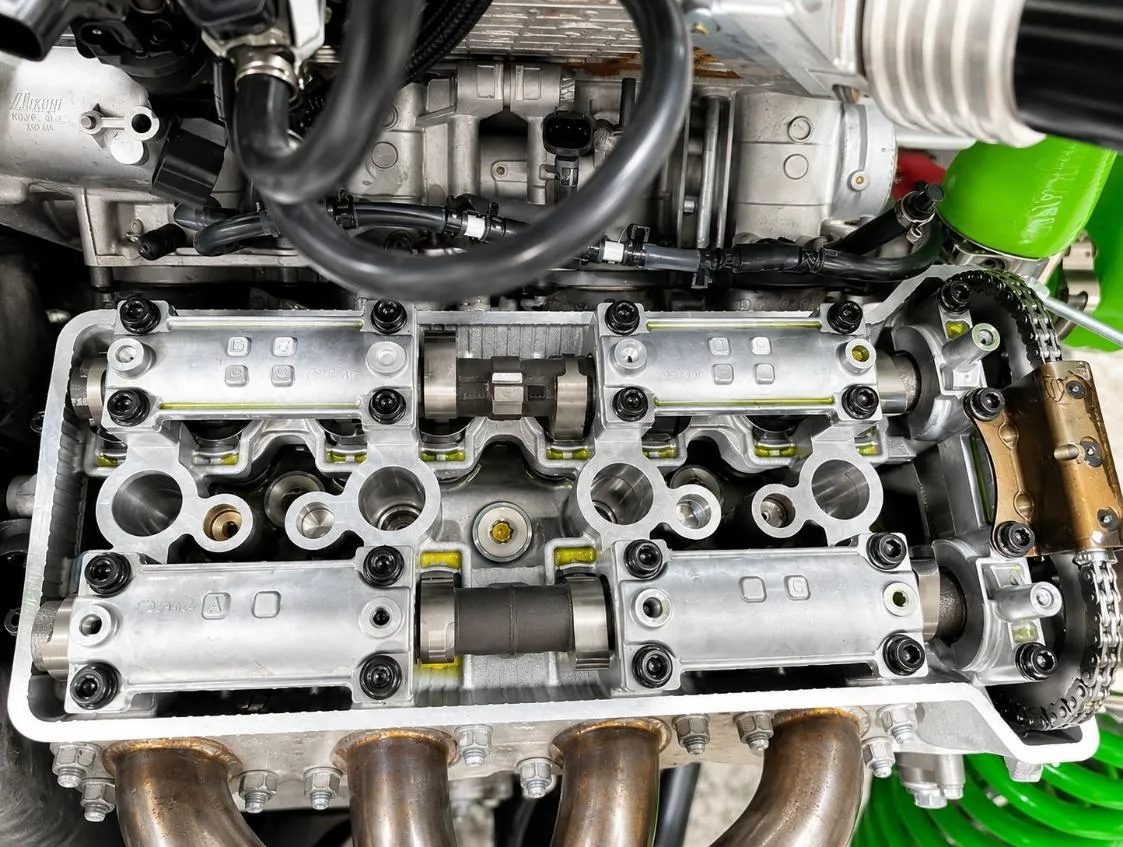
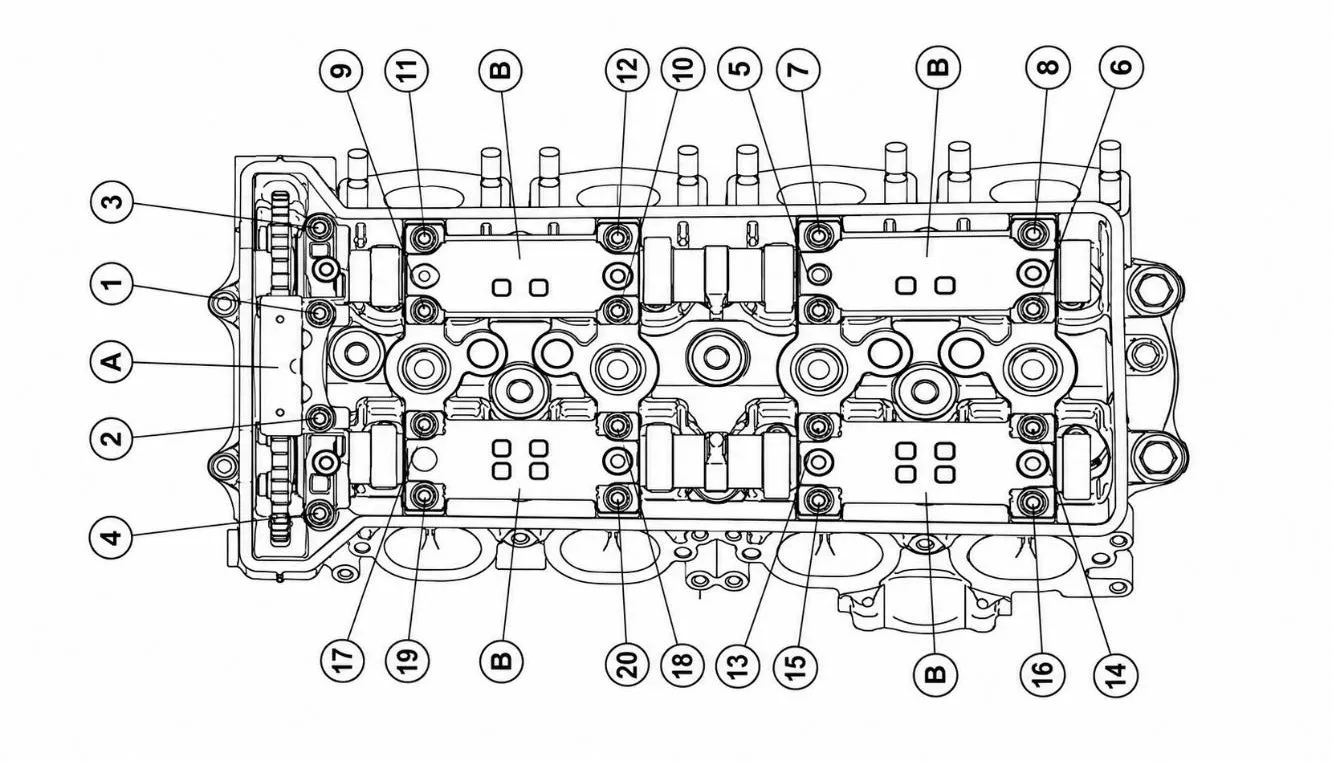
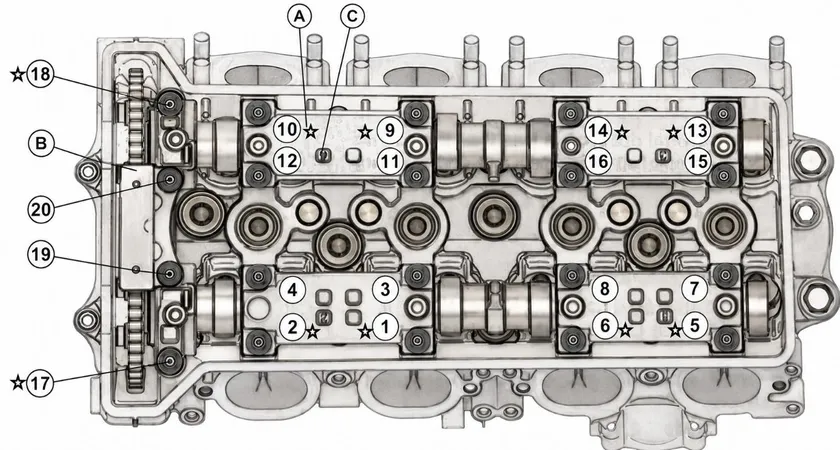
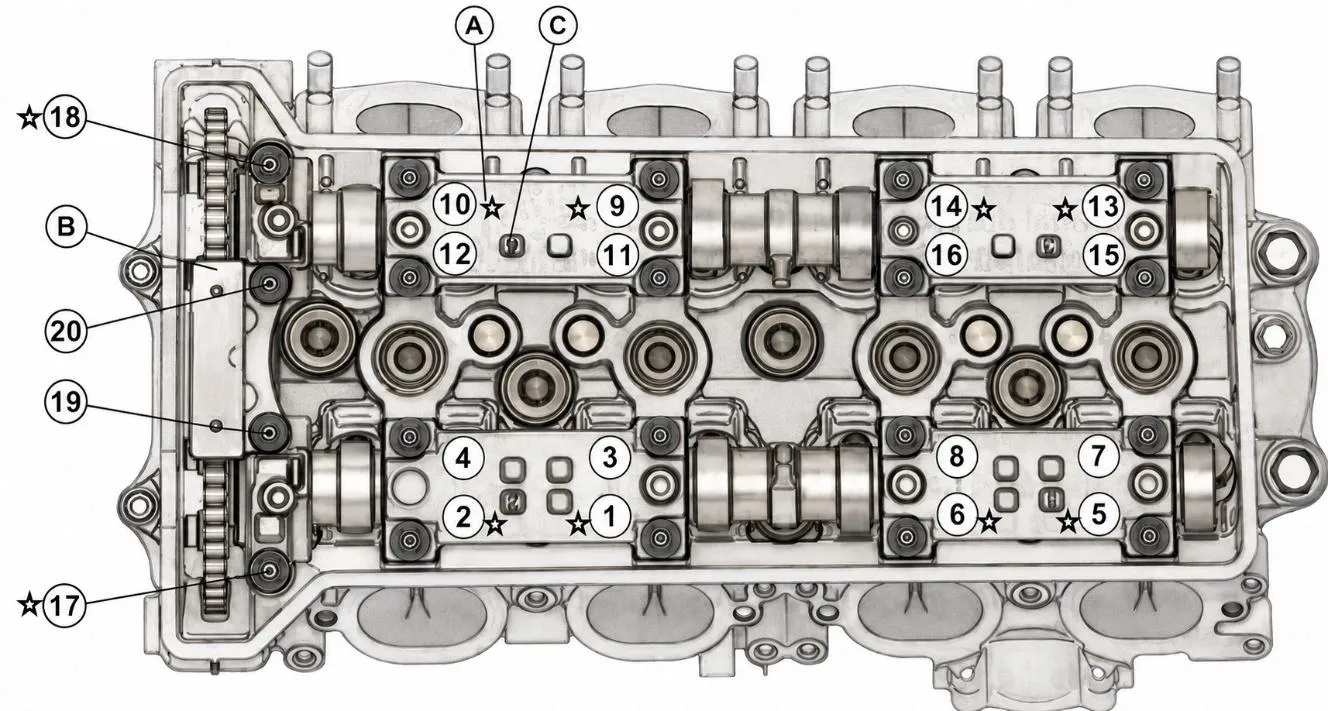
Loosen camshaft cap bolts gradually and evenly in sequence. Remove upper chain guide (A), camshaft caps (B). Figure 6. Stuff a clean cloth into the chain tunnel to keep out debris, remove camshaft sprockets and remove cams.
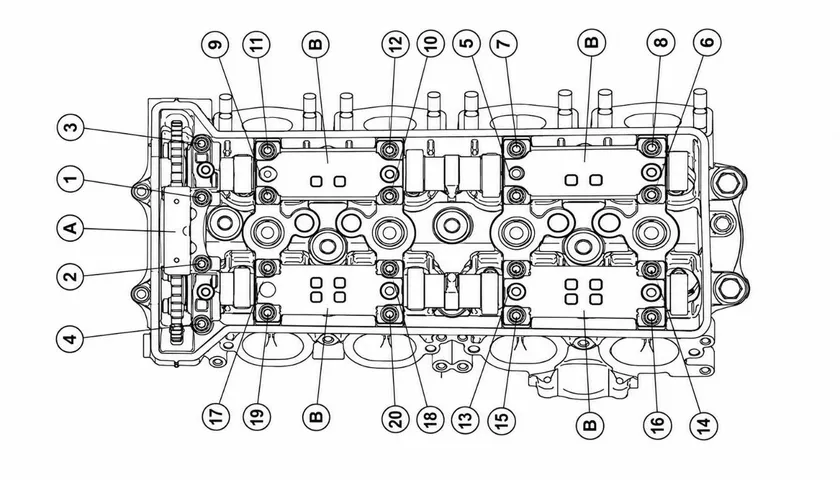
Fig. 6 - Step 5
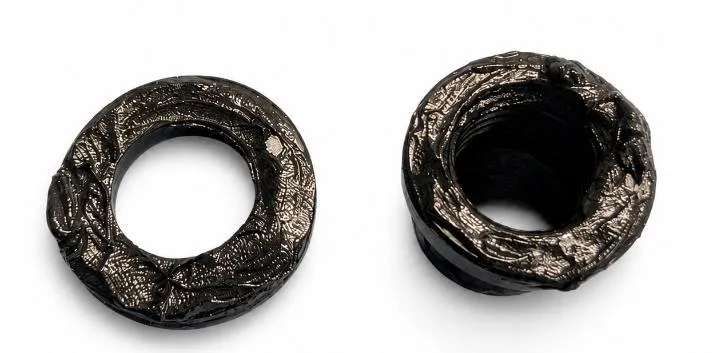
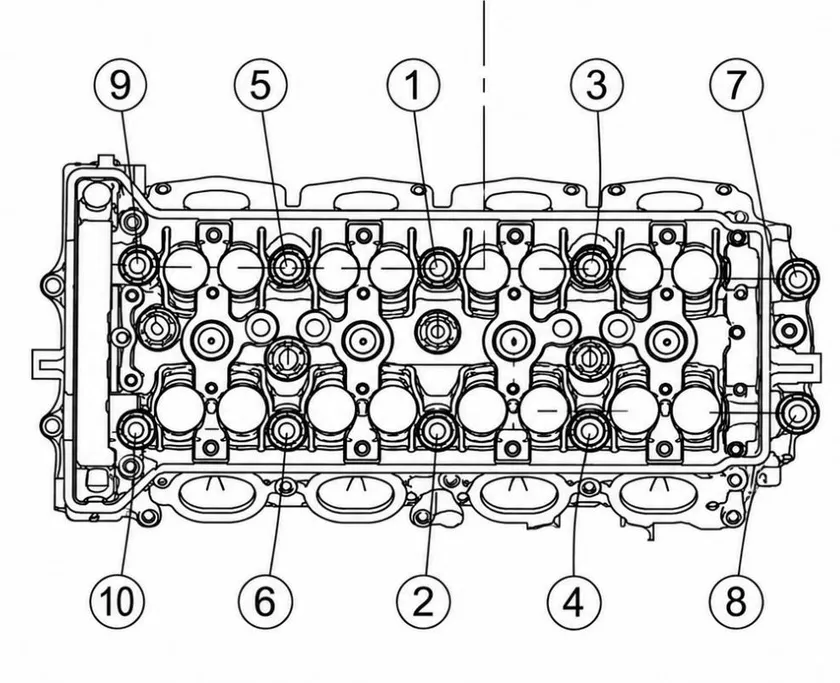
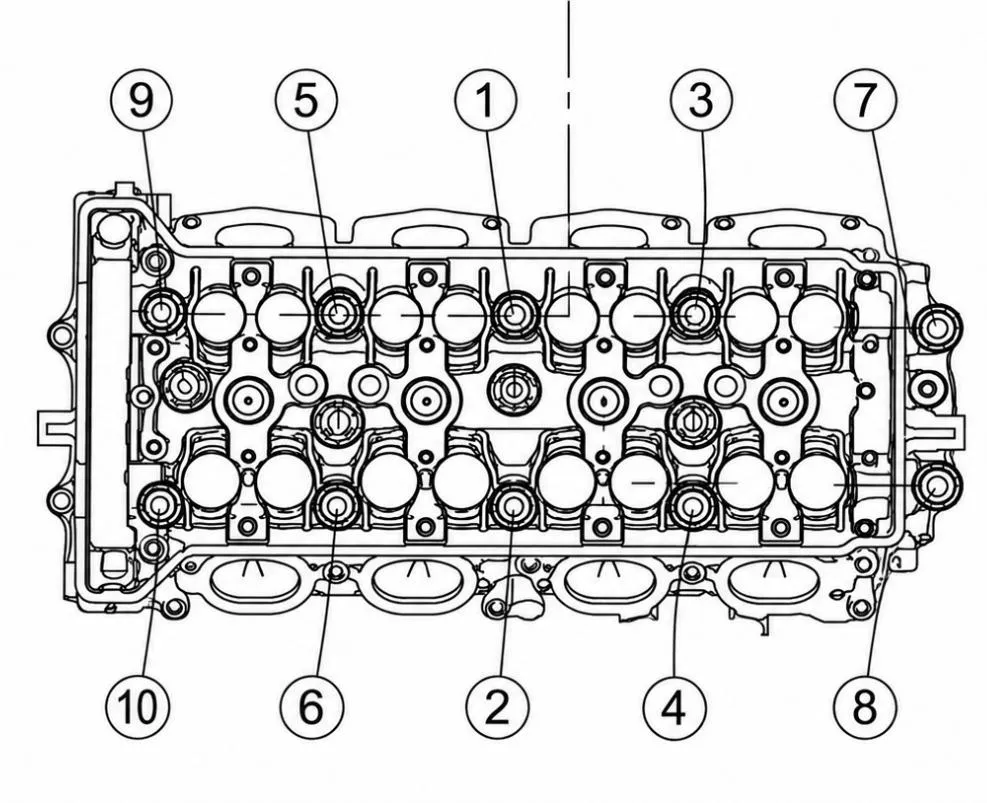
Remove one factory head bolt at a time and install head stud in sequence, lubricate bottom of nut and top of washer, torque to 25 ft-lb. Once all studs are installed, complete a second torque to 50ftlbs and do a final torque of 70ftlbs.
- Step 6
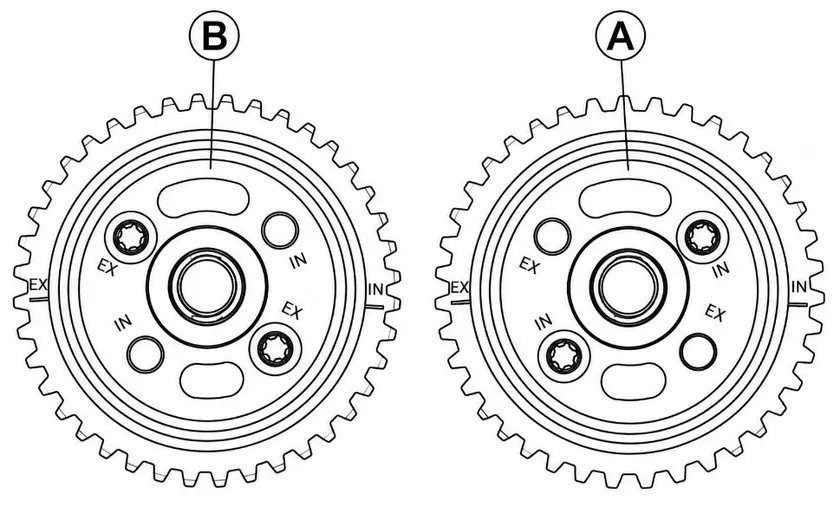
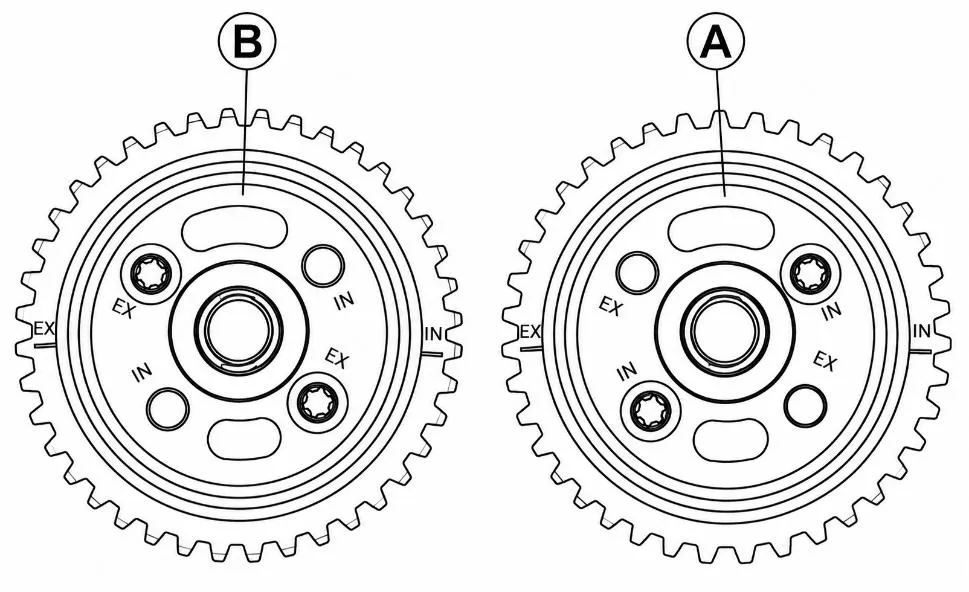
The intake camshaft has an IN mark and the exhaust has a EX mark. Install the sprockets as shown, Intake B and Exhaust A. The sprockets are identical, Torque to 11ftlbs
- Step 7
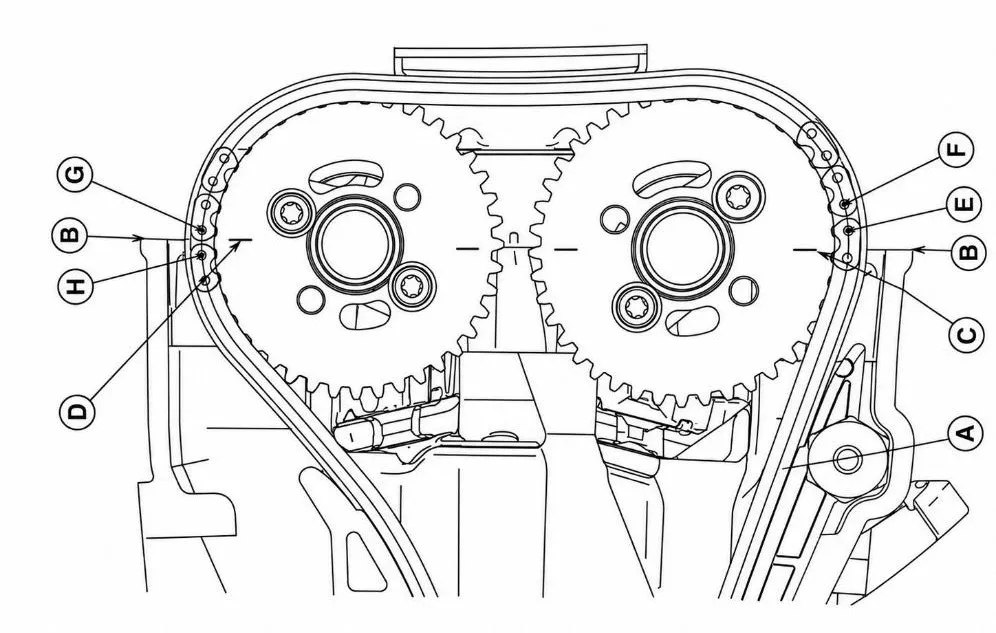
Apply assembly lube to all cam parts and journals. Turn the crankshaft, align the #1, 4 TDC mark with the timing mark. Figure 4. Pull the tensioner side of the chain tight to install the chain engage the chain with the sprockets so the timing marks on the sprockets align as shown, The timing marks must be aligned with the head upper surface. In mark (C) Ex mark (D)

- Step 8
Install the camshaft caps and upper chain guide. Tighten all the camshaft cap bolts evenly to seat the camshafts, then tighten all in torque sequence (106in-lbs). Install the chain tensioner, grease the O-ring, release the stopper and push the rod into the body. Install body so stopper faces up then torque to 89in-lbs. Install spring and washer tighten cap to 15ft-lbs. Turn the crankshaft 2 turns clockwise to the expand the tensioner, recheck timing, install removed parts.
- Step 9
Install valve cover, coils and vacuum lines, torque valve cover bolts to 89in-lbs.
Need technical support?
Submit a ticket with your vehicle and what you're seeing, and our support team will get back to you.
