 BUY NOW, PAY LATER. Starting at 0% APR


2026 Kawasaki H2 Shift-Tek-Mag Clutch Kit
2026 Kawasaki H2 Shift-Tek-Mag Clutch Kit
In the box
Parts and tools
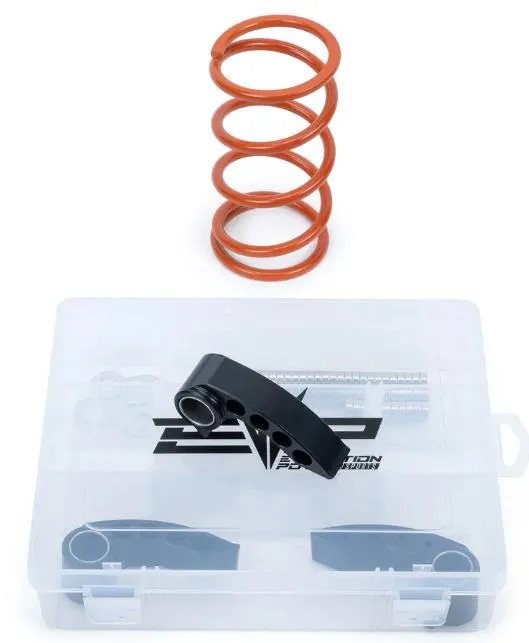
Included parts
- 3Adjustable Primary Clutch Weights
- 3Teflon Bushing
- 601g Magnets
Required tools
- Snap Ring Pliers
- Torque Wrench
- Clutch Puller
- 21mm Socket
Procedure
Stock Tuning
| Sea Level | 1000-2500’ | 2500-4000’ | 4000-6000’ | |
|---|---|---|---|---|
| Horsepower | 250 | 250 | 250 | 250 |
| Primary Spring | EVP Orange | EVP Orange | EVP Orange | EVP Orange |
| Engagement RPM | 2350 | 2350 | 2350 | 2350 |
| Operating RPM | 9000 | 9000 | 9000 | 9000 |
| Hole 1 | 4 | 3 | 2 | 2 |
| Hole 2 | 4 | 4 | 4 | 3 |
| Hole 3 | 4 | 3 | 3 | 2 |
| Hole 4 | 4 | 3 | 2 | 2 |
| Secondary Spring | Stock | Stock | Stock | Stock |
| Helix | Stock | Stock | Stock | Stock |
| Drive Belt | Stock or WBB0047 | Stock or WBB0047 | Stock or WBB0047 | Stock or WBB0047 |
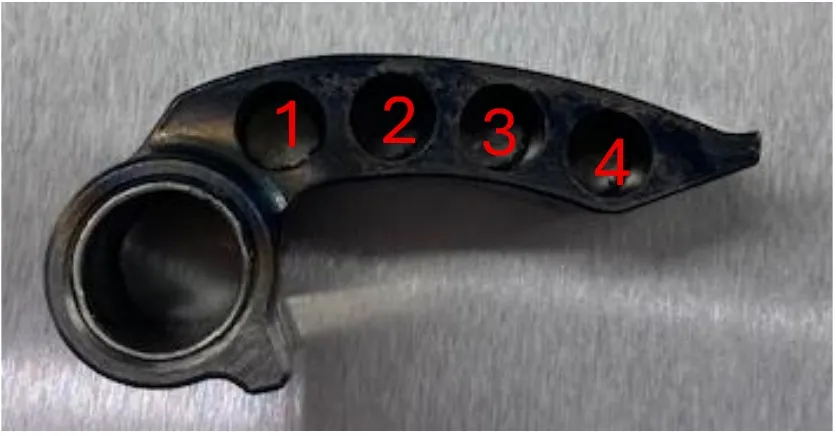
Procedure
Stage 3-91 Tuning
| Sea Level | 1000-2500’ | 2500-4000’ | 4000-6000’ | |
|---|---|---|---|---|
| Horsepower | 250 | 250 | 250 | 250 |
| Primary Spring | EVP Orange | EVP Orange | EVP Orange | EVP Orange |
| Engagement RPM | 2350 | 2350 | 2350 | 2350 |
| Operating RPM | 9200 | 9200 | 9200 | 9200 |
| Hole 1 | 4 | 3 | 2 | 2 |
| Hole 2 | 4 | 4 | 4 | 3 |
| Hole 3 | 4 | 3 | 2 | 1 |
| Hole 4 | 3 | 3 | 2 | 1 |
| Secondary Spring | Stock | Stock | Stock | Stock |
| Helix | Stock | Stock | Stock | Stock |
| Drive Belt | Stock or WBB0047 | Stock or WBB0047 | Stock or WBB0047 | Stock or WBB0047 |
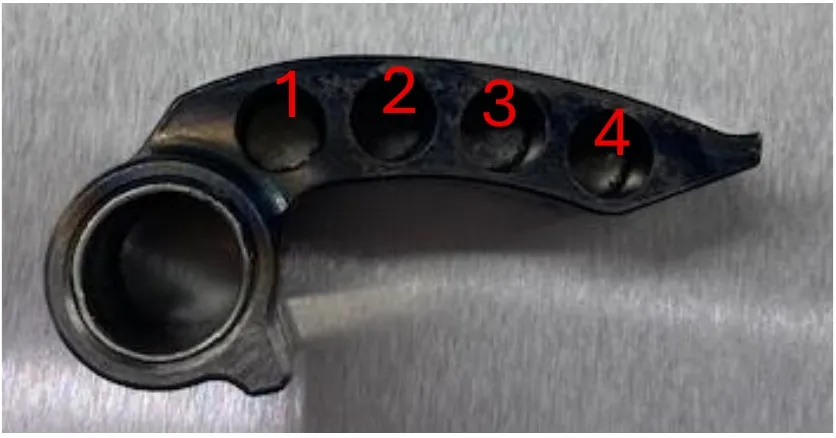
Procedure
Stage 4-100 Tuning
| Sea Level | 1000-2500’ | 2500-4000’ | 4000-6000’ | |
|---|---|---|---|---|
| Horsepower | 250 | 250 | 250 | 250 |
| Primary Spring | EVP Orange | EVP Orange | EVP Orange | EVP Orange |
| Engagement RPM | 2350 | 2350 | 2350 | 2350 |
| Operating RPM | 9400 | 9400 | 9400 | 9400 |
| Hole 1 | 4 | 3 | 3 | 2 |
| Hole 2 | 4 | 4 | 4 | 3 |
| Hole 3 | 2 | 1 | 0 | 0 |
| Hole 4 | 2 | 1 | 0 | 0 |
| Secondary Spring | Stock | Stock | Stock | Stock |
| Helix | Stock | Stock | Stock | Stock |
| Drive Belt | Stock or WBB0047 | Stock or WBB0047 | Stock or WBB0047 | Stock or WBB0047 |
Procedure
Installation
- Step 1
Remove the outer clutch cover. Remove the drive belt. Use a 23mm socket to remove the OEM clutch bolt. Install the primary clutch puller. You will want a impact to remove this clutch.
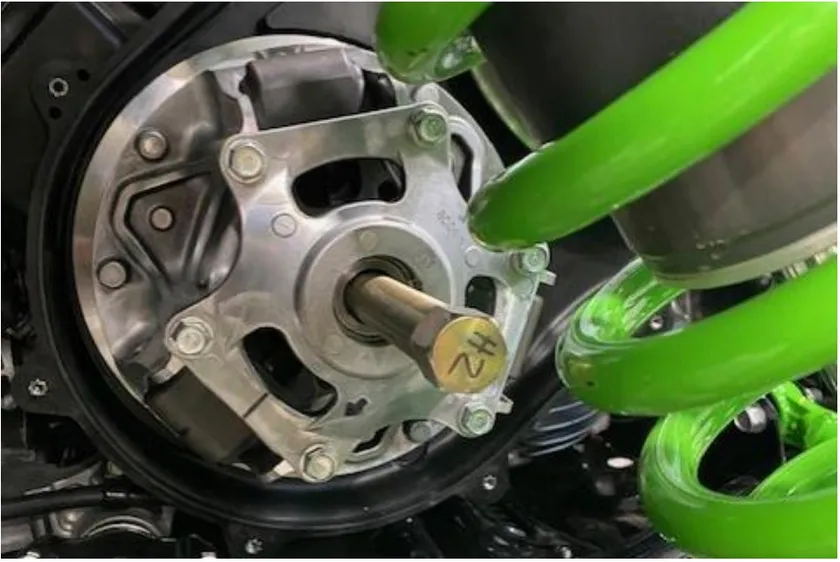
- Step 2
With the clutch removed, install the clutch into a compression tool. Mark the cover, spider, and sheaves with a sharpie.

- Step 3
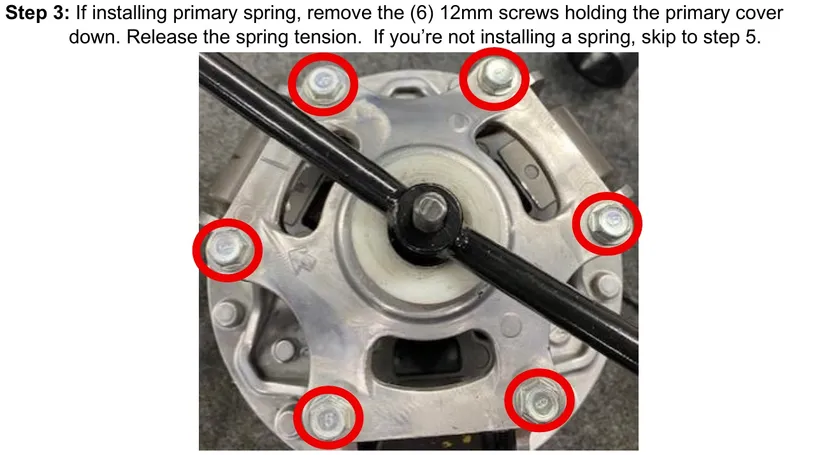
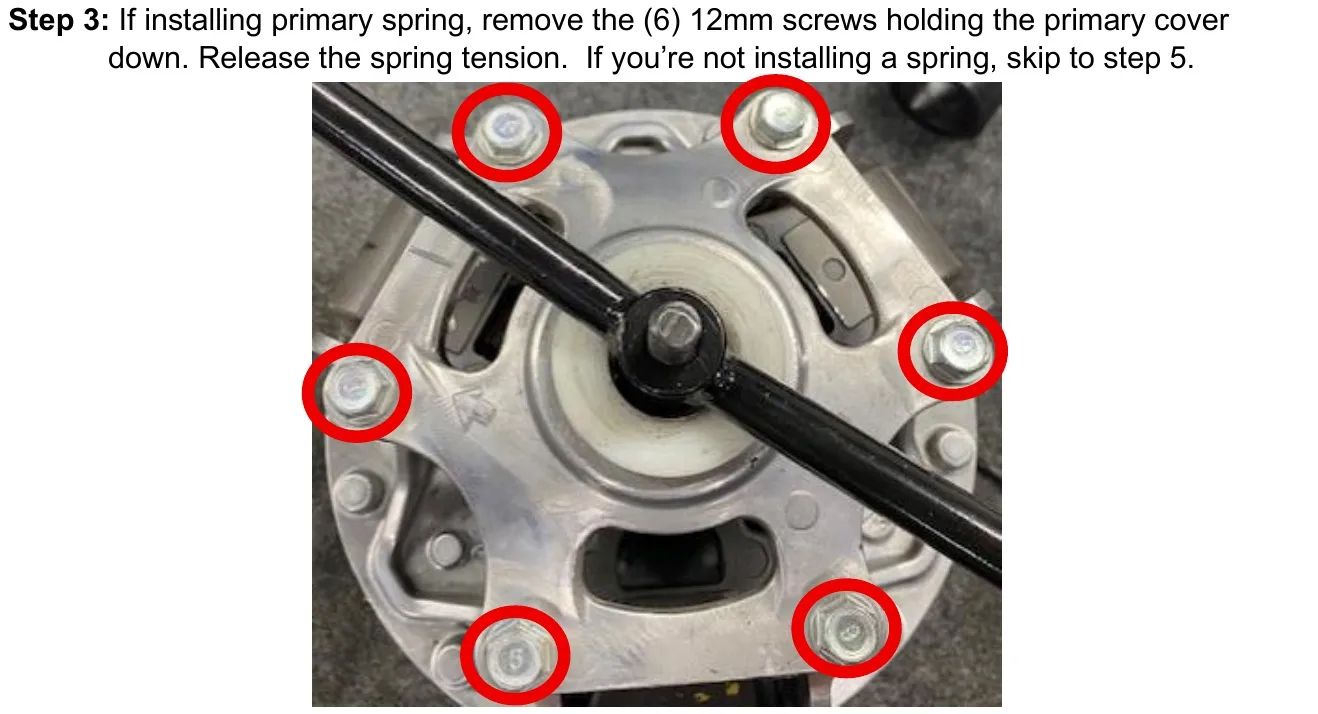
If installing primary spring, remove the (6) 12mm screws holding the primary cover down. Release the spring tension. If you’re not installing a spring, skip to step 5.
- Step 4
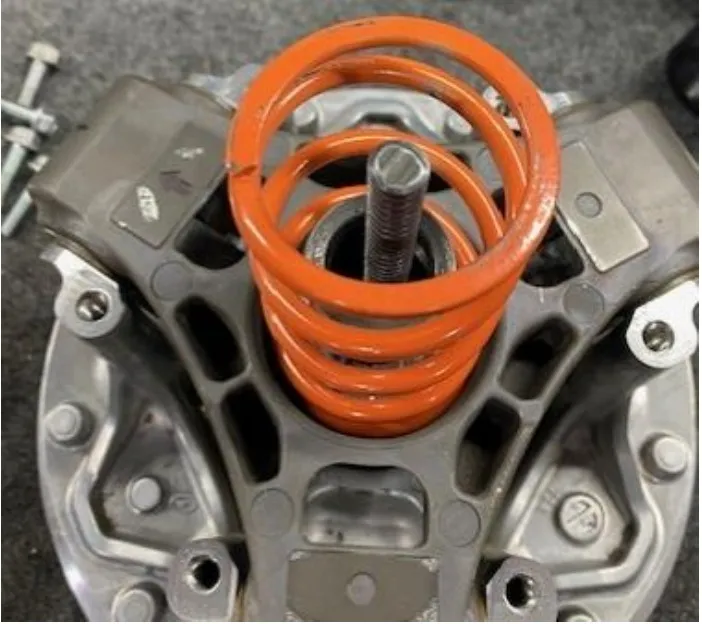
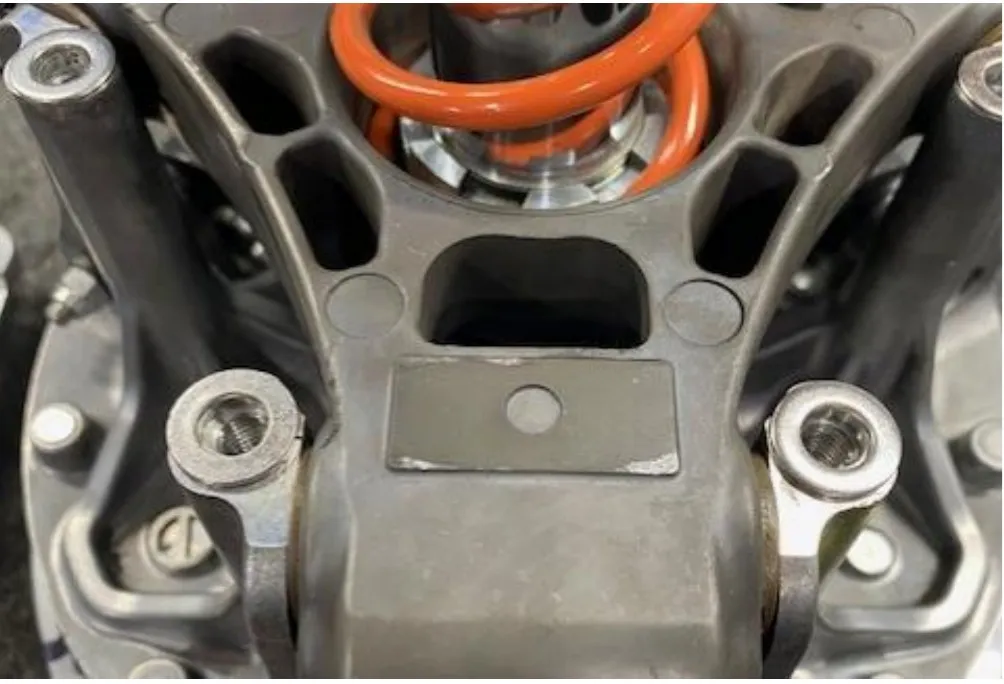
Remove the OEM spring, install the new spring into the spring cup.
- Step 5
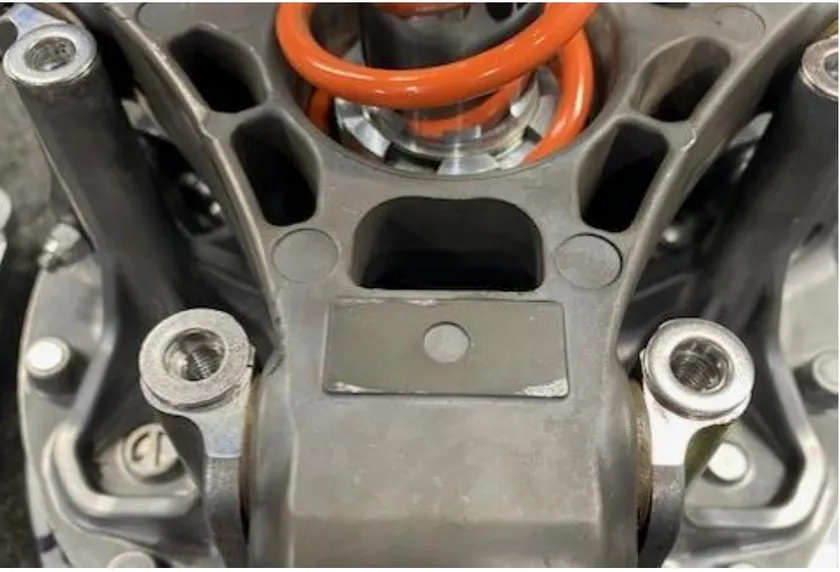
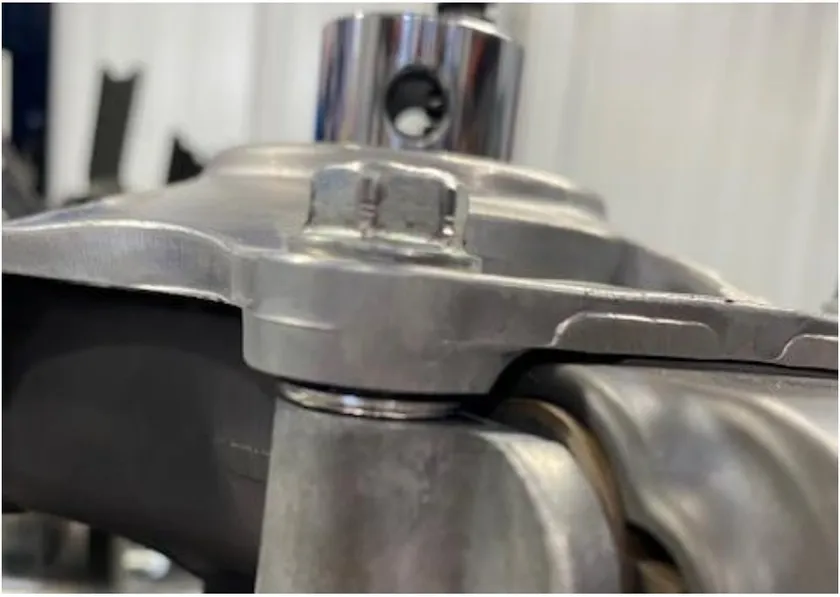
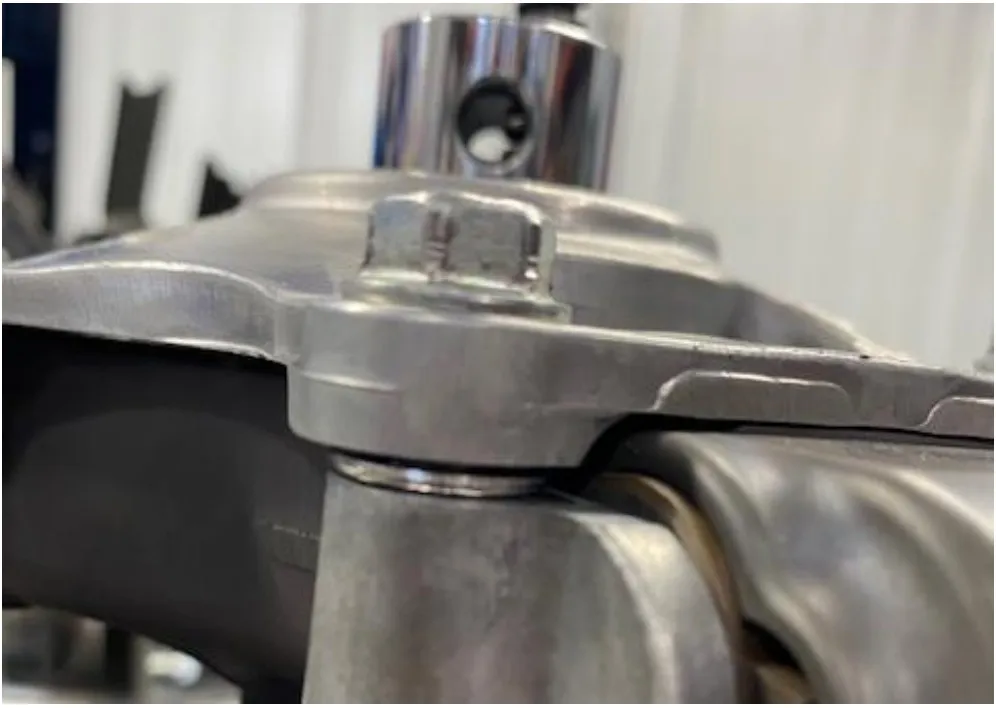
Install the supplied washers on top of the clutch towers, underneath the clutch cover. Reinstall the clutch cover and screws. Torque to 17 ft-lb. This will allow more shift out on the primary, allowing for a higher top speed.
- Step 6
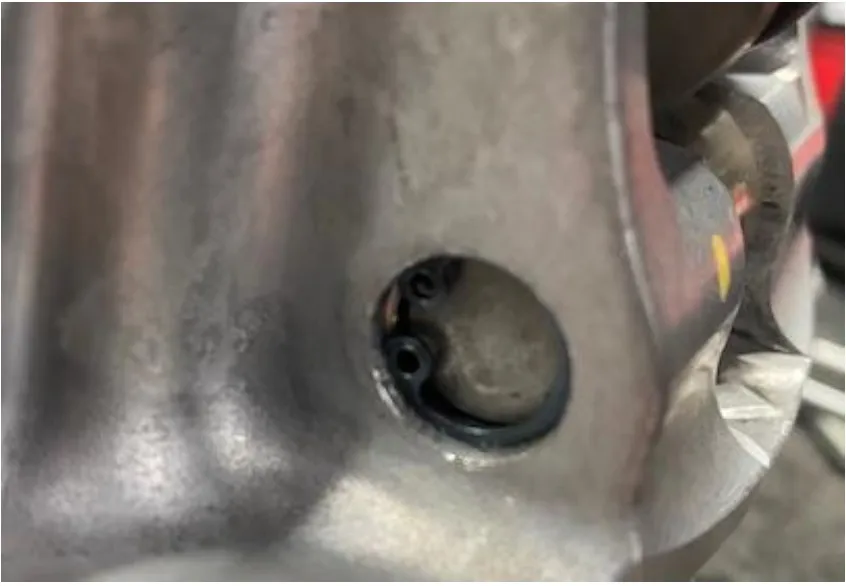
Compress the primary cover down slightly. With a snap ring pliers, remove the snap ring. Be careful not to lose the snap ring.
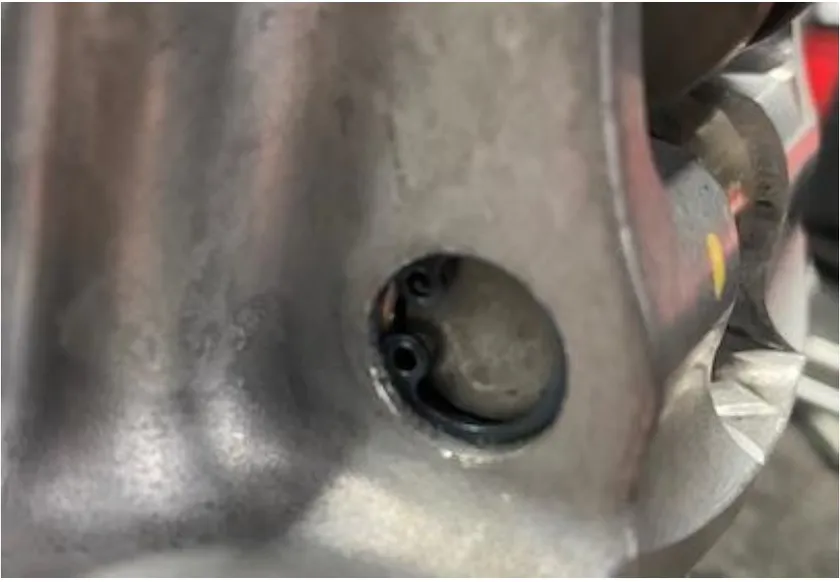
- Step 7
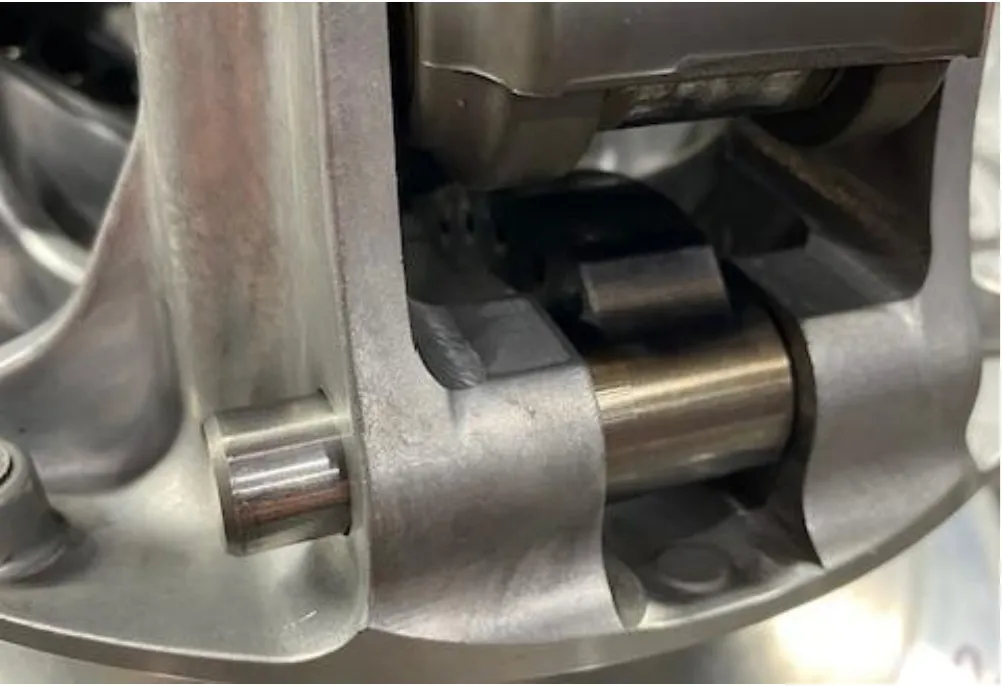
On the opposite side of the snap ring, slightly tap the pin out. Sometimes they can be stuck.
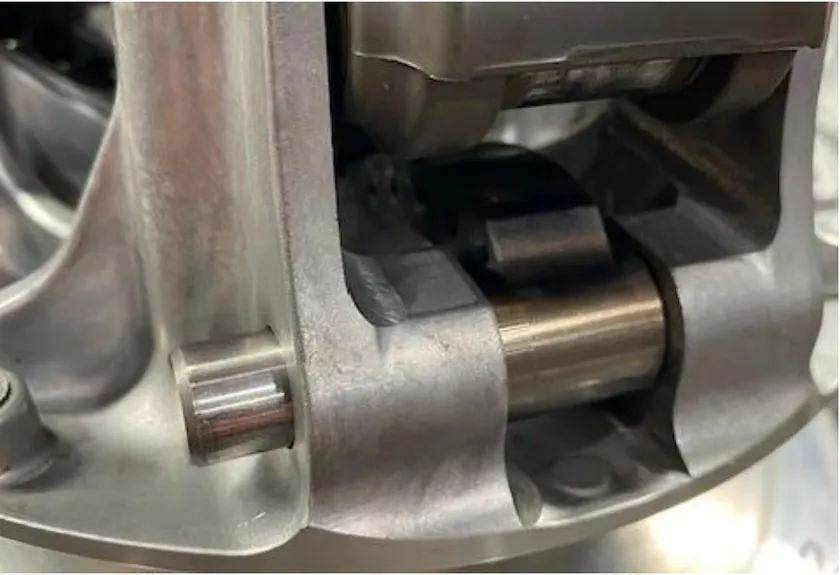
- Step 8
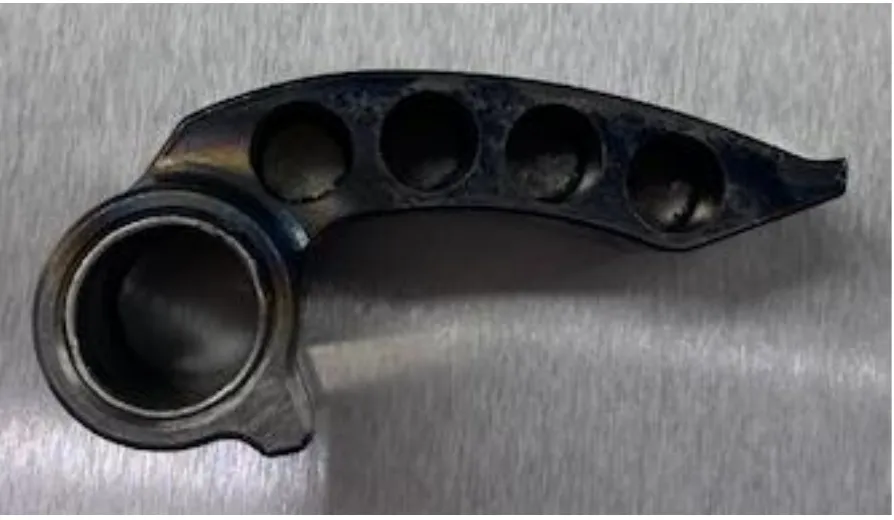
Setup your weights according to the setup sheet above.
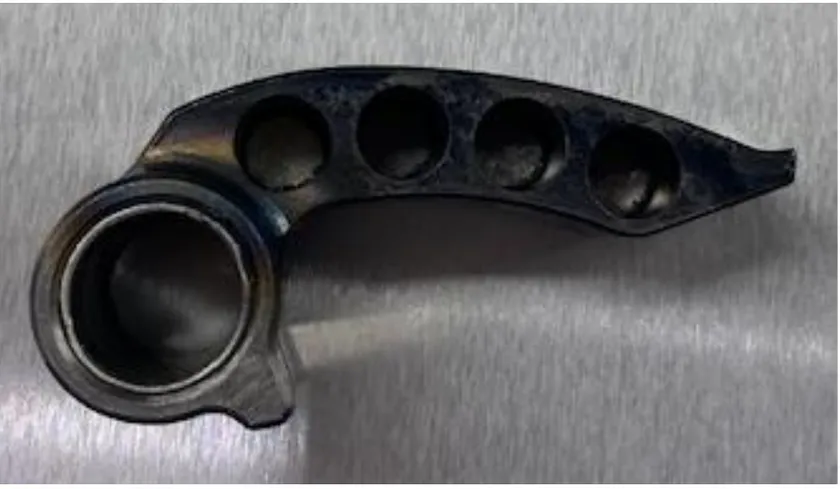
- Step 9
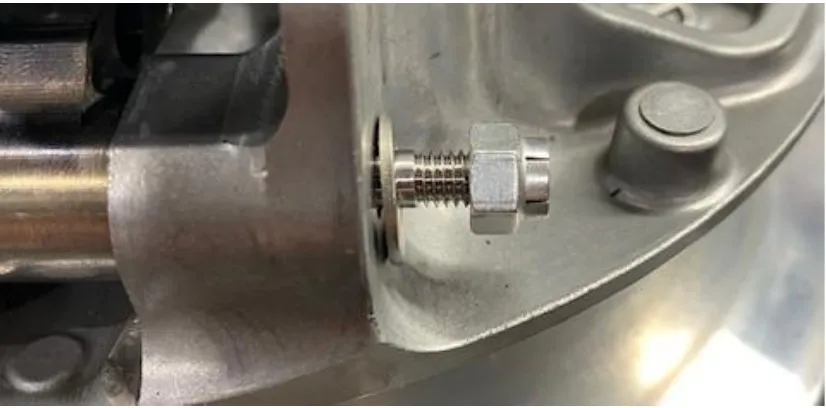
Install the weight into the clutch. You can continue using the OEM pin and snap ring, we recommend using the updated EVP pins. Slide the threaded end first. Fasten down with washer and locknut.
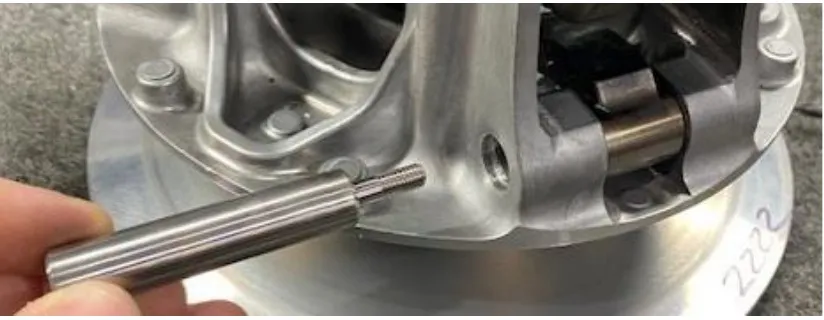
- Step 10
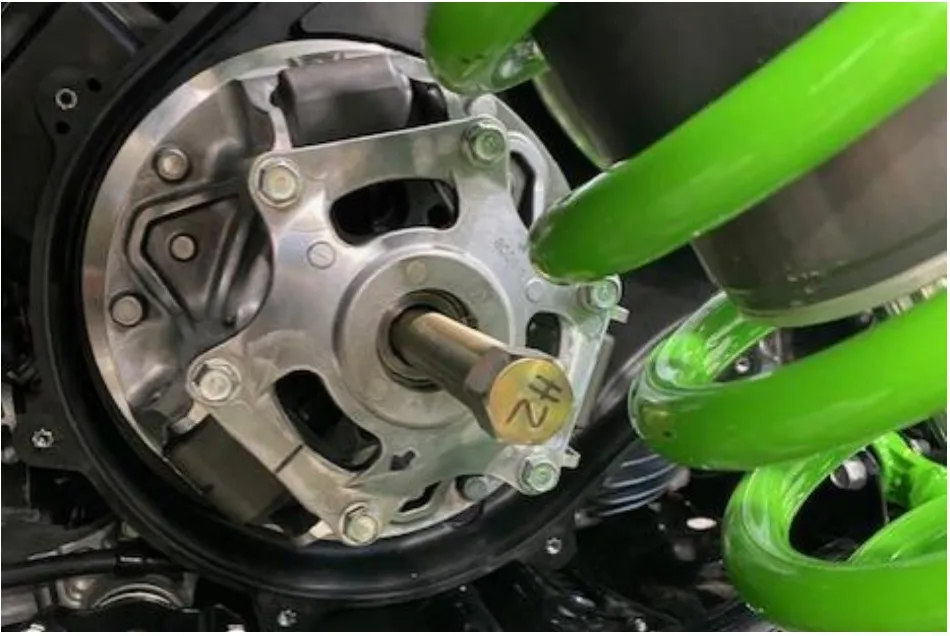
Before installing the primary clutch back onto the crankshaft, clean both tapers with brake cleaner. Reinstall the clutch, torque the primary bolt to 174 ft-lb.
Need technical support?
Submit a ticket with your vehicle and what you're seeing, and our support team will get back to you.
